Menu
Shopping Cart
Close

Double Sided Roller Banner Ideas for Maximum Event Impact

Crowded aisles, split-second decisions and visual noise mean your stand has only a few metres to get noticed. A double sided roller banner turns that challenge into an advantage, giving you 360° visibility wherever people approach from, rather than relying on one flat face pressed against a wall or buried inside your booth.

A double sided roller banner uses two printed panels instead of one, so your message works in both directions along a corridor, hall or shopping aisle. When combined with smart layout choices and clear messaging hierarchy, it becomes a compact, portable display that can replace several single units, saving floor space and setup time while still boosting visibility.

For marketers running multiple events each quarter, this format also makes budgeting more predictable. One well-designed double sided system can serve different campaigns by swapping graphics cassettes or reprinting panels, which often cost under £60 each. Over a year of trade shows, that flexibility can reduce overall display spend by 20–30% compared with repeatedly buying disposable single-sided stands.

Because the hardware is similar to a standard pull-up, teams already familiar with roller banners need almost no extra training. Most double sided units assemble in under three minutes: place the base, connect the pole, pull up each panel and hook them onto the top rail. That speed matters when venue access windows are tight and you are competing with neighbouring stands for early visitor attention.

1
double sided roller banner

What Is a Double Sided Roller Banner and How Does It Work?

What Is a Double Sided Roller Banner and How Does It Work?

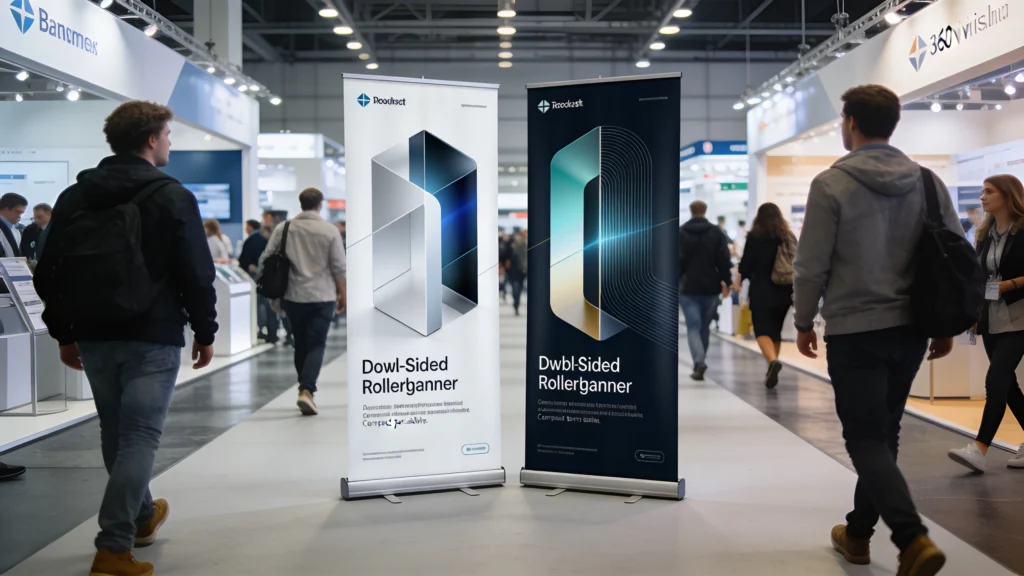
A double sided roller banner uses a familiar retractable cassette system, but houses two printed panels instead of one. Both graphics pull up from the same base and are tensioned on a shared pole, giving you a stable, professional display. This simple mechanism makes transport, setup and storage fast, even for small teams.

A double sided roller banner is a freestanding display where two printed graphics retract into a single base cassette. Each panel is tensioned by an internal spring mechanism, so the prints roll smoothly and stay taut when extended. Typical widths range from 800 mm to 1,500 mm, with heights around 2,000–2,150 mm to remain visible above most crowds.

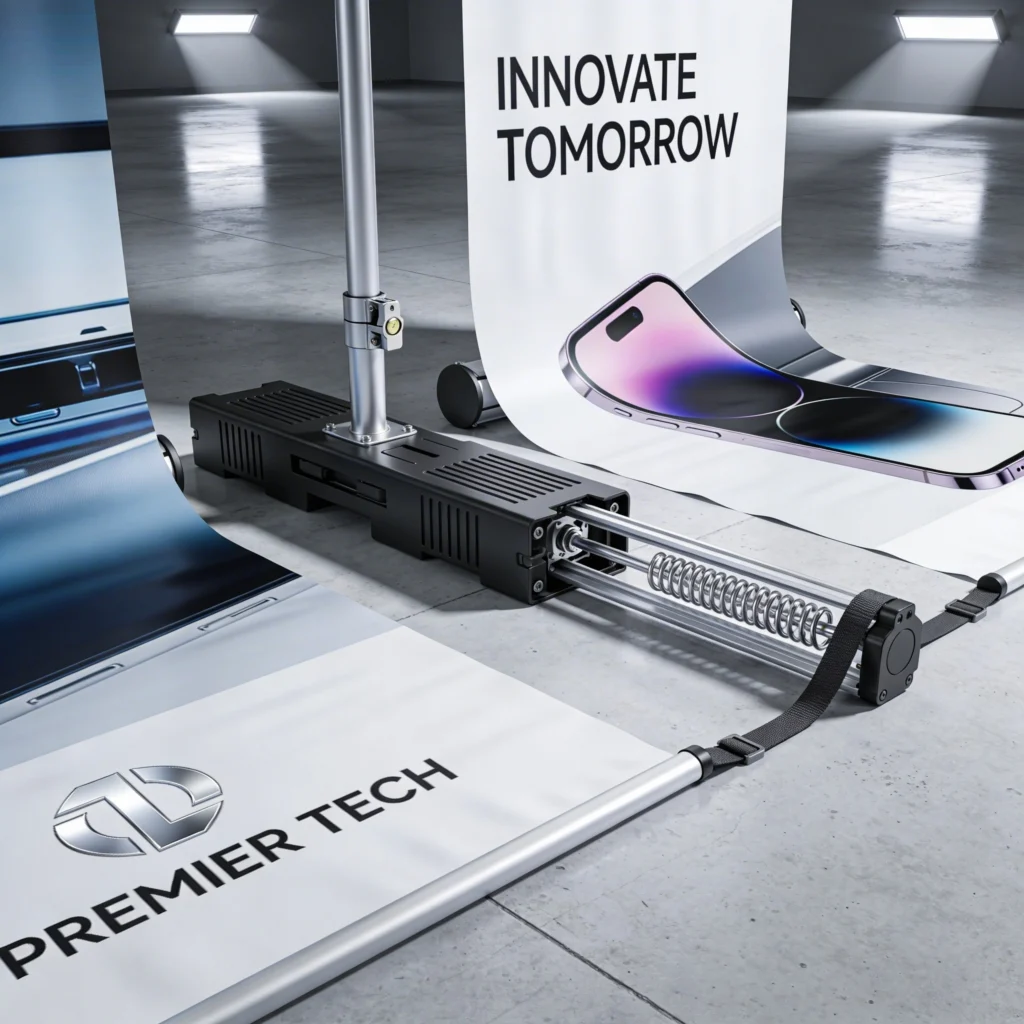
Structure and Mechanism Explained

Inside the aluminium base, two separate rollers hold each graphic, usually printed on 440–610 micron PVC or polyester. When you pull the panel up, the spring-loaded shafts apply counter-tension, preventing wrinkles and sagging. A three-part bungee pole locks the height, and a shared top rail connects both prints back-to-back, creating a rigid visual wall that feels stable even in busy aisles.

Key Differences from a Single-Sided Pull-Up

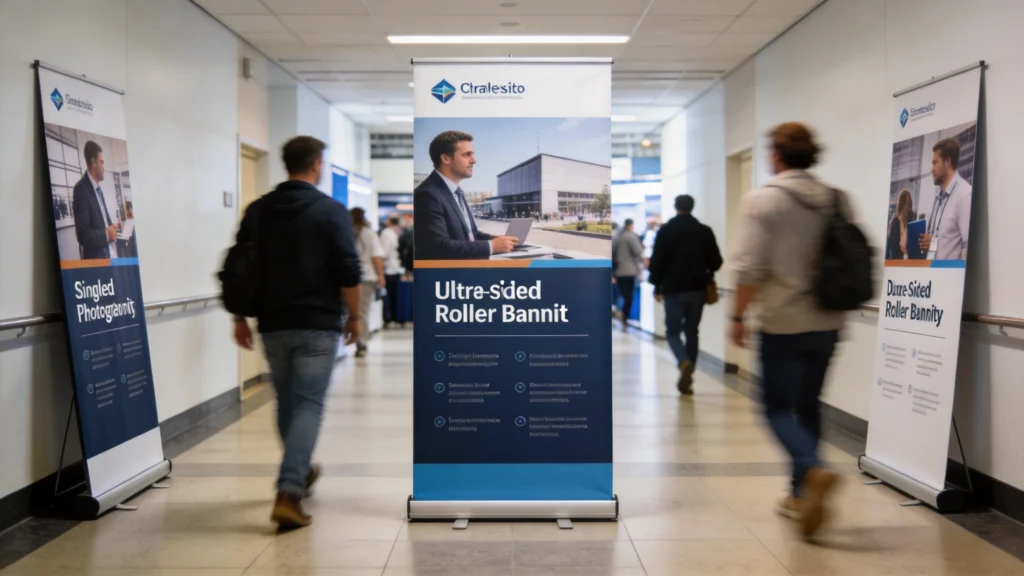
Unlike a standard pull-up, which is designed to sit against a wall or at the rear of a booth, a double sided roller banner is optimised for central positions where people pass from multiple directions. The base usually features wider, heavier feet or a weighted cassette, adding 1–2 kg over single units. This extra stability lets you position the stand in open walkways without it wobbling whenever someone brushes past.

2

When a Double Sided Roller Banner Outperforms a Standard Banner

Double sided units really shine where footfall splits in two or more directions, such as T-junctions in exhibition halls or cross-aisles in retail. In those environments, a single-sided banner wastes half its potential viewing angles. With two active faces, you can capture attention from both approach lines, effectively doubling impressions without increasing your footprint.

When a Double Sided Roller Banner Outperforms a Standard Banner

Beyond basic branding, a double sided roller banner opens up creative campaign options. You might dedicate one face to a bold offer and the other to storytelling, wayfinding or a QR-led digital experience. This allows you to segment messages by direction of travel and keep your display working harder throughout the event.

High-Traffic Event and Retail Scenarios

At trade shows like BETT or Spring Fair, aisles often run 3–5 metres wide, and visitors flow continuously from both ends. Placing a double sided roller banner at the corner of your stand means your key message is visible whether attendees walk north–south or south–north. In shopping centres, the same principle applies near escalators or store entrances, where shoppers approach from multiple floors or corridors.

Use venue footfall heatmaps or simple manual counts during the first hour to identify bidirectional flow points, then reposition your double sided roller banner to intercept those streams rather than leaving it buried at the back of your stand.

Situations Where Single-Sided Units Struggle

Single-sided pull-ups become less effective when placed away from walls, because the blank rear looks unfinished and wastes branding space. In island booths, central reception areas or pop-up info points, a double sided solution ensures no approach angle feels neglected. Over a two-day show, that can translate into dozens of extra conversations simply because visitors spotted your offer from the far end of the aisle.

3

Design Principles for an Effective Double Sided Roller Banner

Design Principles for an Effective Double Sided Roller Banner

Effective double sided roller banner design depends on a clear visual hierarchy. Strong headlines, concise supporting copy and focused visuals guide the eye quickly, even at a distance. Treat each side as a coordinated layout, ensuring fonts, colours and imagery are consistent while tailoring messages to different viewing angles and distances.

Designing for two faces demands more planning than simply duplicating artwork. Each side should work independently at 3–5 metres distance while also reinforcing a single campaign idea. Treat the double sided roller banner as a moving billboard: people glimpse it for three to four seconds while walking, so hierarchy, contrast and legible typography become critical.

Messaging Hierarchy and Readability

Start by defining one primary message of no more than eight words, set in a bold sans-serif at 120–180 pt size for a 2 m banner. Position this in the top third so it remains visible above heads and furniture. Secondary details—such as a discount percentage or event-only bonus—should sit mid-panel at around 60–80 pt, with URLs and QR codes anchored near the base for closer inspection.

Design each side to be readable at three distances: headline at 5 metres, offer at 3 metres, and detailed call-to-action at 1 metre, using progressive font sizing and colour contrast.

Side-to-Side Consistency and Brand Use

Maintain consistent brand colours, logo placement and typography across both faces, but vary content to avoid visual fatigue. For example, use one side for your hero product image and strapline, and the reverse for social proof, such as a 4.8/5 rating or client logos. This approach keeps recognition instant from any angle while encouraging people to walk around and engage with both narratives.

4

Creative Campaign Ideas Using a Double Sided Roller Banner

Because you effectively own two canvases, a double sided roller banner can host complementary but distinct campaign messages. Think of it as a mini two-panel story rather than a mirrored poster. This opens opportunities for sequential messaging, directional prompts and split testing different offers within the same footprint, especially useful when you attend multiple events targeting slightly different audiences.

Creative Campaign Ideas Using a Double Sided Roller Banner

In long corridors and open-plan halls, a centrally positioned double sided roller banner can outperform a standard banner tucked against a wall. Because both sides are active, your message catches attention whether visitors approach from the front, back or diagonally, making every metre of foot traffic work harder for your brand.

Promotion and Launch Concepts

Below are practical ways to exploit both sides creatively during promotions, product launches and experiential campaigns, using real-world structures that teams can brief directly to their designer or online banner printing supplier.

  • Use the front for a bold “Launch Today” headline and product visual, and the rear for feature icons with three quantified benefits.
  • Run an A/B offer test: one side advertises “15% off today only”, the other “Free setup worth £99”, then track which code redeems more.
  • Turn the reverse into social proof: star ratings, testimonial quotes under 20 words and recognisable client logos arranged in a grid.
  • Create a mini wayfinding system: front pulls traffic with “Demos Here”, reverse points to “Samples & Quotes” three metres deeper in your stand.
  • Combine with a QR-only side driving to a landing page, measuring scans versus in-person conversations to refine future event strategy.
5

Placement and Traffic Flow: Positioning Your Double Sided Roller Banner

Placement determines whether your double sided roller banner simply decorates your stand or actively drives traffic. Because both faces are live, you can treat the unit as a pivot in the visitor journey, catching attention at long range and then steering people towards key interaction points like demo pods, sample tables or consultation areas within your space.

Placement and Traffic Flow: Positioning Your Double Sided Roller Banner

Reading and Using Footfall Patterns

Spend ten minutes watching how people naturally move past your stand before finalising placement. Note where they slow down, which side of the aisle they favour and where bottlenecks appear. Position the banner slightly upstream of your main entry zone, angled at 10–15 degrees into the flow. This gives visitors two to three seconds more viewing time before they decide whether to divert towards you.

Place the base at least 600 mm inside your boundary line so visitors can step sideways without feeling they are blocking the aisle, increasing stop-and-talk rates significantly.

Using the Banner as a Wayfinding Anchor

In larger booths or retail spaces, treat the banner as a visual anchor people can spot from across the hall. Align the headline with a sightline towards your main attraction, such as a live demo screen or tasting counter. Repeating a key colour or icon from the banner on hanging signs or counter wraps creates subconscious continuity, guiding people deeper into the space without explicit arrows.

6

Combining a Double Sided Roller Banner with Other Display Materials

When integrated with other graphics, a double sided roller banner becomes the vertical accent in a layered visual system. Instead of relying on it to carry every detail, you can let backdrops or vinyl banners handle brand ambience while the double sided unit focuses on the live event message or time-limited offer. This division keeps layouts clean and reduces information overload.

Combining a Double Sided Roller Banner with Other Display Materials

Coordinating with Vinyl Banners and Counters

Use wide-format vinyl banners, typically 2–3 metres long, as your static brand environment on rear walls or shell schemes. Then place the double sided roller banner closer to the aisle, carrying the specific promotion for that day. Counter units can echo the same colour blocking and iconography, so when visitors step up, they experience a clear narrative from long-range awareness to close-range detail and literature pickup.

Comparing Common Stand Combinations

The table below illustrates practical combinations of displays, showing how a double sided roller banner works alongside other materials with realistic UK pricing and dimensions.

Setup Type Components Included Typical Sizes Approx. Package Cost (UK) Best Use Case
Starter Pop-Up Double sided roller banner + 2m vinyl banner 850mm x 2m + 2m x 0.8m £220–£280 First-time exhibitors with 2m shell scheme walls
Retail Promo Point Double sided roller banner + branded counter 850mm x 2m + 1m wide counter £350–£450 In-store sampling, weekend promotions, data capture
Island Stand Core 2 double sided banners + hanging sign 2 x 1m x 2m + 2m hanging £650–£800 Island booths needing 360° messaging coverage
Conference Backdrop Single sided wall banner + double sided banner 3m x 2.2m + 850mm x 2m £400–£550 Speaker backdrops with sponsor message near entrance
Outdoor Canopy Add-on Gazebo walls + double sided roller banner 3m gazebo + 850mm x 2m £550–£750 Markets or festivals with changing approach directions
Multi-Branch Retail Pack of 3 double sided banners 3 x 800mm x 2m £480–£600 Chain-wide seasonal campaigns rotated between stores

By planning combinations like these before briefing online banner printing, you can standardise artwork sizes and reuse elements across formats. That means a single campaign design can be adapted into vinyl banners, counters and your custom roller banner graphics, reducing design time and keeping every touchpoint visually consistent across events and branches.

7

Buying Checklist for Your First Double Sided Roller Banner

Before ordering, treat the double sided roller banner as a long-term asset rather than a one-off purchase. A slightly higher upfront spend on robust hardware and replaceable graphics usually pays back within two or three campaigns. Use a structured checklist covering materials, mechanisms, warranty and artwork support, so you avoid flimsy bases or low-resolution prints that undermine your professional appearance.

Buying Checklist for Your First Double Sided Roller Banner

Key Specs and Questions for Suppliers

The table below summarises essential specifications and decision points to discuss with your print partner or online banner printing provider when selecting a custom roller banner system that will last several event cycles.

Specification Recommended Range Why It Matters Questions to Ask Typical Options
Graphic Material 440–610 micron PVC or PET Resists curling and creasing during repeated retraction cycles. Is the material anti-curl and opaque enough to prevent show-through? PVC, PET, grey-back light-stop
Base Weight 4–7 kg Heavier bases stay stable in busy aisles and near door draughts. What is the total unit weight including graphics and pole? Economy 4 kg, premium 6–7 kg
Print Resolution At least 1440 dpi Ensures crisp logos and legible small text at 1 metre distance. What resolution and print technology do you use? Eco-solvent, latex, UV inkjet
Warranty Length 1–5 years Covers mechanical failures of the cassette and pole assembly. Is the warranty on hardware only or also on print durability? 1-year basic, 3-year standard, 5-year premium
Graphic Replacement Swappable cassettes or re-skinning Allows campaign updates without buying new hardware. Can you reprint graphics into my existing base later? Clip-in rails, cassette swap systems
Lead Time 2–7 working days Affects your ability to respond to short-notice events. Do you offer express production and next-day delivery? Standard 5 days, express 2–3 days

Clarifying these points upfront helps you compare quotes beyond headline price. A slightly more expensive custom roller banner with a five-year hardware warranty and easy graphic replacement often proves cheaper per use than budget units that fail after two or three shows, especially when your events calendar includes both regional exhibitions and rotating retail promotions.

8
roller banners

Care, Transport and Storage for Double Sided Roller Banners

Care, Transport and Storage for Double Sided Roller Banners

Looking after your double sided roller banner properly can extend its lifespan from a couple of events to several years of regular use. Most failures come from rushed pack-downs, damaged edges or moisture exposure during transport. Building five extra minutes into your breakdown routine and using the right cases dramatically reduces the risk of costly reprints or broken springs.

Handling, Cleaning and Storage Practices

Always retract the graphics slowly while guiding the panel with one hand to prevent snapping back, which strains the spring. Wipe surfaces with a soft microfibre cloth and diluted mild detergent, avoiding solvents that can cloud laminates. Store the unit vertically in its padded bag, never lying under heavy boxes. Keep it in a dry environment between 10–25°C to prevent adhesive failure or material warping over time.

  • Label each carry bag clearly with event, campaign name and size to avoid mixing panels between different hardware sets.
  • Use wheeled cases or trolleys when transporting more than two units to prevent pole bending and base dents from knocks.
  • Inspect top rails and pole joints before every show, tightening any grub screws with a 2–3 mm hex key if necessary.
  • Allow cold graphics to acclimatise for 20–30 minutes indoors before extending, reducing risk of cracking in winter conditions.
  • Photograph any scuffs or print issues on-site and share with your printer quickly to assess warranty or repair options.
Cart