Menu
Shopping Cart
Close

Roller Banner Printing: Complete Guide to Ordering Printed Roller Banners

Well-produced printed roller banners can transform a bare event space into a branded environment in under five minutes. Understanding how printed roller banners work, which hardware to choose and how to prepare artwork helps you avoid pixelated graphics, curled edges and last‑minute stress before exhibitions or retail launches.

Roller banner printing combines high‑resolution digital print with a spring‑loaded cassette, allowing your message to pull up from the base and pack away safely after use. When you order printed roller banners, you are really buying both the graphic and the mechanism, so decisions around material, width, cassette grade and turnaround all affect cost, appearance and lifespan.

Most suppliers offer several widths from 800 mm to 1500 mm, with print resolutions typically between 1200 dpi and 2400 dpi. By comparing these specifications, checking artwork requirements and understanding delivery options, you can match roller banners precisely to campaign goals, whether you need ten budget units for a roadshow or a pair of premium roller banners for a flagship store.

Taking a structured approach also reduces waste and reprints. Planning messaging hierarchy, safe areas and reusability before placing an order means your roller banners can support multiple events across 12–24 months. This guide walks through each decision, from first concept to unboxing, so you can brief designers clearly and buy with confidence.

1
roller banner printing

What Is Roller Banner Printing and When to Use Printed Roller Banners

What Is Roller Banner Printing and When to Use Printed Roller Banners

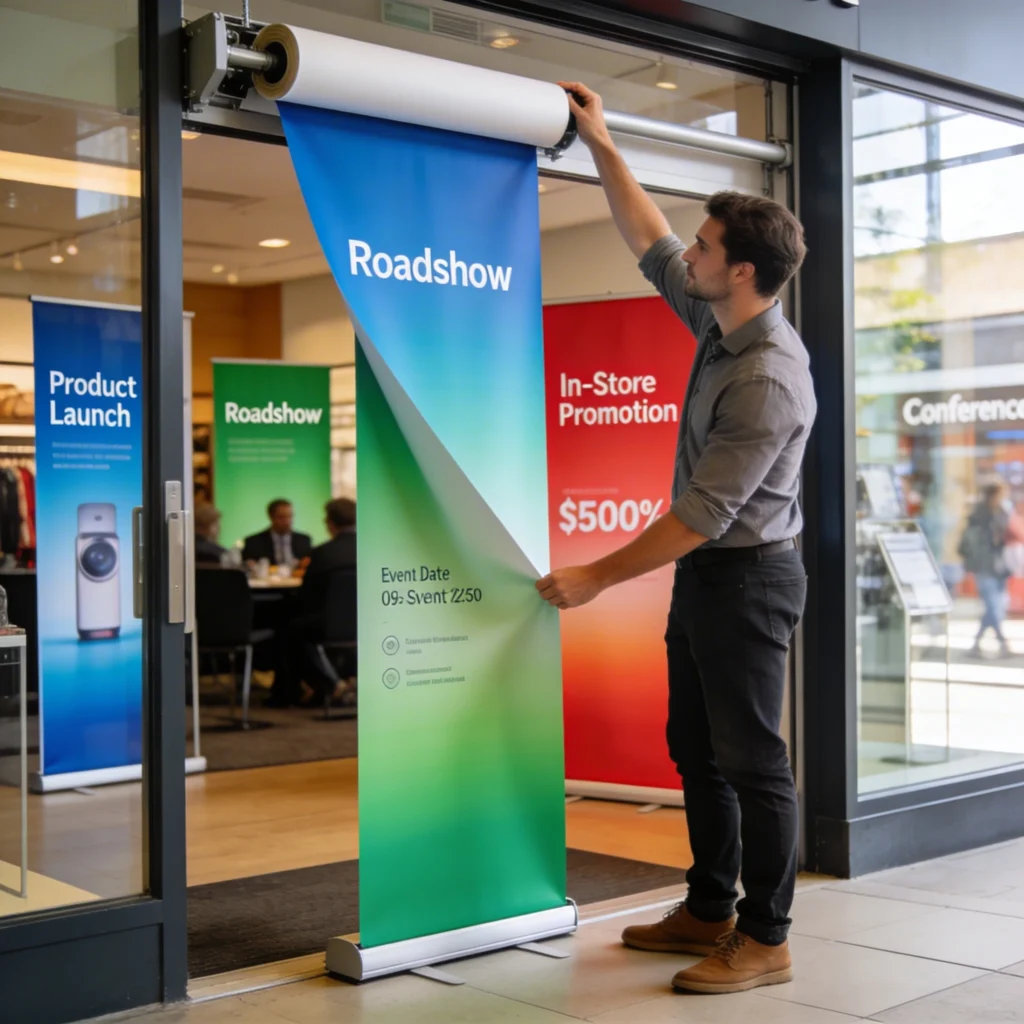
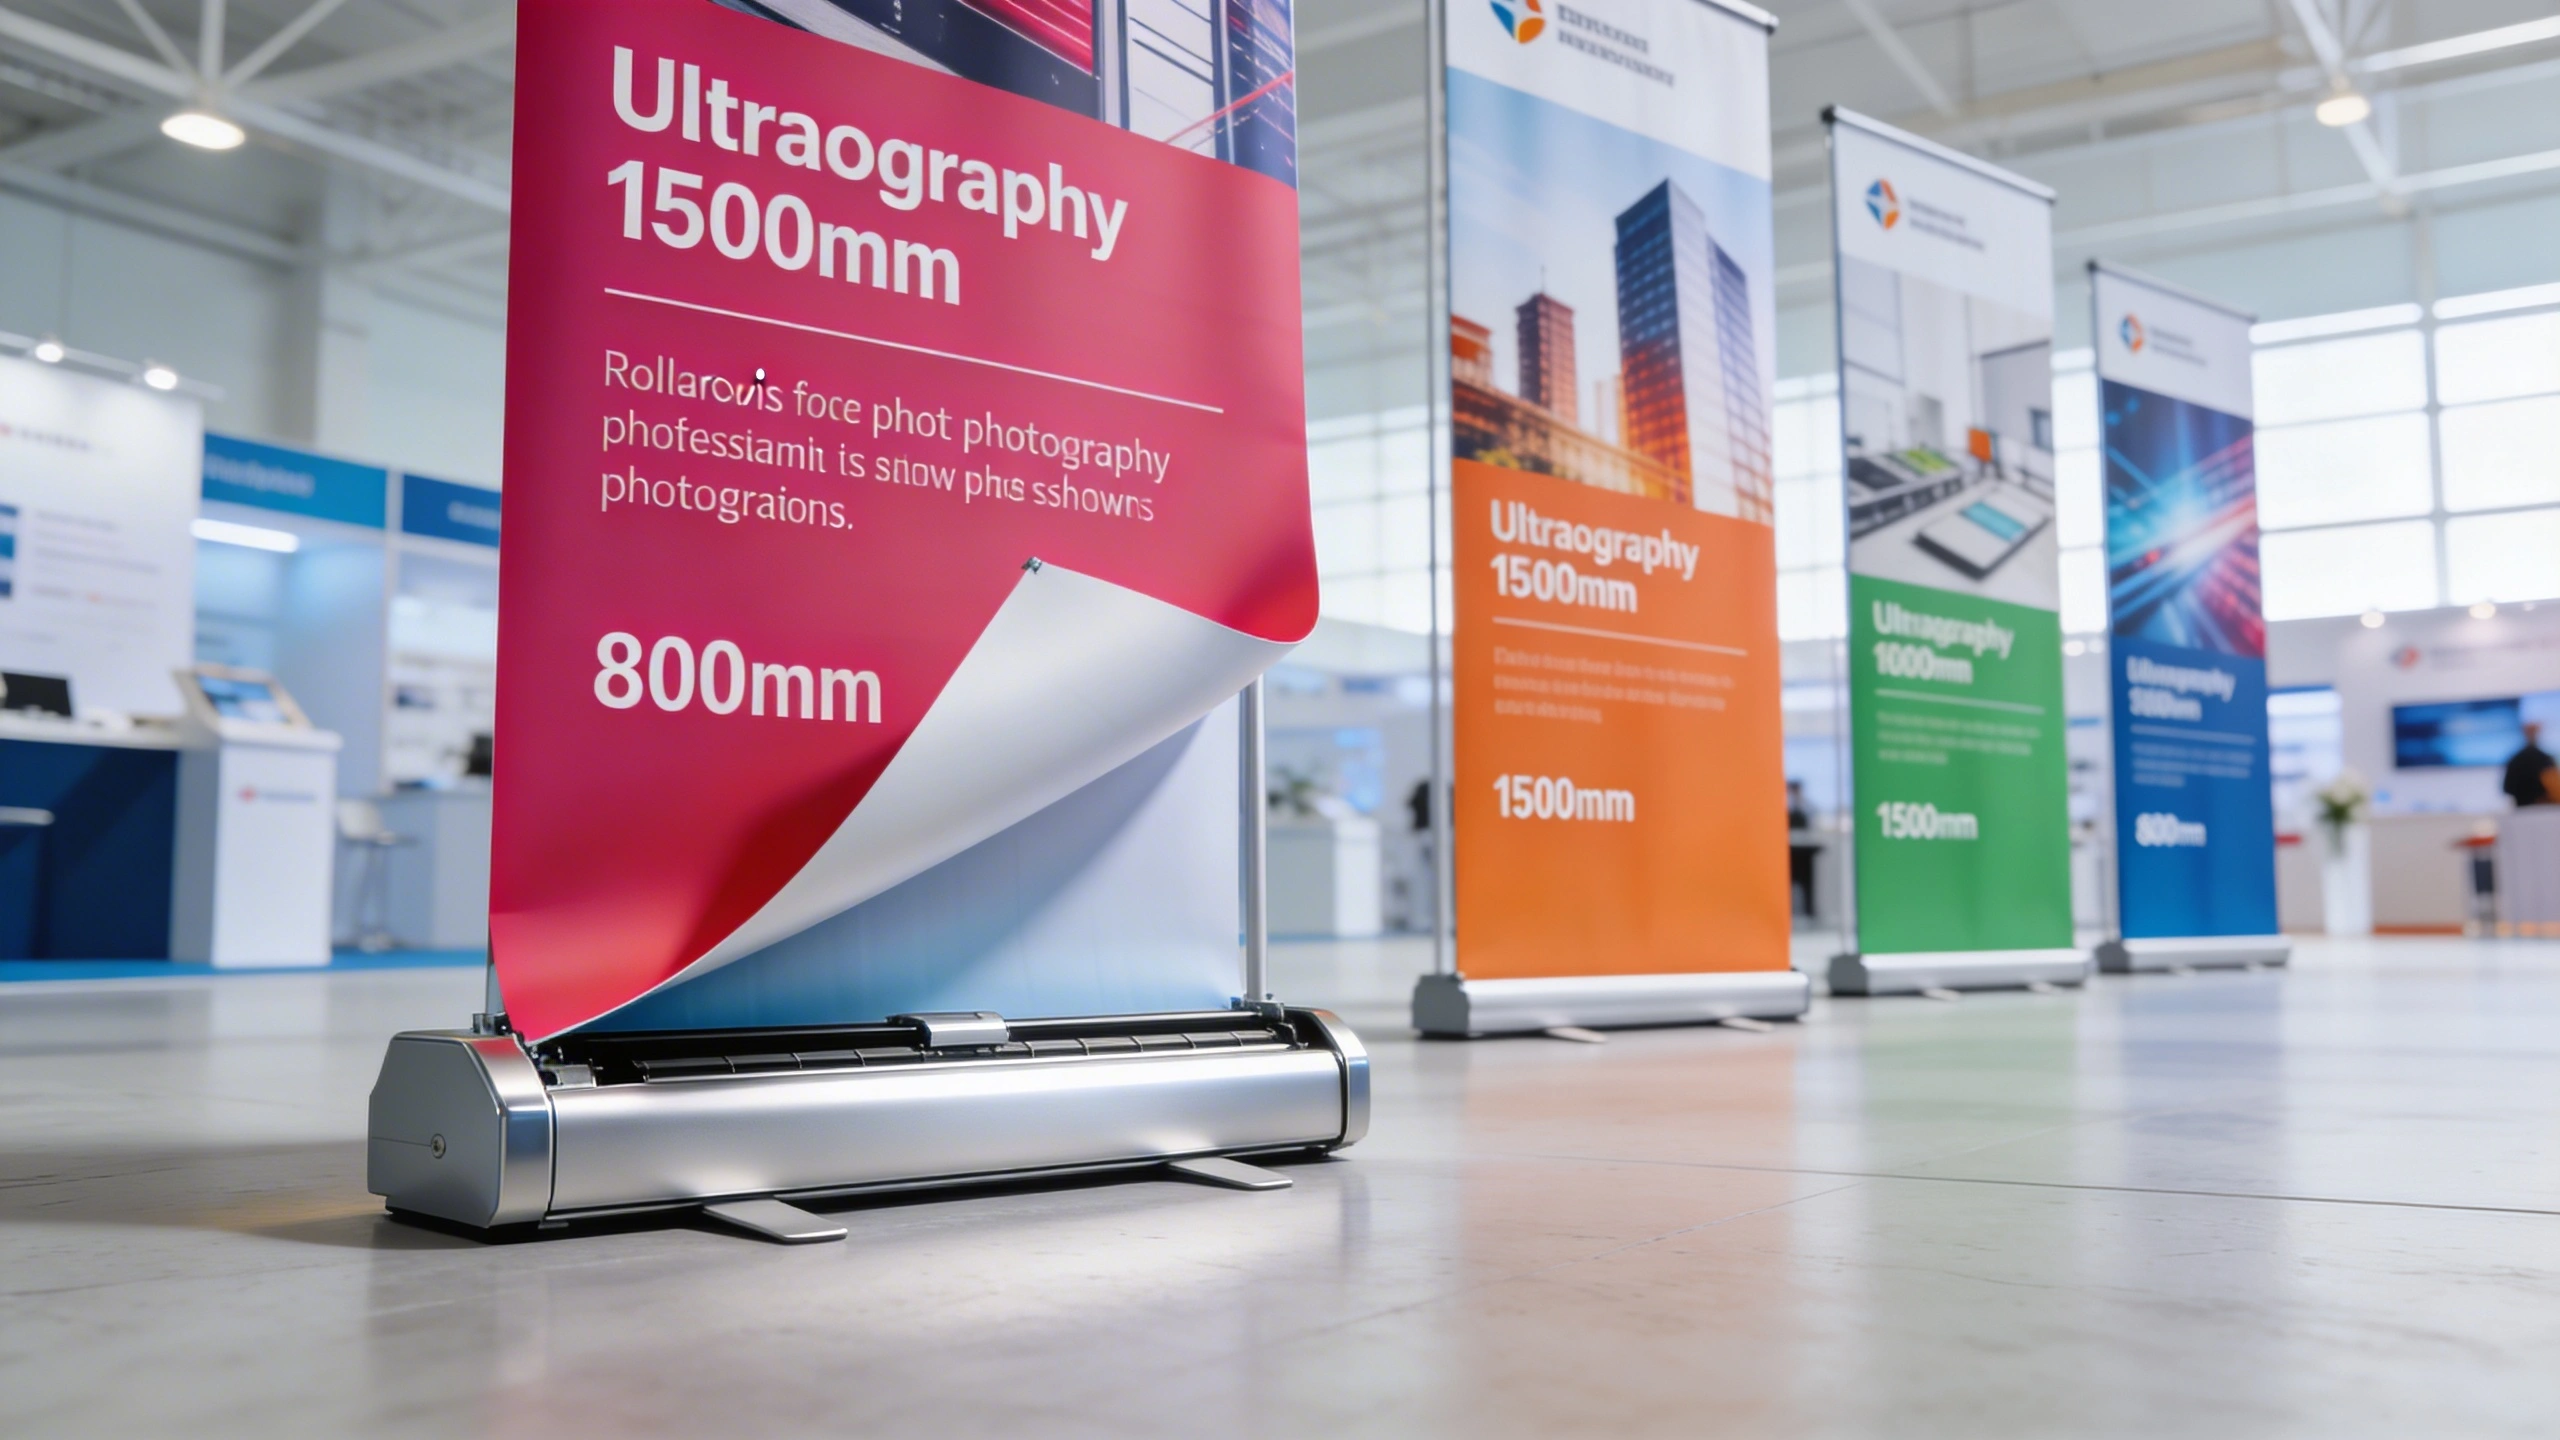
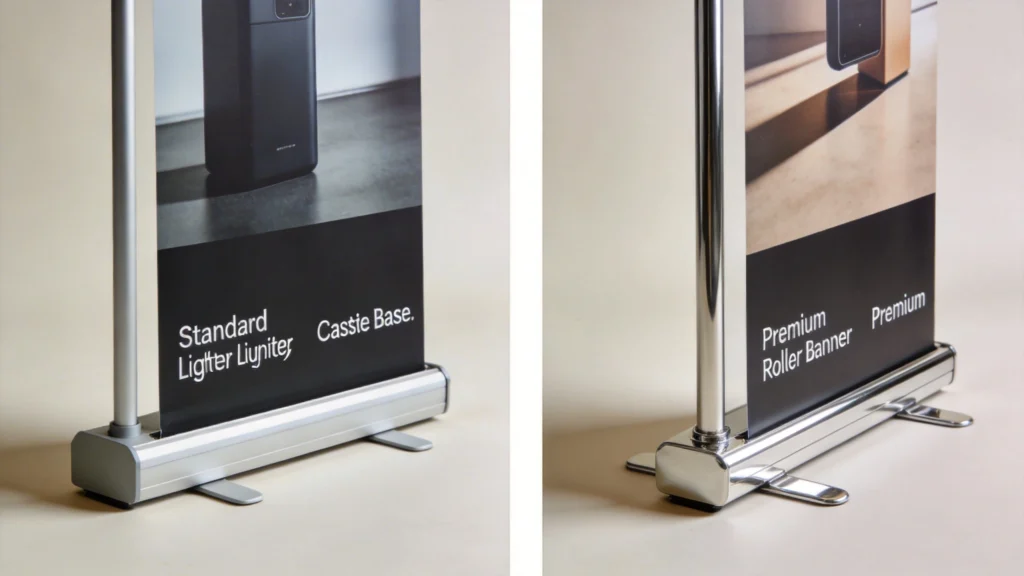
Printed roller banners work well wherever you need a portable, self‑standing display, from shop entrances and reception areas to conferences and roadshows. Their compact cassette base, quick pull‑up mechanism and easy storage make them ideal for short‑term campaigns, recurring events and situations where you need to set up and pack down rapidly.

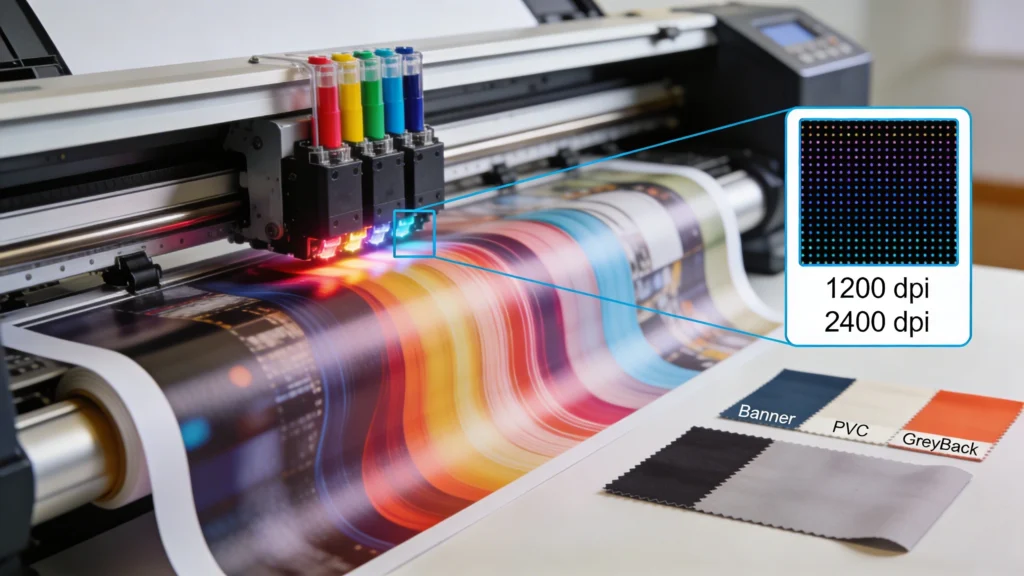
Roller banner printing uses large‑format inkjet or latex printers to output a tall, narrow graphic that retracts into an aluminium cassette. A tensioned spring inside the base rolls the banner around a central spindle, protecting the print during transport. You assemble the unit by slotting a support pole into the base and clipping the top rail, which usually takes under two minutes.

How Roller Banners Work in Real Environments

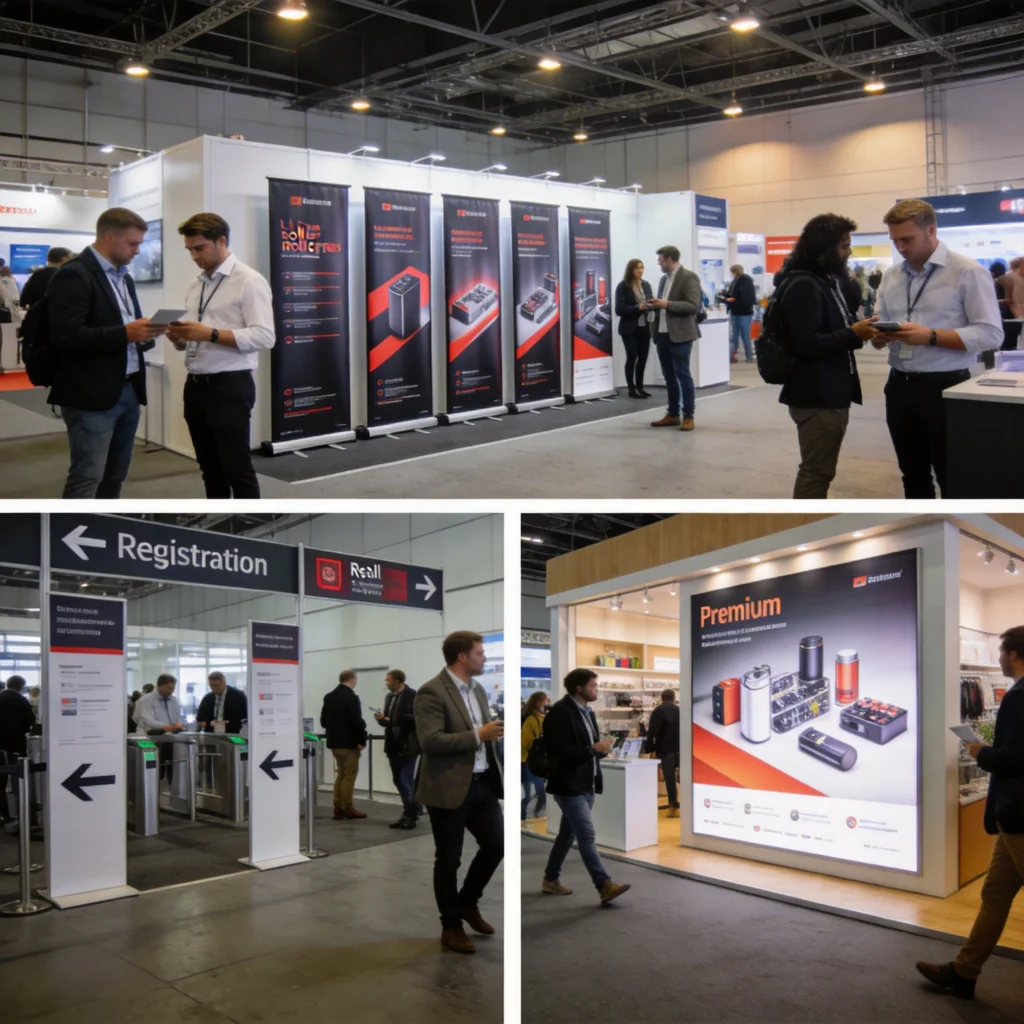
The mechanism is designed for repeated setups at trade shows, conferences and pop‑up events where staff may not be technically trained. Because the printed panel retracts into the base, it avoids creasing that traditional PVC posters suffer during transport. Many roller banners stand around 2000 mm high, making them visible above seated crowds without requiring venue permission for wall mounting.

Best Use Cases for Printed Roller Banners

Printed roller banners work particularly well for directional signage, product launches and portable brand backdrops. For example, a 1000 mm wide banner beside a reception desk can display key services and contact details, while a series of 850 mm units can create a modular backdrop behind a 3 m exhibition stand. Because they pack into carry bags under 1.2 m long, they are easy to ship between regional offices.

2
premium roller banners

Types of Roller Banner Printing: Standard vs Premium Roller Banners

Roller banner printing is usually offered in standard and premium tiers, reflecting differences in cassette durability, print substrate and warranty. Standard roller banners typically use lighter‑gauge aluminium, single twist‑out feet and economy grey‑back film. Premium roller banners upgrade to thicker bases, wider stabilising feet, stronger springs and smoother, anti‑curl materials suited to longer campaigns.

Types of Roller Banner Printing: Standard vs Premium Roller Banners

Material, inks and print resolution all influence how your roller banner looks and lasts. Higher dpi settings produce sharper text and smoother gradients, especially on close‑view graphics. Pairing durable, curl‑resistant substrates with quality inks ensures colours stay vibrant and the banner hangs flat, even after repeated use and transport.

Standard vs Premium Specifications

Standard units often weigh around 2.5–3 kg for an 850 mm width, while premium roller banners can reach 4–5 kg due to reinforced housings. The extra mass improves stability in busy aisles where visitors may brush against displays. Premium models also tend to include clip‑on top rails instead of adhesive rails, allowing graphics to be swapped without replacing the entire mechanism.

When to Choose Each Roller Banner Type

Standard roller banners suit short‑term promotions, one‑off events or tight budgets where cost per unit is critical. If you are ordering 20 banners for a three‑day conference, the lower price allows broader coverage. Premium roller banners make sense when you plan to reuse graphics for 12–18 months, such as a corporate mission statement in a lobby, because the cassette and print are engineered for repeated deployment.

3
printed roller banners

How to Choose Printed Roller Banners for Events, Exhibitions and Retail

How to Choose Printed Roller Banners for Events, Exhibitions and Retail

Choosing the right printed roller banner starts with where it will be used. Narrow widths suit tighter exhibition spaces or modular stands, while wider formats create strong impact in open retail areas. Considering viewing distance, footfall and lighting helps you decide how many units to order and which layouts will attract attention.

Selecting printed roller banners starts with environment and audience: crowded exhibition halls, quiet reception areas and narrow retail aisles all demand different widths, heights and messaging densities. Assess viewing distance first; a banner read from three metres away needs larger typography and simpler layouts than one positioned beside a till for close‑up inspection of product specifications.

Matching Banners to Specific Locations

For shell‑scheme exhibition stands around 3 m wide, two 850 mm roller banners can flank a central counter without blocking entrances. In shopping centres, a single 1000 mm banner placed 1 m from an aisle edge can catch lateral footfall while leaving space for prams and trolleys. In offices, slimmer 800 mm units fit between doors or beside lifts, reinforcing branding without creating visual clutter.

Planning Messaging and Campaign Goals

Effective roller banner printing supports a single clear objective per unit, whether capturing leads, driving QR‑code scans or explaining a flagship service. Prioritise one dominant headline at least 120 pt in size, supported by two or three bullet‑level messages rather than dense paragraphs. This structure lets passers‑by grasp the offer in under three seconds, which is typical dwell time in busy venues.

4

Roller Banner Printing Materials, Inks and Print Quality Explained

Materials and inks determine how vivid your printed roller banners appear under different lighting and how long they last before fading or curling. Most suppliers offer polypropylene (PP), PVC or hybrid grey‑back films between 200–300 microns thick. Thicker, anti‑curl options stay flatter in warm venues, while opaque grey‑back layers prevent shadows from light sources behind the banner.

Roller Banner Printing Materials, Inks and Print Quality Explained

Standard roller banners typically use lighter cassettes and more economical materials, making them suitable for short‑term promotions or large rollouts on a budget. Premium roller banners feature sturdier mechanisms, thicker graphics and more refined bases, offering better stability and a more polished look for flagship locations and longer‑term use.

Comparing Common Material and Ink Combinations

Latex inks, cured at around 90–110 °C, bond strongly to PP films, producing scratch‑resistant graphics suitable for frequent transport. Eco‑solvent inks take longer to outgas, often requiring 24 hours before trimming, but deliver rich colours on PVC substrates. Some premium roller banners use UV‑cured inks for extra durability, particularly when banners are placed near windows with strong sunlight.

Choosing an anti‑curl, light‑stop film with latex inks usually extends usable banner life to 18–24 months, reducing reprint frequency and total campaign cost, especially for organisations attending more than six events per year.

Understanding Resolution and Print Sharpness

Print resolution for roller banner printing typically ranges from 1200×1200 dpi to 2400×1200 dpi. Higher settings capture fine gradients in photography but increase production time per unit. For viewing distances above two metres, artwork set at 150 ppi at full size is usually sufficient, whereas close‑up technical diagrams may justify 200–250 ppi source files to retain legible small text.

5

Artwork Setup for Roller Banner Printing: File Types, Bleed and Safe Areas

Correct artwork setup ensures your printed roller banners match brand colours and avoid cropped logos at the cassette edge. Most printers accept PDF/X‑1a, high‑resolution JPEG and packaged InDesign files, but flattened CMYK PDFs at 150–300 ppi are safest. Always create documents at final print size; scaling up from A4 mock‑ups can introduce jagged edges and colour shifts.

Artwork Setup for Roller Banner Printing: File Types, Bleed and Safe Areas

File Preparation and Colour Management

Set colour mode to CMYK using profiles like FOGRA39 or ISO Coated v2, since RGB files can print unexpectedly dull. Embed fonts or convert text to outlines to avoid substitution on the print RIP. For an 850 mm × 2000 mm roller banner, build the document at 850 mm × 2150 mm to include bleed and cassette allowance, rather than relying on the printer to add margins.

  • Use 3–5 mm bleed on all edges so background colours and images extend beyond the final trim line.
  • Keep vital logos and text at least 70–100 mm above the bottom, avoiding the cassette clamp area entirely.
  • Maintain a 30–50 mm safe area inside each side edge to reduce risk of cropping during trimming tolerances.
  • Export artwork at 150–300 ppi effective resolution, avoiding upscaling low‑resolution web images or screenshots.
  • Supply one artwork file per roller banner, clearly labelled with size and version numbers for straightforward production.
6

Ordering Roller Banner Printing Online: Process, Proofing and Payment

Online ordering for roller banner printing usually follows a predictable workflow: you select a product size, choose standard or premium roller banners, upload artwork, approve proofs and pay. Understanding each step helps you avoid delays, especially when working to fixed exhibition dates where missed deliveries can mean unused stand space and lost leads.

Ordering Roller Banner Printing Online: Process, Proofing and Payment

Typical Online Ordering Workflow

Most print sites display base prices for quantities from one to fifty units, with discounts around 10–25% at higher volumes. After choosing hardware grade and quantity, you upload artwork files up to 500 MB via browser or file‑transfer links. The printer then preflights your file, checking resolution, bleed and fonts before generating a digital proof for email approval.

Step Typical Time Buyer Action Common Issues
Product selection 10–20 minutes Choose size, standard or premium hardware, quantity Underestimating width needed for crowded exhibition spaces
Artwork upload 5–15 minutes Submit CMYK PDF with bleed and safe areas Files over 500 MB or missing fonts causing upload failures
Proofing 2–24 hours Approve on‑screen PDF or request adjustments Ignoring small text issues visible at 100% zoom
Production 1–3 working days No action; monitor order status Last‑minute changes requested after printing started
Dispatch & delivery 1–2 days Track shipment, arrange on‑site contact Incorrect delivery address or missing event reference

Paying by card or PayPal usually confirms production immediately, whereas bank transfers can delay printing until funds clear, often adding one working day. Always build in at least two spare days beyond quoted turnaround for courier disruptions. If your event date is fixed, choose services that offer guaranteed dispatch dates or timed delivery windows.

7

Turnaround Times, Delivery Options and Next Steps After Roller Banner Printing

Turnaround for printed roller banners varies with quantity, finishing complexity and season. Standard production for one to five units is often one to two working days plus shipping, while larger runs of twenty or more may require three to five days. Around major trade shows or November retail peaks, lead times can extend, so early ordering protects your schedule.

Turnaround Times, Delivery Options and Next Steps After Roller Banner Printing

Comparing Production and Delivery Options

Many printers offer tiered services such as economy, standard and express dispatch, each with different cut‑off times and courier options. Economy might ship in three days, while express orders placed before 11 a.m. can dispatch same day. Delivery choices range from next‑day ground services to pre‑10:30 a.m. timed slots, which are invaluable when venues restrict access hours.

  • Check last order cut‑off, often 11 a.m.–2 p.m., because artwork approved after this usually moves to the next day.
  • Consolidate multiple roller banners into one shipment where possible, reducing separate courier risks and extra handling.
  • Inspect units on arrival for dents, print banding or colour shifts before transporting them to the event venue.
  • Store banners vertically in supplied carry bags, avoiding damp environments that can warp cassettes or buckle graphics.
  • Retract prints slowly while pressing the top rail, preventing the internal spring from snapping back and stressing fixings.

After your event, wipe surfaces gently with a lint‑free cloth to remove dust and fingerprints, then let them dry before retraction. Label carry bags with campaign names so marketing teams can quickly identify which printed roller banners suit upcoming events. With basic care, premium roller banners can deliver reliable performance across dozens of installations.

Cart