
Before you even think about opening your design software, let’s talk strategy. It’s tempting to jump straight into picking colours and fonts, but the most effective banners—the ones that actually get results—start with a solid plan.
Getting this foundation right from the start prevents those endless, frustrating revisions down the line. Think of it as your blueprint. You wouldn't build a house without one, and the same goes for your banner.
Building Your Banner's Strategic Foundation
This initial planning stage is what separates a banner that just looks pretty from one that genuinely works for your business. It all comes down to knowing your goal, your audience, and having your materials ready to go.
Define One Clear Objective
First things first: what is this banner for? A banner that tries to do everything at once ends up achieving nothing. The message gets lost, and people just walk on by. You need to nail down a single, primary goal.
What’s the one thing you want someone to do after seeing it? This one decision will guide every other choice you make, from the headline to the imagery. A banner promoting a music festival, for instance, needs a completely different vibe to one for a corporate trade show.
Here are a few common goals to get you thinking:
- Driving Sales: Think big and bold. A "50% Off Flash Sale" with an urgent call-to-action.
- Increasing Brand Awareness: Your logo and tagline, front and centre at a sponsored event.
- Promoting an Event: The date, time, and main attraction for a local concert.
- Generating Leads: Pushing traffic to your website with an offer like a free consultation.
When you focus on one goal, every element works together. A cluttered banner with mixed messages just confuses people. Keep it simple, keep it focused.
Understand Your Target Audience
Okay, you’ve got your goal. Now, who are you talking to? A design that grabs the attention of university students will almost certainly miss the mark with seasoned industry professionals. Your audience dictates the entire feel of the banner—the tone, the language, the style.
Ask yourself a few key questions:
- Who are they? Think about their age, what they're interested in, and their professional background.
- What do they care about? How can you solve a problem for them?
- What language do they speak? Use words and a tone of voice that feels natural and familiar to them.
A banner for a tech conference, for example, can get away with sleek, modern fonts and some industry jargon. But one for a village fete needs a much warmer, community-focused design to feel right.
Gather Your Essential Assets
With your objective and audience sorted, there's one last prep step: get all your materials together before you start designing. I can't tell you how much time this saves. No more frantically searching for the right logo file halfway through the process. It's a simple step that makes you look polished and keeps your branding consistent.
Here’s your pre-design checklist:
- High-Resolution Logo: This is non-negotiable. Always try to get a vector file (AI, .EPS, or .SVG). It means you can scale your logo to any size without it looking pixelated or blurry.
- Brand Guidelines: If you have them, use them. They'll tell you the exact colours, fonts, and logo rules to follow.
- Key Copy: Get your headline, main points, and call-to-action written and signed off.
- Contact Information: Double-check every detail: your website, phone number, and social media handles.
- Banner Specifications: You need to know the final dimensions. The size of your banner massively impacts the layout. If you're unsure, have a look at our guide to choosing your perfect roller banner size.
Creating a Powerful Visual Hierarchy
You’ve got about three seconds to catch someone's eye. That's it. In that tiny window, a powerful visual hierarchy acts as a roadmap, telling their brain exactly what to look at first, second, and third. Without it, your banner is just noise – a jumble of words and images that people will walk right past.
A well-organised design isn't about following rigid rules; it’s about controlling the flow of information. It ensures your main message isn't just seen—it gets seen instantly. This is the real secret to a banner that works from a distance, whether it’s hanging on a fence or standing in a busy exhibition hall.
The importance of this can't be overstated. Banner advertising in the UK has seen impressive growth, with classic formats experiencing a 19% year-on-year increase in a recent quarter, proving their staying power.
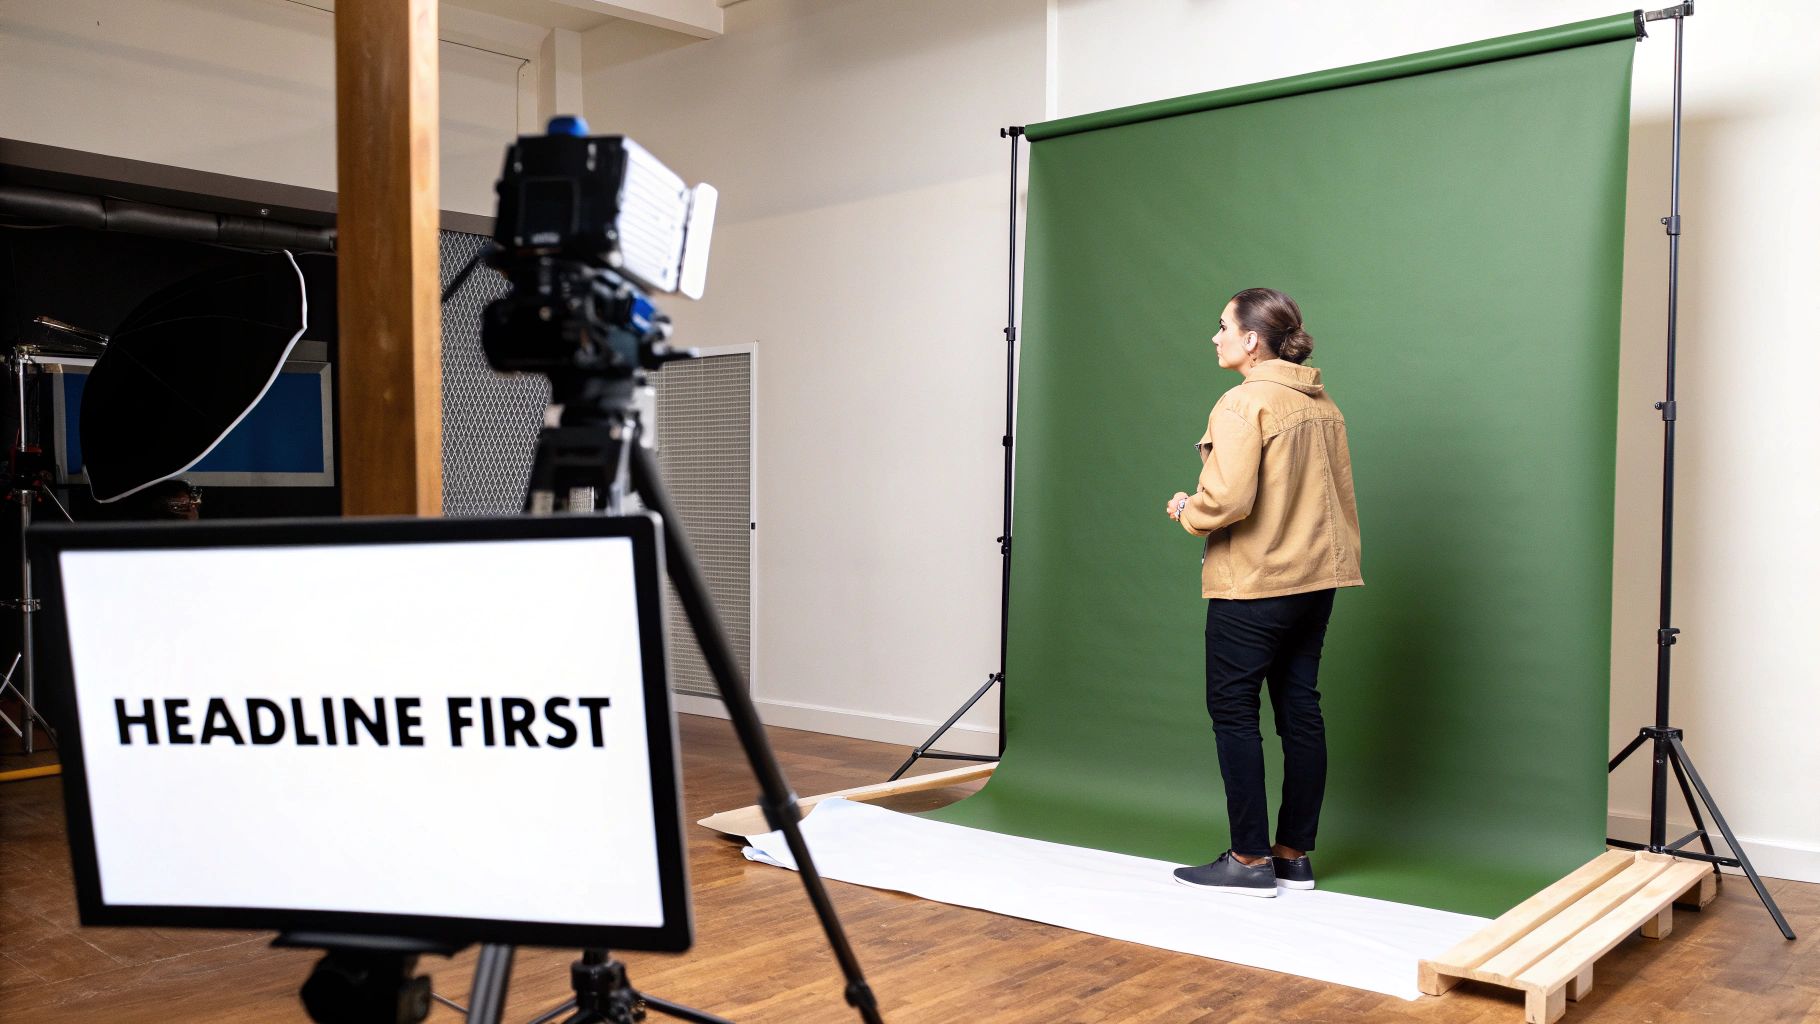
Make Your Headline the Undeniable Hero
Your headline is the single most important element on your banner. Period. It needs to be the first thing anyone reads, which means it has to be big, bold, and impossible to miss. This is where you use scale to your advantage.
Think of it this way: if your banner was a movie poster, the headline would be the title in enormous letters. It should dominate the design. A classic mistake is making the company logo the largest element. Unless you're a household name like Coca-Cola, your offer is far more interesting than your logo.
Let’s look at a practical example. A local bakery is promoting a new line of sourdough bread.
- Weak Hierarchy: "The Corner Bakery" in large letters, with "Now Selling Sourdough" underneath in a much smaller font.
- Strong Hierarchy: "ARTISAN SOURDOUGH" in a huge, bold font, with "The Corner Bakery" positioned neatly below or tucked in a corner.
The second option immediately tells passers-by what's on offer, which is what will actually get them to stop.
Use Scale and Contrast to Guide the Eye
Once your headline has done its job, you need to guide the viewer to the next most important piece of information. This is where you layer elements using size and contrast, creating a clear path for the eye to follow.
Think in terms of three distinct levels of importance:
- Primary Level: Your main headline or a truly compelling image. This should be the largest and most prominent element.
- Secondary Level: Key details that support the headline, like an offer ("50% Off Today"), a date, or a key benefit. These should be smaller than the headline but still easy to read.
- Tertiary Level: The supporting details. This is where your website, phone number, or logo lives. These are the smallest elements, meant for people who are already interested and have moved closer.
Contrast works hand-in-hand with scale. A bright yellow call-to-action on a dark blue background will pop far more than a light grey one. It's not just about colour, though. It's about making key elements visually distinct from everything around them.
Your goal is to eliminate any visual confusion. A viewer should never have to wonder where to look next. A strong hierarchy makes the journey from headline to call-to-action feel effortless and natural.
Embrace the Power of Negative Space
What you don’t put on your banner is just as important as what you do. Negative space, often called "white space," is simply the empty area around your text and graphics. It gives your design room to breathe and stops it from feeling cluttered and overwhelming.
A banner packed to the edges with information is visually exhausting and nearly impossible to read from a distance. By leaving generous margins and space between elements, you create a clean, professional look that automatically makes your key messages stand out.
Imagine trying to read a book with no spacing between the lines—it would be a nightmare. The same principle applies here. Negative space improves legibility and directs focus. We've got more tips for designing custom banners in the UK that are both smart and effective.
Don't be afraid of empty areas. They are an active, powerful tool in your design arsenal. By mastering scale, contrast, and space, you can create a banner that not only looks great but, more importantly, delivers its message with clarity and impact.
Choosing Colour and Typography for Readability
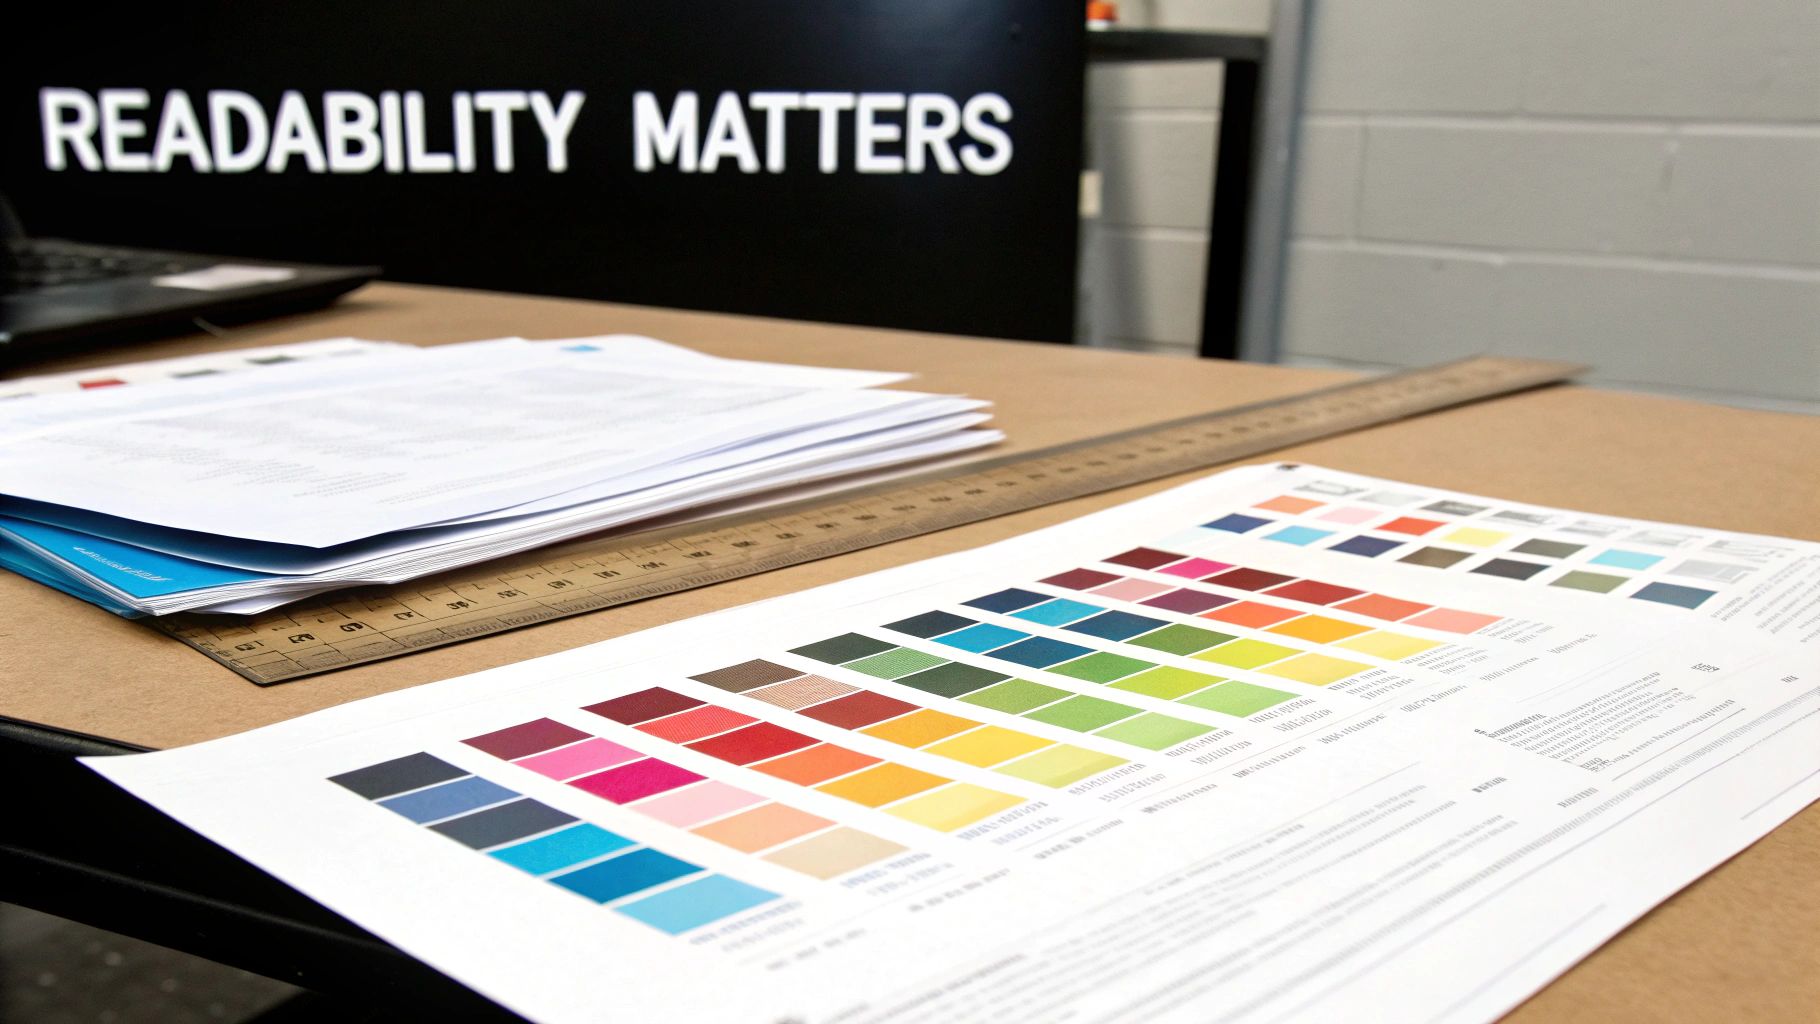
The fonts and colours you pick aren't just decorative flair; they’re the workhorses that decide if your banner gets noticed or completely ignored. Get them right, and your message connects. Get them wrong, and you've wasted your investment.
These choices set the entire mood of your design, but more importantly, they determine if someone can actually read it from a distance. For a large banner, that's everything.
Selecting Typefaces That Go the Distance
You're designing for distance, not a screen. A font that looks slick up close can easily turn into an unreadable smudge from just a few metres away. The number one rule here is simple: clarity trumps complexity, every single time.
For headlines, a bold, clean sans-serif font is almost always your best bet. Think Helvetica, Futura, or Arial. There's a reason they're so common—their clean lines and uniform weight make them incredibly easy to read at a glance. They feel modern, confident, and get straight to the point.
On the other hand, serif fonts (like Times New Roman or Garamond) have those little "feet" on the ends of letters. They look fantastic in a magazine, but from a distance, those fine details can blur together, making them a poor choice for a banner's main headline. You might get away with them for smaller subheadings if you're going for a more traditional vibe, but handle with care.
- Steer Clear of Thin or Script Fonts: Delicate, lightweight fonts and fancy scripts are the enemies of good banner design. They just don't have the muscle to stand out and often become completely illegible.
- Don't Overdo It: Stick to a maximum of two fonts. One for your main headline, and maybe a second for body text or contact info. Any more than that, and you're just creating visual noise that weakens your message.
Mastering Colour for Impact and Brand Consistency
Colour isn’t just about making your banner look pretty. It's about creating contrast so people can read it. High contrast is non-negotiable. We're talking dark text on a light background, or light text on a dark background.
It's a surprisingly common mistake to see something like light grey text on a white background, which is basically invisible. If you're ever unsure, use an online colour contrast checker.
Beyond just making it readable, your colours need to be your colours.
- Primary Brand Colours: Use these for the biggest, most important elements to keep your branding consistent.
- Secondary Accent Colours: These are perfect for highlighting a call to action or a key piece of information you want to pop.
A quick pro tip: outdoor light is a colour killer. What looks bold and vibrant on your screen can look washed out and weak in bright sunlight. Always lean towards richer, more saturated colours to make sure your banner stands out, rain or shine.
Understanding CMYK for Flawless Printing
This is the technical bit that can save you a world of pain. You must design your banner in CMYK colour mode, not RGB. It’s one of the most common—and disappointing—mistakes we see.
- RGB (Red, Green, Blue): This is for screens. Monitors, phones, and TVs create colour by mixing light. It’s why you can get those super-bright, almost neon colours on a display.
- CMYK (Cyan, Magenta, Yellow, Black): This is for print. It’s the process of mixing physical inks on paper or vinyl.
The range of colours you can create with light (RGB) is far greater than what you can mix with ink (CMYK). If you design in RGB, your files will be converted to CMYK for printing, and that stunning electric blue you chose will likely turn into a dull, flat navy.
The fix is easy: set your design software's colour mode to CMYK before you start designing. This ensures the colours you see on your screen are colours the printer can actually produce. It’s a tiny step that makes a massive difference to the final quality.
Making an Impact with Imagery and Graphics
A single, killer image can do all the heavy lifting for your banner. It grabs attention, sets the tone, and tells a story far quicker than any text ever could. But get it wrong, and it's a disaster. A poor-quality image will instantly torpedo your design, making your brand look amateurish and unprepared.
Choosing and preparing your visuals is a make-or-break step. This isn’t about just filling empty space; it’s about finding graphics that hammer your message home. The right image is a strategic choice, one that backs up your headline and pulls people in.
Insist on High-Resolution Photos
There’s simply no faking it with image quality. Using a low-resolution, pixelated photo is the fastest way to kill your credibility. When an image looks blurry or jagged, it screams a lack of care—a trait people will quickly associate with your brand.
For large-format printing like banners, the 300 DPI (dots per inch) standard for things like business cards is usually overkill. Because banners are meant to be seen from a distance, you can get perfectly crisp results with an image resolution of 100-150 DPI at its final, full print size.
The key phrase there is "at its final size." Never, ever grab a small image from your website and try to stretch it to fit a two-metre banner. It will look awful, guaranteed. Always start with the largest, highest-quality file you can get your hands on.
Know Your Vectors from Your Rasters
Not all image files are created equal, and knowing the difference between vector and raster graphics is crucial for a professional finish.
- Raster Images: Think of your standard photos (like JPEGs or PNGs). They’re made from a grid of tiny pixels. When you blow up a raster image too much, it loses quality and becomes blurry or "pixelated."
- Vector Graphics: These files (like AI, EPS, or SVG) are built with mathematical formulas, not pixels. This means they can be scaled to any size—from a postage stamp to the side of a building—with zero loss of quality.
Your company logo should always be a vector file. This ensures it looks perfectly sharp, no matter how big you print it. Icons and simple illustrations are also best in vector format. For photography, you'll be using raster files, which is why starting with a high-res source is so non-negotiable.
A sharp, well-chosen image communicates quality before a single word is read. It’s an investment in your brand’s first impression, so don’t cut corners. Ensure every visual element, from your logo to your background photo, is crisp and clear.
Find Images That Feel Authentic
The right photo does more than just look good; it actually connects with your audience. While getting a custom photoshoot is the dream, it's not always in the budget. Stock imagery is the next best thing, but you have to choose wisely to avoid the curse of the generic, cheesy visual.
Stay away from those overly polished photos of people in suits giving a high-five. Instead, hunt for images that feel real and relatable. Look for natural lighting, authentic expressions, and realistic settings. The aim is to find a photo your target audience can see themselves in.
This is especially important in a crowded market. The UK advertising market is booming, with total investment hitting £42.6 billion. While a lot of that is online, out-of-home advertising—which includes banners—is still set to grow by 2.7%, proving its staying power. You can learn more about UK ad market projections and growth. A banner with authentic imagery has a much better chance of cutting through that noise and grabbing its share of attention.
Preparing Your File for Flawless Printing
So, you’ve nailed down the strategy and created a design that looks absolutely brilliant on screen. Fantastic. But now comes the final hurdle, the bit that separates a professional-looking banner from an amateur one: getting your file ready for print.
This stage is non-negotiable. Even the most stunning design can be completely undone by the wrong technical settings. Think of it like this: your file is the blueprint you give to the printer. If the specs are wrong, the final build won't match your vision. Let’s break down the key concepts so you can send off your file with total confidence.
Understanding Bleed, Trim and Safe Zones
These three terms might sound like print-industry jargon, but they’re your best friends for avoiding common printing disasters. Getting them right ensures no crucial information gets chopped off and your background stretches perfectly to the very edge.
-
Trim Line: This is simply the finished edge of your banner—where the machine will physically cut the material.
-
Bleed Area: This is a small, extra margin of your background colour or image that extends beyond the trim line, usually about 25mm on each side for a large banner. It’s essential because it gives the printer a small buffer for tiny shifts during the cutting process, preventing any ugly white slivers from appearing along the edges.
-
Safe Zone: This is an inner margin, set well inside the trim line. All your vital elements—logos, text, phone numbers—must sit comfortably within this area. It guarantees they won't be accidentally trimmed off or end up awkwardly close to the edge.
Always ask your printer for their specific bleed and safe zone requirements. While standards exist, a quick check upfront prevents costly reprints. It’s a five-minute job that can save you a huge headache.
The quality of the images within your design is just as important. The diagram below shows exactly why vectors are king for large-format printing.
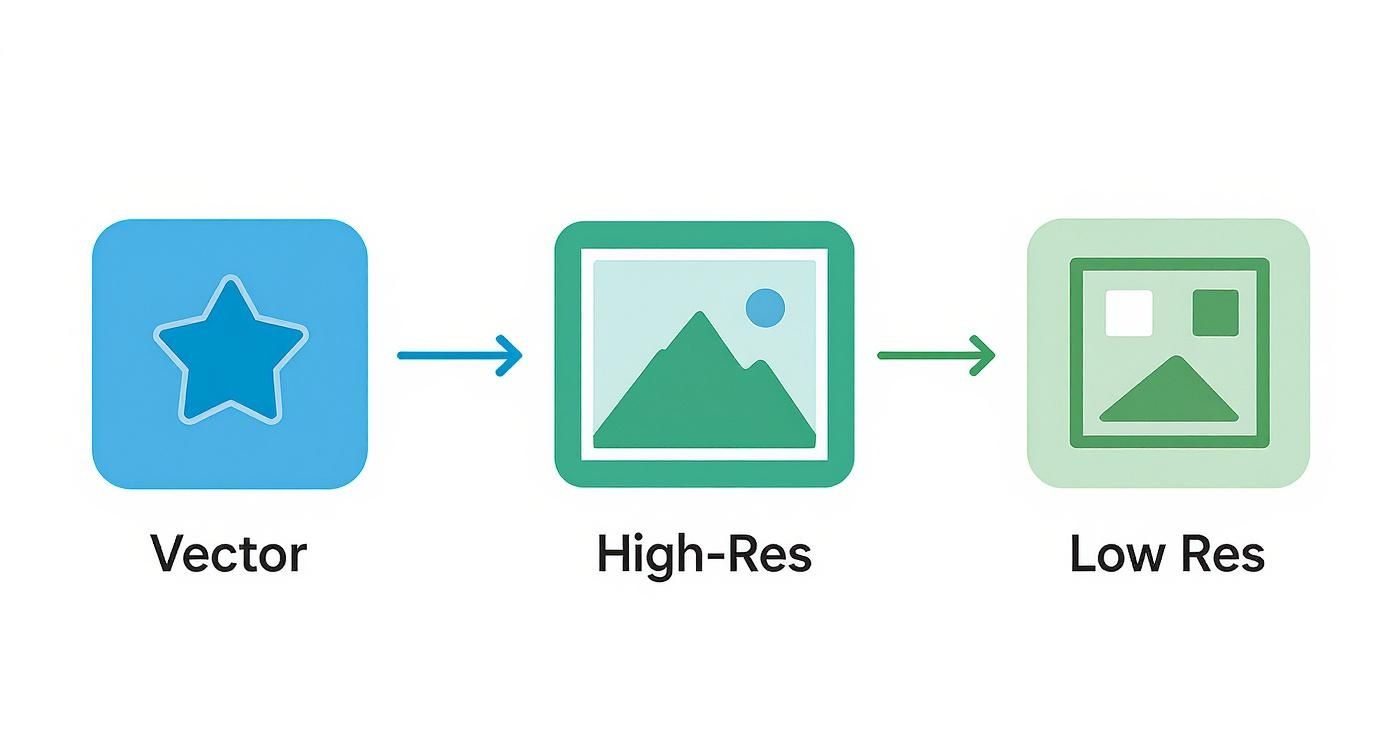
As you can see, vector graphics can be scaled to any size without losing a shred of quality, whereas pixel-based (raster) images become blurry and unusable when stretched too far.
Choosing the Right Banner Material
The material you print on has a massive impact on your banner’s durability, look, and where it can be used. Don't just default to the cheapest option; think about the environment it will be in.
-
Standard PVC Vinyl: This is the reliable workhorse for most banners, both indoors and out. It’s tough, weatherproof, and produces beautifully vibrant colours. It’s perfect for everything from shop fronts to event promotions.
-
Mesh Vinyl: If your banner is destined for a windy spot—like scaffolding, fencing, or an exposed wall—mesh is the way to go. It’s perforated with thousands of tiny holes that let the wind pass straight through, which stops it from acting like a sail and tearing itself apart.
-
Roller Banner Material: This is specifically made for pop-up display stands. It has a grey, light-blocking layer on the back to stop light from shining through and is engineered to stay perfectly flat without the edges curling over time.
Trends in the wider advertising world also shape what we do in print. With the UK digital advertising market projected to hit USD 93.09 billion by 2030, there's a huge push for designs that are bold and adaptable. You can read the full research on the UK's digital advertising market growth to see how digital trends influence print design.
Exporting a Print-Ready File
Once your design is finished, with the correct bleed, safe zones, and colour mode (always CMYK for print!), it’s time to export. The undisputed gold standard for printing is a high-quality, print-ready PDF.
Why a PDF? Because it locks everything in place. It embeds all your fonts, images, and graphics into one self-contained file. This means what you see on your screen is exactly what the printer sees on theirs. There’s zero risk of fonts being swapped out or images going missing.
When you export from your design software, look for a preset like "High Quality Print" or "Press Quality." This ensures your file retains all the data needed for a crisp, professional result.
For a more detailed walkthrough, check out our guide on uploading artwork for custom banners. Getting these final steps right is what turns a great idea into a tangible, effective marketing tool.
Common Banner Design Questions
Even the best-laid plans run into a few snags. When it comes to banner design, there are always a handful of questions that pop up, especially around the technical side of things.
Getting these details right is what separates an amateur-looking banner from a professional one. Let's walk through the most common queries we see – getting these sorted will save you a world of headaches and reprint costs.
What’s the Best Software for Designing a Banner?
For a job like this, you need a tool that can handle graphics at a massive scale without losing quality. Hands down, the industry standard is Adobe Illustrator. It’s a vector-based programme, which is just a fancy way of saying you can design your banner at a tiny size on your screen and then blow it up to the size of a bus with zero pixelation. It’s built for exactly this kind of work.
Another great option from the Adobe family is Adobe InDesign. If your banner is heavy on text, like for a conference agenda or a detailed promotional display, InDesign gives you unparalleled control over typography and complex layouts.
Working on a tighter budget? A tool like Canva can get the job done, but you have to be extra careful. Make absolutely sure you start with the correct banner dimensions from the get-go. Most importantly, when you export, you must choose the print-ready PDF option and select the CMYK colour profile. Skip this step, and you’re in for a nasty surprise when the colours look completely wrong on the final print.
How Do I Make Sure My Colours Print Correctly?
This is non-negotiable: always design your banner in CMYK colour mode. Start your project this way. Don't try to convert it at the end.
Your computer screen uses RGB (Red, Green, Blue) mode, creating colours with light. It can produce dazzling, vibrant tones that simply can't be mixed with physical ink. If you design in RGB, your bright, electric blue will likely print as a dull, disappointing purple.
When you create your new file in Illustrator or InDesign, one of the first settings you'll see is 'Colour Mode'. Select 'CMYK' right there. This gives you a much more realistic preview of how the colours will look when they come off the press.
If you have brand colours that have to be spot-on – think of that specific Cadbury purple or Coca-Cola red – then you need to talk to your printer about Pantone (PMS) matching. This is a standardised ink-mixing system that guarantees colour consistency. It costs a bit more, but for perfect brand accuracy, it's worth every penny.
What Resolution Do My Images Need for a Huge Banner?
Here’s where a lot of people get tripped up. You've probably heard that 300 DPI (dots per inch) is the magic number for print. That's true for things you hold in your hand, like a leaflet or a business card. For a massive banner that’s viewed from several feet away, 300 DPI is complete overkill and will create unnecessarily huge file sizes.
A good rule of thumb for large format printing is 100-150 DPI at the final print size. For a giant banner on the side of a building, you might even get away with less because no one will be looking at it up close.
The most important thing to remember is this: you can always make a high-resolution image smaller, but you can never make a low-resolution image bigger without it looking like a blurry, pixelated mess. Always, always start with the highest quality image file you can get your hands on. It’s the foundation of a crisp, professional-looking banner.
Ready to turn your flawless design into a high-impact banner? At Banner Printing Ltd, we specialise in fast, professional printing with free UK delivery. Upload your artwork today and let us bring your vision to life


There are 6 comments
[…] a much deeper dive into the nuts and bolts, our guide on how to design a banner that works gives you a complete checklist to […]
[…] a deeper dive into the creative process, our expert guide on how to design a banner provides even more tips and technical specs to get your artwork […]
[…] a more detailed guide, our comprehensive article explains how to design a banner with step-by-step instructions. Following these simple rules makes the whole process smoother and […]
[…] stands. Getting the visual balance right is everything, which is why checking out a guide on how to design a banner can give you some great pointers for creating layouts that really work at a larger […]
[…] to creating any effective visual marketing. For a deeper dive, you might find our expert tips on how to design a banner useful, as a lot of the same rules […]
[…] vibrancy. For event promotions, this striking pairing is incredibly effective; discover more about how to design a banner to capture this energetic aesthetic for your next […]