You get one chance to make a first impression. In the fast-paced world of events, retail, and promotions, your backgrounds and banners are that first handshake – and you need to make it count. They’re far more than just printed material; they're the silent communicators that set the scene, grab attention, and pull people into your world.
Why Your Visuals Are More Than Just Decoration
Picture a busy trade show floor or a crowded high street. What makes one stand out from the noise? It’s almost always the smart use of bold, professional visuals. A well-thought-out backdrop or banner does more than just fill a blank wall; it’s a workhorse for your brand.
Think of them as your 24/7 brand ambassadors. They broadcast your professionalism and create a look that’s instantly recognisable. For UK SMEs and event organisers working with tight budgets, getting your banners right is one of the most cost-effective ways to make a huge impact.
The Role of Backgrounds and Banners
These tools are incredibly versatile, and they wear many different hats:
- Branding: They lock in a consistent, professional look that reinforces who you are. A step-and-repeat backdrop at a corporate party or press launch instantly makes the whole event feel more premium.
- Advertising: From a simple "Sale Now On" banner outside your shop to massive construction site hoardings, they are pure advertising power. Traditional out-of-home advertising isn’t just surviving; it’s thriving. Recent data showed UK banner advertising revenue shot up by 19% year-on-year, confirming it’s one of the fastest-growing formats out there. You can get the full story in the Q1 2025 OOH report.
- Atmosphere: They can completely change the feel of a space. A vibrant, colourful festival backdrop injects energy, while a sleek, minimalist display in a shop creates a sense of calm and sophistication.
A well-placed banner doesn't just send a message; it creates a destination. It tells people where to look, what to feel, and why they should give your brand their attention.
Understanding their power is the first step. In this guide, we’ll walk you through all the key decisions, from picking the perfect material and prepping your artwork to getting the placement and installation just right. This is your roadmap to creating backdrops and banners that don’t just look brilliant, but deliver real, tangible results for your business. Let’s get started.
Choosing the Right Materials for Your Project
Picking the right material for your banners and backdrops is a bit like choosing the right tyres for a car. It’s a decision that dictates how it performs, what it looks like, and how long it lasts. Get it right, and your investment pays off. Get it wrong, and you’re left with something that just doesn’t do the job.
It’s simple, really. You wouldn’t use a delicate fabric banner to advertise a building site, just as you wouldn’t use a heavy-duty PVC banner for an elegant indoor photo wall. Each material has its own strengths, and knowing them is the key to getting a brilliant result.
This diagram breaks down the process into three simple steps, starting with the material and moving through to design and placement.
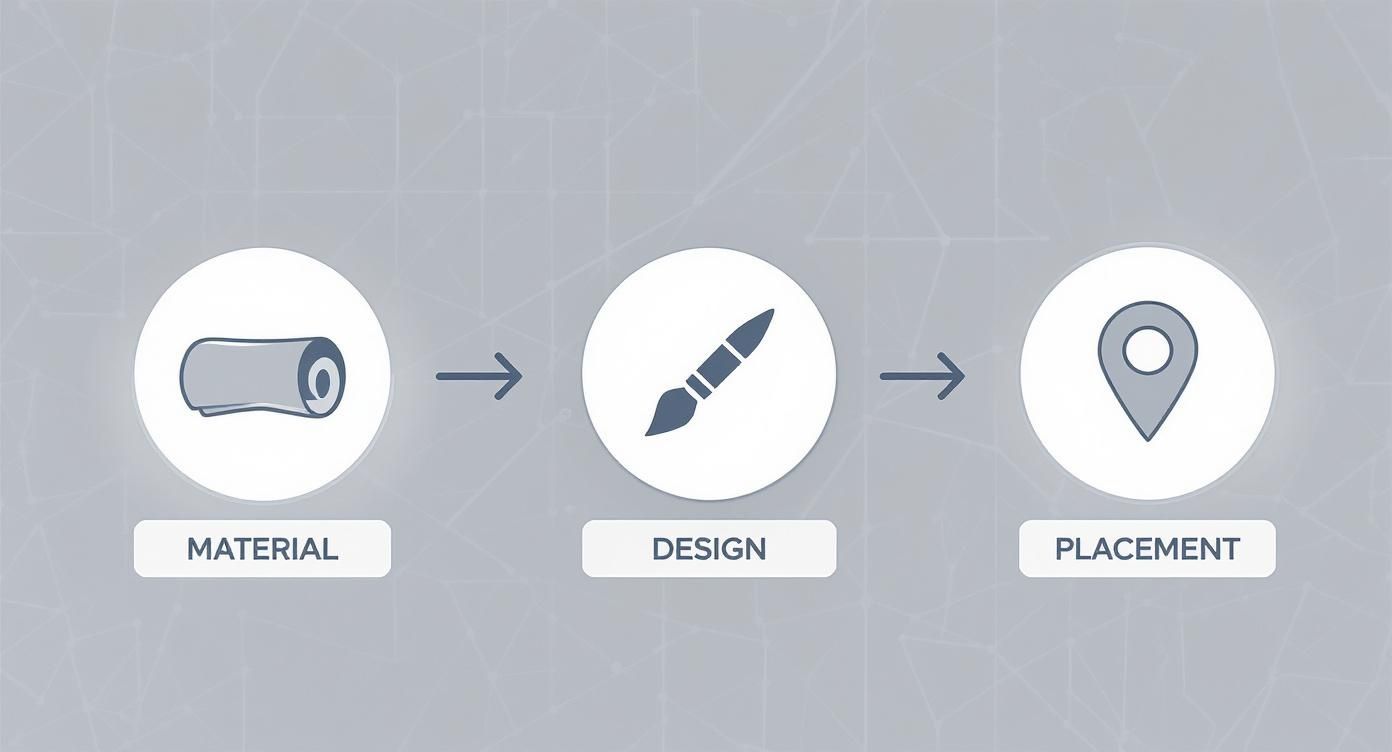
As you can see, all three are linked. The material you choose will open up certain design options and dictate where you can best display your final product.
The Workhorses for Outdoor Displays
When your banner has to stand up to the great British weather, you need something tough. This is where materials like PVC vinyl and Mesh PVC come into their own.
PVC vinyl is the go-to for pretty much any outdoor job. It's strong, completely waterproof, and the print won't fade in the sun. This makes it perfect for everything from shop-front banners to long-term event signage. Because it has a smooth, solid surface, colours look incredibly bright and sharp.
The only downside? A solid PVC banner can act like a sail in a strong wind. For really exposed spots, like scaffolding or fences on a construction site, Mesh PVC is a much smarter choice. The material is full of thousands of tiny holes that let the wind pass straight through, which takes all the strain off the fixings and stops it from tearing. If you want to get into the nitty-gritty, our guide on https://bannerprintingltd.co.uk/outdoor-banner-options-explained-mesh-backdrop-pvc/ has all the details.
Sophisticated Solutions for Indoor Spaces
Indoors, you can focus more on looks than toughness. Here, fabrics and rigid boards help create a more polished, professional feel.
Display Fabric is what you'll see used for exhibition stands, stage backdrops, and high-end retail displays. Its biggest advantage is the non-reflective, matte finish. This means no annoying glare from spotlights or camera flashes, making it absolutely perfect for press walls or any backdrop that’s going to be photographed. Plus, fabrics are light, easy to fold up and transport, and don't crease as badly as vinyl.
For a more solid and permanent sign, Foamex is a fantastic choice. It’s a rigid PVC foam board that’s still surprisingly lightweight. You’ll often see it used for information panels at events, in-store displays, and directional signs. It gives you a perfectly flat, premium-looking finish that’s easy to mount on walls.
The finish you choose is just as important as the material itself. A gloss finish makes colours appear more vibrant and is great for catching the eye in a busy retail space, while a matte finish offers a sophisticated, glare-free look ideal for professional settings and photography.
A bit of expert advice can go a long way in helping you decide. The table below breaks down the most common choices to make it easier to see what works best for your project.
Comparing Common Banner and Background Materials
| Material | Best Use Case | Durability (Indoor/Outdoor) | Key Features |
|---|---|---|---|
| PVC Vinyl | General outdoor advertising, event banners, promotions | Indoor/Outdoor | Extremely durable, waterproof, vibrant print quality. |
| Mesh PVC | Windy locations, building wraps, fence banners | Outdoor | Perforated to allow wind to pass through, reduces sail effect. |
| Display Fabric | Exhibition backdrops, press walls, retail displays | Indoor | Lightweight, non-reflective matte finish, machine washable. |
| Foamex | Indoor signage, exhibition panels, point-of-sale displays | Indoor/Outdoor (sheltered) | Rigid, lightweight, smooth premium finish, easy to mount. |
| SAV | Window graphics, wall murals, vehicle branding | Indoor/Outdoor | Self-adhesive backing, versatile, transforms flat surfaces. |
Ultimately, the right material will not only look great but will also stand up to the environment it's placed in, ensuring you get the best value and performance from your investment.
Speciality Materials for Unique Applications
Sometimes, you need something a bit different. Self-adhesive vinyl (SAV) is a perfect example. Think of it as a massive, high-quality sticker that’s ideal for window graphics, full-wall murals, and even wrapping vehicles. It can turn just about any flat surface into a branding opportunity.
If you’re looking for more ideas on how to use different decorative materials, this ultimate guide to vinyl wraps, tile stickers, and wall quotes is a great resource. Making the right choice from the start is the foundation of a banner or backdrop that not only looks fantastic but also performs perfectly.
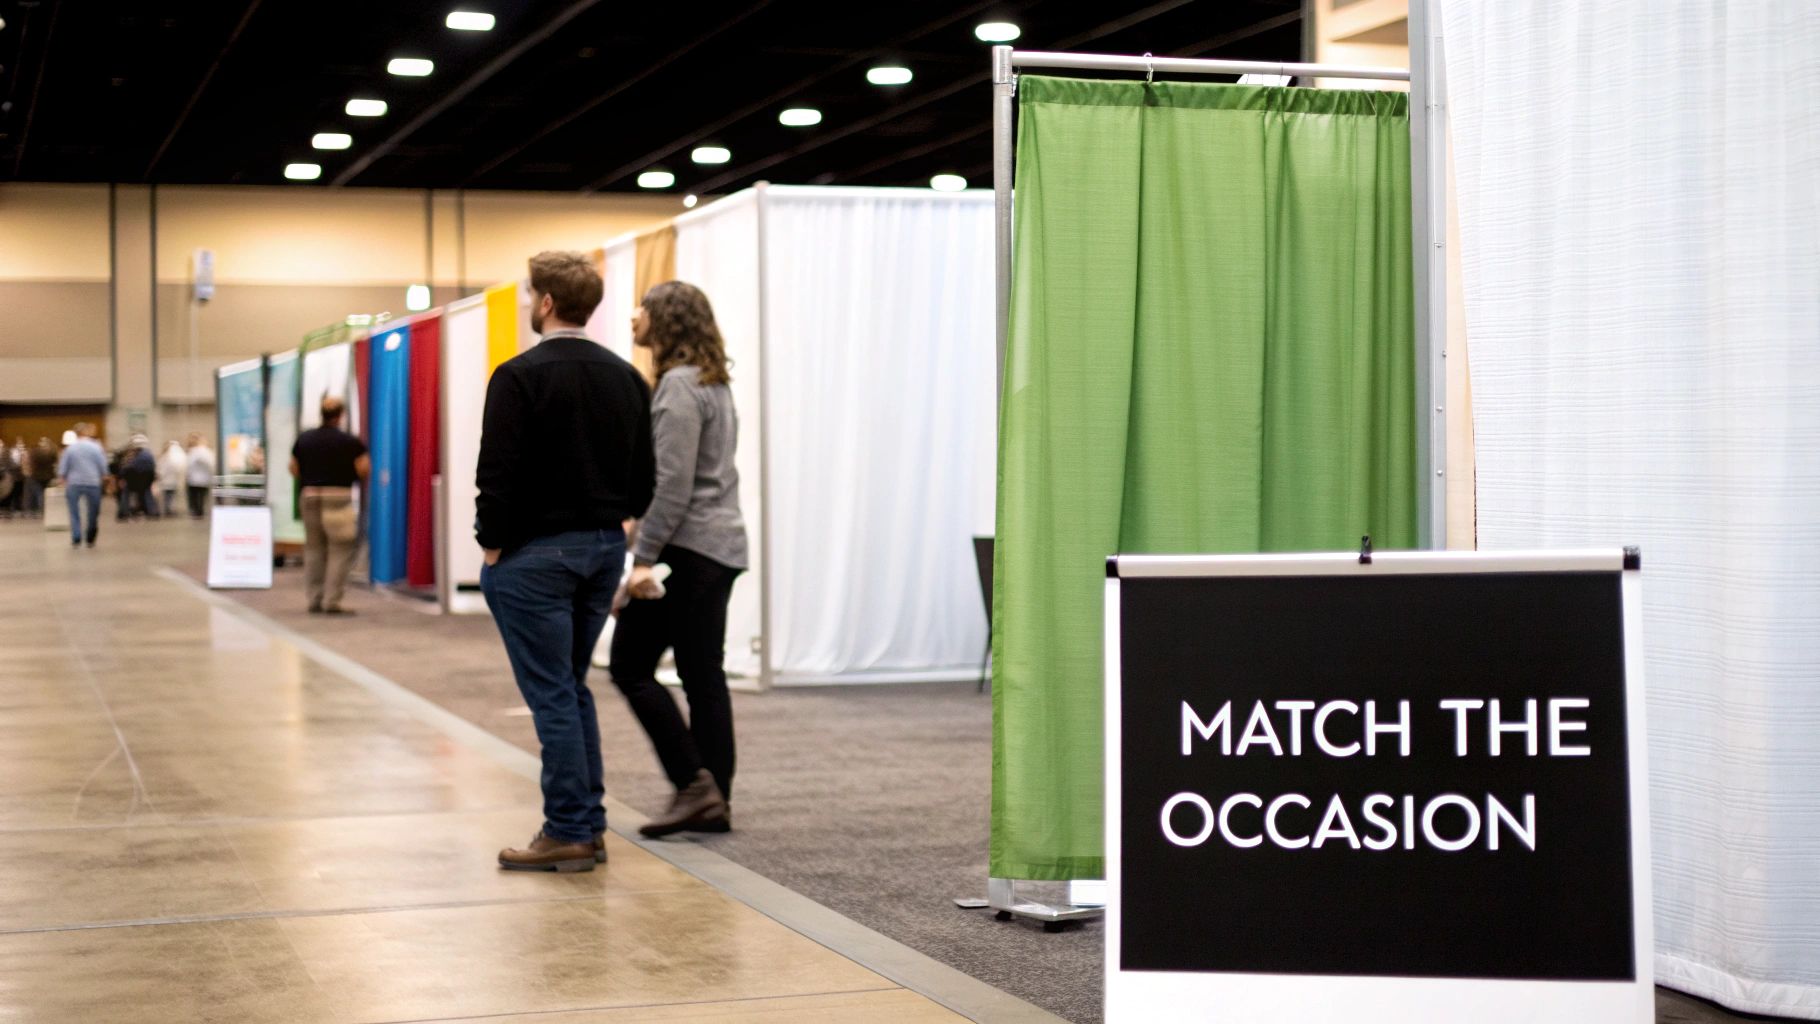
Matching Your Banner to the Occasion
Choosing the right banner isn't just about picking a material off a list. It's about knowing the battlefield. You need to understand the environment your banner will live in and, most importantly, what you want it to do.
Think of it like dressing for an event. You wouldn't show up to a black-tie dinner in your swimming trunks, and you wouldn't wear a three-piece suit to the beach. Getting the banner right for the occasion means it works harder, looks better, and gives you a real return on your investment.
Vibrant Trade Shows and Exhibitions
Exhibition halls are a war for eyeballs. You have seconds, maybe less, to grab someone's attention as they walk down a crowded aisle. You need more than just one banner; you need a system.
Your main backdrop is your stage. A big, seamless fabric display wall creates a clean, professional brand zone that draws people in. The non-reflective material is a must-have under the harsh hall lighting, so your logo always looks crisp in photos. Then, flank your stand with pull-up banners. They're your signposts, catching eyes from a distance with bold offers or questions that stop people in their tracks.
Driving Footfall in Retail Environments
On the high street, your shop window is your best salesperson. Its job is to stop passers-by and lure them inside. This is where visuals that pack a punch really shine. Self-adhesive vinyl (SAV) window graphics are perfect here. They let you splash vibrant, full-colour promotions across your glass for sales or seasonal offers without completely blocking out the light.
Once they're inside, use lightweight PVC or fabric hanging banners to direct traffic. They can point customers towards specific departments or shout about special deals, all without taking up a single inch of precious floor space.
A quick pro tip: Always think about viewing distance. A message on a roadside banner needs giant, simple text to be read from 50 metres away. But a pull-up banner at an exhibition is viewed from just a few feet, so you can afford to include more detail.
Professionalism at Corporate Events and Launches
For corporate gigs, press launches, or award nights, it's all about looking polished and credible. Nothing does this better than the classic step-and-repeat board.
This is your photo wall, a large, rigid backdrop covered in a repeating pattern of company or sponsor logos. Its purpose is simple but incredibly powerful: it turns every single photo into a branding opportunity. When guests and VIPs get snapped, your brand is right there with them, guaranteeing you exposure across social media and in the press. Go for a rigid material like Foamex with a matte finish to kill camera glare and ensure a perfectly flat, professional look.
Safety and Branding on Construction Sites
A construction site might not seem like a marketing opportunity, but all that temporary fencing is basically a giant, free billboard.
This is the perfect job for mesh PVC banners. The tiny holes in the material let the wind pass straight through, which stops your banner from turning into a massive sail and pulling the fence down. You can use this huge canvas to:
- Showcase CGI renders of the finished building to get the public excited.
- Promote sales and leasing information for the new units.
- Display your company's brand and contact details to win your next project.
- Communicate essential safety information to workers and the public.
By thinking about the job you need it to do, a banner stops being just a piece of print and becomes a powerful tool for your business.
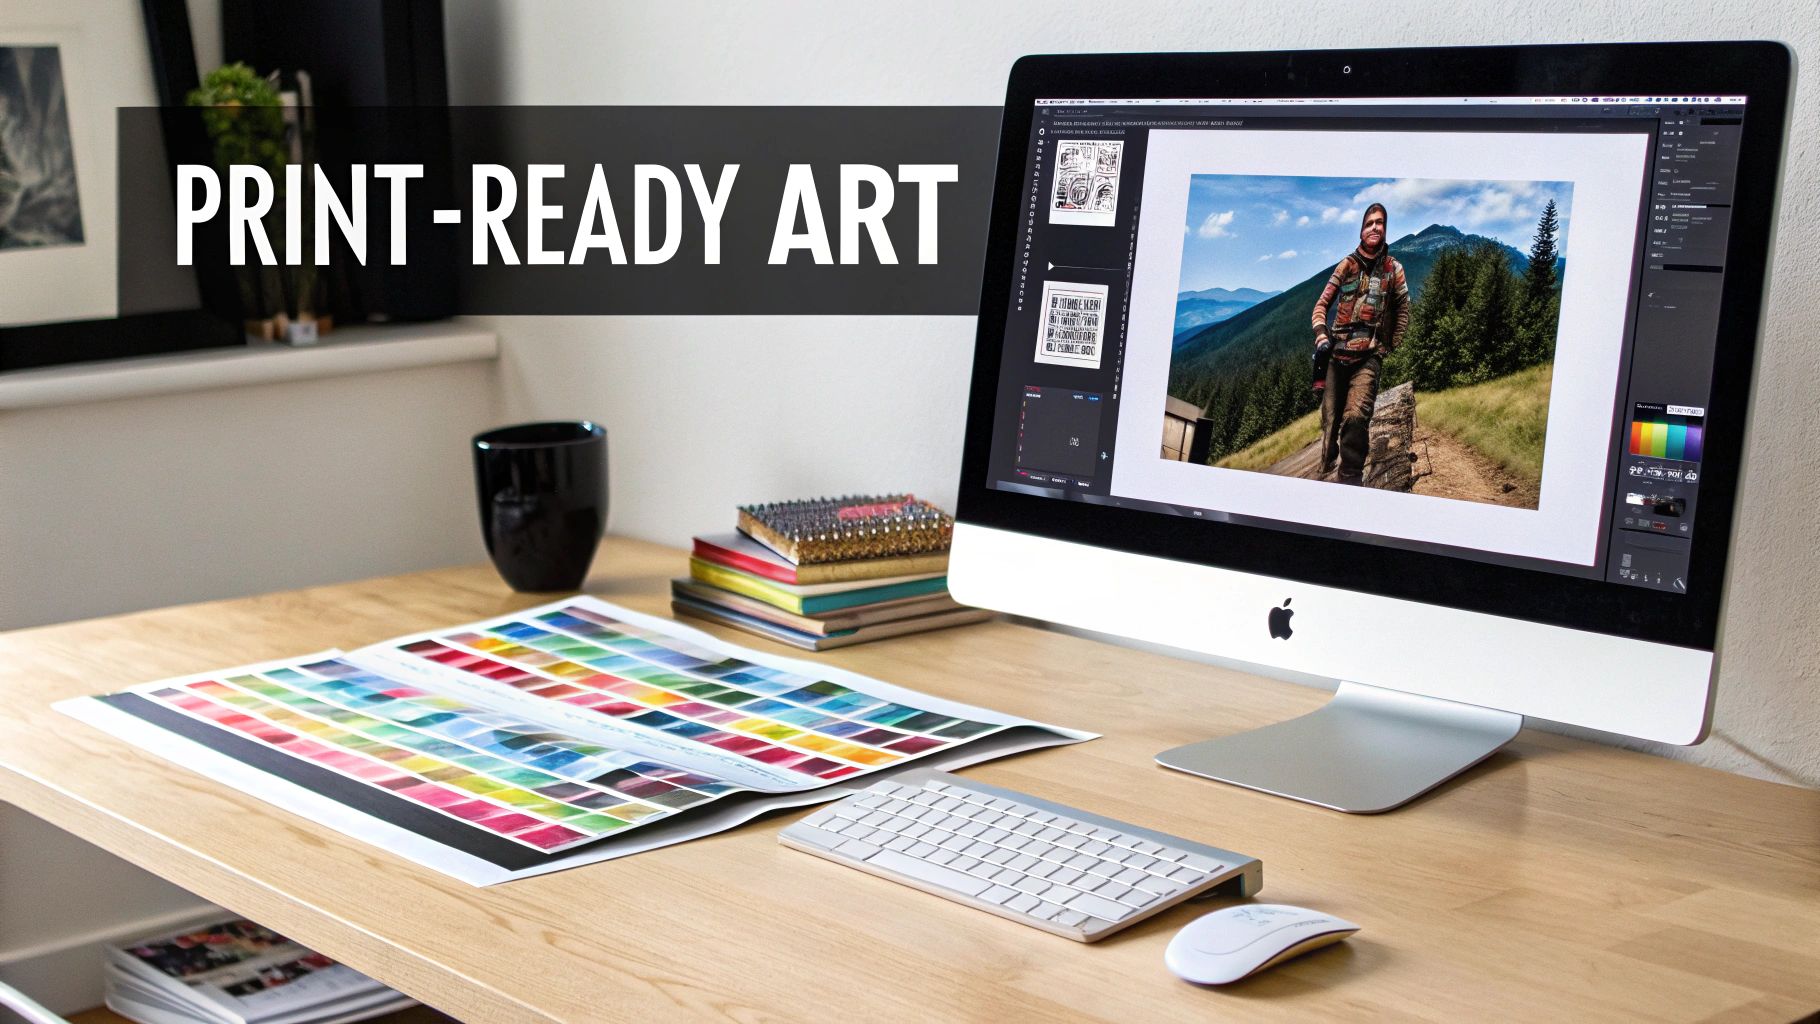
Designing Artwork That Gets Noticed
A brilliantly printed banner with a poor design is a missed opportunity. Your artwork is what turns a simple piece of material into a powerful communication tool, and getting it right is the secret to making your investment count. Let's walk through the essential steps to create print-ready, impactful designs that capture attention for all the right reasons.
Think of your banner as a billboard, whether it’s hanging on a high street or inside an exhibition hall. Your message is fighting for attention against countless other distractions, so clarity and impact are everything.
You don't need to be a professional graphic designer to get this right. By understanding a few core principles, anyone can prepare artwork that looks fantastic and sidesteps those costly printing errors.
Vector Versus Raster: The Blueprint and the Photograph
First, we need to get to grips with the most important technical bit: file types. Imagine you have a blueprint for a house (vector) and a photograph of the same house (raster). You can scale that blueprint up to any size, and every line will stay perfectly crisp. But if you try to enlarge the photograph, it quickly turns into a blurry, pixelated mess.
That's the key difference. Vector files (like AI, EPS, or SVG) are built on mathematical equations, making them infinitely scalable without losing quality. Raster files (JPG, PNG, GIF) are made of a fixed grid of tiny squares, or pixels. For large-format backgrounds and banners, vector is almost always the way to go.
Key Takeaway: Always create your logos, text, and key design elements in a vector format. It’s the only way to guarantee your artwork will look sharp and professional, no matter how big you print it.
Getting Your Colours and Resolution Right
What you see on your screen isn’t always what you’ll get in print. Computer monitors use an RGB (Red, Green, Blue) colour model, creating images with light. Printers, on the other hand, use a CMYK (Cyan, Magenta, Yellow, Black) model, physically mixing inks on a surface.
To keep your colours accurate, your artwork must be set up in CMYK mode before sending it to us. This simple step prevents nasty surprises and ensures your branding looks exactly as it should. If you're looking for inspiration, an AI Background Generator can be a great starting point for creating unique backdrops that grab attention.
Resolution is just as vital. For a sharp print, your images need to have enough detail packed into them. The industry standard is 300 DPI (dots per inch) at the final print size. For really large banners that are viewed from a distance, you can often get away with 150 DPI, but it's always best to aim high.
The Essential Pre-Print Checklist
Before you hit 'send' on that file, run through this quick checklist. It’s the secret to a flawless finish, every time.
- Add Bleed: "Bleed" is a little safety margin of your background design that extends past the final trim edge. Printers need this extra bit to account for tiny shifts during cutting. Without it, you could end up with ugly white slivers along the edges. A 3mm bleed on all sides is standard practice.
- Convert Fonts to Outlines: If your printer doesn't have the same font you used in your design, their computer will just swap it for a default one – completely wrecking your layout. To stop this from happening, convert all your text to "outlines" or "curves." This essentially turns the letters into fixed shapes, locking your typography in place for good.
- Keep Content in the Safe Zone: Just as you add bleed on the outside, you need a "safe zone" on the inside. Keep all your crucial text, logos, and contact info well away from the banner's edges. This ensures nothing important gets accidentally trimmed off or hidden by eyelets or pole pockets.
For a more detailed guide, our comprehensive article explains how to design a banner with step-by-step instructions. Following these simple rules makes the whole process smoother and guarantees your backgrounds and banners will look exactly how you imagined them.
Finishing and Installation: The Secret to a Professional Look
Getting your banner printed is only half the battle. The real magic happens in the finishing and installation – it’s what turns a piece of printed vinyl into a durable, professional display that commands attention. Nailing these final steps ensures your banner hangs perfectly, lasts longer, and looks the business.
Think of finishing options as the skeleton of your banner. They provide the strength and structure needed for it to face the real world. Just like a good frame enhances a painting, the right finish makes your banner easy to install and tough enough to handle whatever the British weather throws at it.
Getting the Finish Right
When you place an order, we’ll ask how you want the banner finished. This isn't just a trivial detail; it dictates how you'll hang it. The two main players are hems and eyelets or pole pockets.
- Hems and Eyelets: This is the go-to choice for most outdoor PVC banners. We fold the edges over and weld them shut to create a super-strong hem that won’t fray. Then, we punch nickel-plated eyelets through the doubled-up material. This gives you tough, tear-resistant anchor points for cable ties, rope, or bungees. Simple, effective, and incredibly versatile.
- Pole Pockets: Just as it sounds, we create a looped pocket of material along the top and/or bottom edge. This is perfect for sliding a pole through, making it ideal for scaffolding banners, lamp post displays, or parade banners where you need a rigid edge for a clean, flat appearance.
Top Tip: Choosing the right finish from the start saves a massive headache later. Hems and eyelets give you the freedom to tie your banner almost anywhere. Pole pockets deliver that taut, perfectly straight look when you’re using a frame or pole system.
Installation That Lasts
A saggy, flapping banner doesn't just look unprofessional; it’s a recipe for disaster in the wind. A proper installation is all about creating even tension and using the right fixings for the job.
If your banner has eyelets, use them all. Seriously. It’s tempting to skip a few to save a couple of cable ties, but that’s a false economy. Each unused eyelet creates a weak spot that will be the first to tear in a strong gust. Pull the banner taut from all corners until the surface is flat and tight like a drum. This tension is your best defence against wind damage.
Here’s how to handle different surfaces:
- Fences and Railings: Bungee cords are your best friend here. Their natural elasticity acts as a shock absorber against wind, taking the strain off the eyelets and the banner material itself.
- Brick or Concrete Walls: You’ll need to get the drill out. Use wall plugs and screws with large heads or hooks. A crucial tip is to place a large washer between the screw head and the eyelet – this spreads the load and dramatically reduces the risk of tearing.
Keeping Your Banner in Top Nick
How you treat your banner when it’s not on display is just as important as how you hang it. A little bit of care in storage can easily double its lifespan, making your investment go much further.
The golden rule is simple: always roll, never fold. Folding a banner, especially a PVC one, creates sharp creases that are next to impossible to remove. These creases weaken the vinyl over time and can even cause the print to crack and flake away.
To give it a clean, just use a soft cloth with a bit of mild, soapy water. Stay away from harsh chemicals or abrasive scrubbers, which can strip the ink right off. Once it's clean and bone dry, roll it up with the printed side facing outwards. This protects the ink and keeps your banner ready for its next outing.
Understanding Production Timelines and Costs
Let's break down the costs and timings for getting your banners and backdrops made. It’s not just a random number; the final price and delivery date really come down to the choices you make on materials, complexity, and how fast you need it. Think of it like ordering a bespoke suit – the fabric you pick, the size, and all the little details shape the final cost.
The biggest factor influencing the price is always the material. A heavy-duty, weatherproof PVC vinyl for outdoor use will naturally cost more per square metre than a lightweight fabric banner meant for an indoor stand. It’s the same logic with size – a bigger banner uses more material and ink, which pushes the price up. Simple as that.
Complexity is another key part of the puzzle. A standard rectangular banner with a simple hem and eyelets is far quicker and cheaper for us to produce than a custom-cut shape or one that needs special finishing, like reinforced pole pockets for a scaffold.
Turnaround Times and How to Plan Ahead
How quickly you need your banner is the other big variable that affects your budget. Most professional UK printers offer a standard turnaround time, and that's always your most cost-effective bet. For us, that usually means your banner is printed and out the door within 24-48 hours.
But we all know last-minute projects happen. If you're in a real pinch, you might need an express or even a same-day service. This faster production usually comes with a rush fee because it means we have to reshuffle our print queue and prioritise your job over others. Honestly, planning ahead is the single best way to keep your costs down.
Just by planning your banner order a few days in advance, you can save a decent amount on rush fees. It’s a simple step that gets you access to our standard, more affordable production slots without cutting any corners on quality.
Smart Ways to Manage Your Budget
Even if you're working with a tight budget, there are plenty of ways to get the best bang for your buck without losing impact. Knowing where you can be flexible makes a massive difference to the final invoice.
- Order in Bulk: Printing several banners in one go is much more efficient than doing them one at a time. We pass those savings directly on to you with a lower cost per banner.
- Stick to Standard Sizes: Choosing common dimensions can sometimes reduce material offcuts for us, and that’s a saving we can often pass on to you.
- Simplify Your Finishing: If your banner isn't going to be battling gale-force winds on a construction site, you probably don't need the toughest finishing options. Pick what’s right for the job.
As the UK's digital advertising market races towards a projected USD 93 billion by 2030, physical media like banners are more important than ever for creating real-world brand experiences. The same rules of clear messaging and good value apply whether it's a screen or a printed banner. For a complete walkthrough of how to get your order sorted, have a look at our ordering banners in the UK guide. You can also find more data on UK digital advertising trends here.
Got Questions About Backgrounds and Banners? We've Got Answers.
Diving into the world of large-format printing can feel a bit daunting, especially when you need to get it right the first time. We get it. To make things easier, we’ve put together a list of the most common questions we hear from UK businesses, with clear, no-nonsense answers.
What’s the Best File Format for My Banner Artwork?
For flawless results, nothing beats a vector file. Think of formats like PDF, AI (Adobe Illustrator), or EPS as your master blueprints. They can be scaled up to the size of a building without losing a single pixel of quality, ensuring your logos and text stay razor-sharp.
If you’re working with a photo or a pixel-based design, a high-resolution JPEG or TIFF will do the trick. A good rule of thumb is to save it at 300 DPI (dots per inch) at a quarter of the final print size. Don't forget to convert your fonts to outlines or embed them – it’s a small step that prevents big printing headaches.
PVC Vinyl or Fabric? How Do I Choose?
It all comes down to where your banner will live. For the great outdoors or bustling indoor spaces where you need something tough and weather-resistant, PVC vinyl is the undisputed champion. It’s built to handle whatever the British weather throws at it.
On the other hand, if you're setting up for an indoor event, a photo backdrop, or a chic retail display, go for fabric. It gives you a premium, non-glare matte finish that looks incredible under spotlights and camera flashes. Plus, it's lighter to carry and less prone to creasing.
Are There Eco-Friendly Banner Options?
Absolutely. We're committed to offering more sustainable choices, and they're becoming increasingly popular. You can always ask for PVC-free banner materials, which are easier to recycle and have a much lighter environmental footprint than traditional vinyl.
We also offer a range of greener alternatives, including:
- Banners crafted from recycled polyester fabrics.
- Materials printed with water-based, eco-friendlier inks.
- Products designed for long-term reuse to help cut down on waste.
Just let us know you’re looking for an eco-friendly option, and we’ll guide you to the perfect product for your project.
How Long Will My Outdoor Banner Last in the UK?
This depends on a few key things: the material you choose, the use of UV-resistant inks, and its daily battle with the elements. A well-made PVC banner that’s been installed correctly should give you a solid 3 to 5 years of service.
The real secret to longevity, however, is a good installation. Constant exposure to sun and wind will take its toll, but making sure the banner is pulled taut and secured using all its eyelets is crucial. It stops the wind from whipping it about, which is the main cause of wear and tear. A taut banner is a happy banner.
Ready to create visuals that stop people in their tracks? The team at Banner Printing Ltd is here to help with fast, reliable printing and free UK delivery. From weatherproof outdoor banners to polished exhibition displays, we’ll bring your vision to life. Explore our full range of backgrounds and banners and get an instant quote today!


One Comment
[…] This creates a soft, welcoming feel for event banners or in-store promotions. Explore various backgrounds and banners on bannerprintingltd.co.uk for more […]