A birthday is more than just another day on the calendar—it's a personal milestone, and it deserves to be celebrated properly. The best birthday custom banners go far beyond simple decorations. They become the heart of the celebration, turning any space into a party zone, creating the perfect photo backdrop, and making the guest of honour feel truly special.
Why Custom Banners Make Birthdays Unforgettable
The days of relying on generic, shop-bought party supplies are long gone. Across the UK, people are choosing unique decorations that really capture someone's personality, transforming a simple get-together into an event to remember. A well-designed banner is a powerful centrepiece that ties the whole party theme together and sets a festive mood from the moment guests walk in.
This shift is clear in the numbers. The UK party supplies market was valued at around USD 977 million in 2024 and is expected to shoot up to USD 2.18 billion by 2033. Decorations are the biggest slice of that pie, putting banners right up there with balloons as a must-have for any celebration.
More Than Just a Decoration
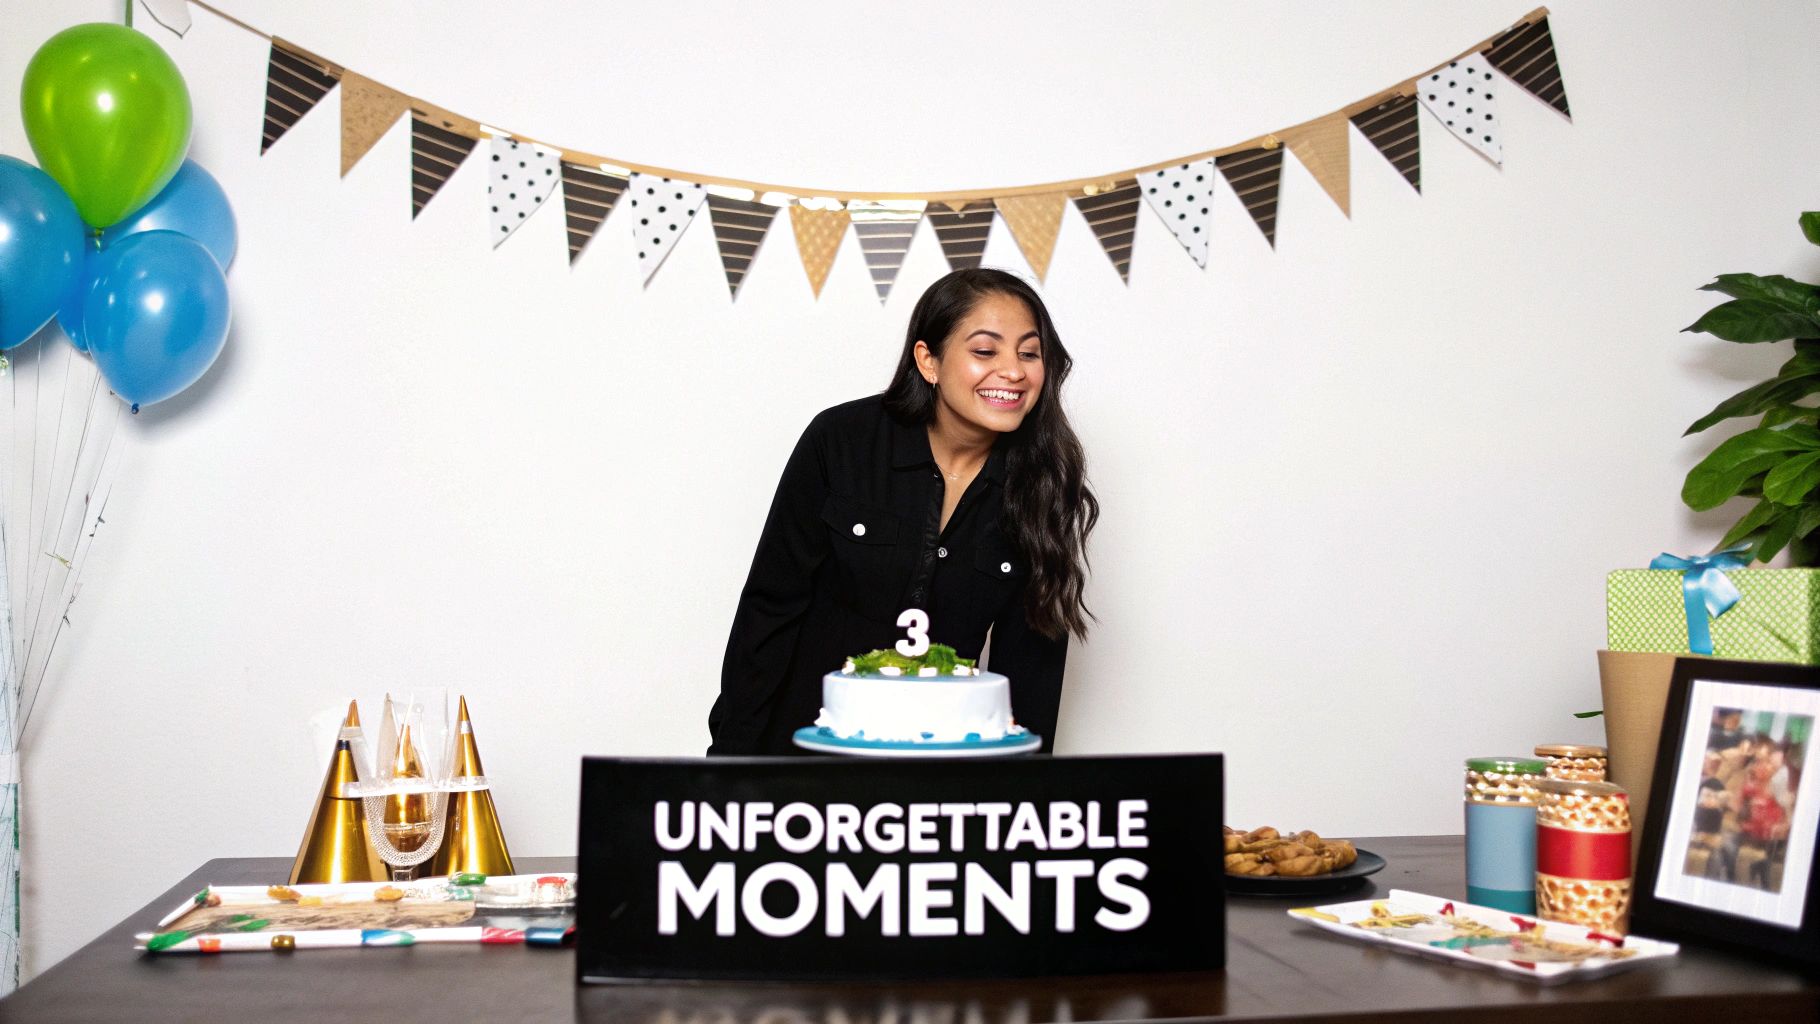
Think of your custom banner as a canvas for the celebration. It’s your chance to get creative and show you care, whether that’s with a funny inside joke, a heartfelt message, or a collage of favourite photos. It’s this personal touch that takes a party from good to great.
A single banner can play multiple roles throughout the day:
- A Welcoming Focal Point: Hang it at the entrance to greet guests and instantly set the party’s theme.
- The Perfect Photo Backdrop: It creates a themed background for all your pictures, ensuring every snap captures the spirit of the day.
- A Cherished Keepsake: Unlike disposable decorations, a quality banner can be rolled up and saved as a memento for years to come.
The trick is to focus on a design that tells a story. When you add details like their favourite hobbies, treasured memories, or life milestones, you turn a simple bit of decor into something that really connects with everyone there.
Ultimately, a custom banner shows you've gone the extra mile. It’s a visual statement that this day matters, and the person being celebrated is important. When designing your banner, it helps to think about how it fits with everything else. For more great ideas on planning successful birthday parties, you can find tips to help pull all your decorative elements together seamlessly.
Choosing The Right Banner Material For Your Party
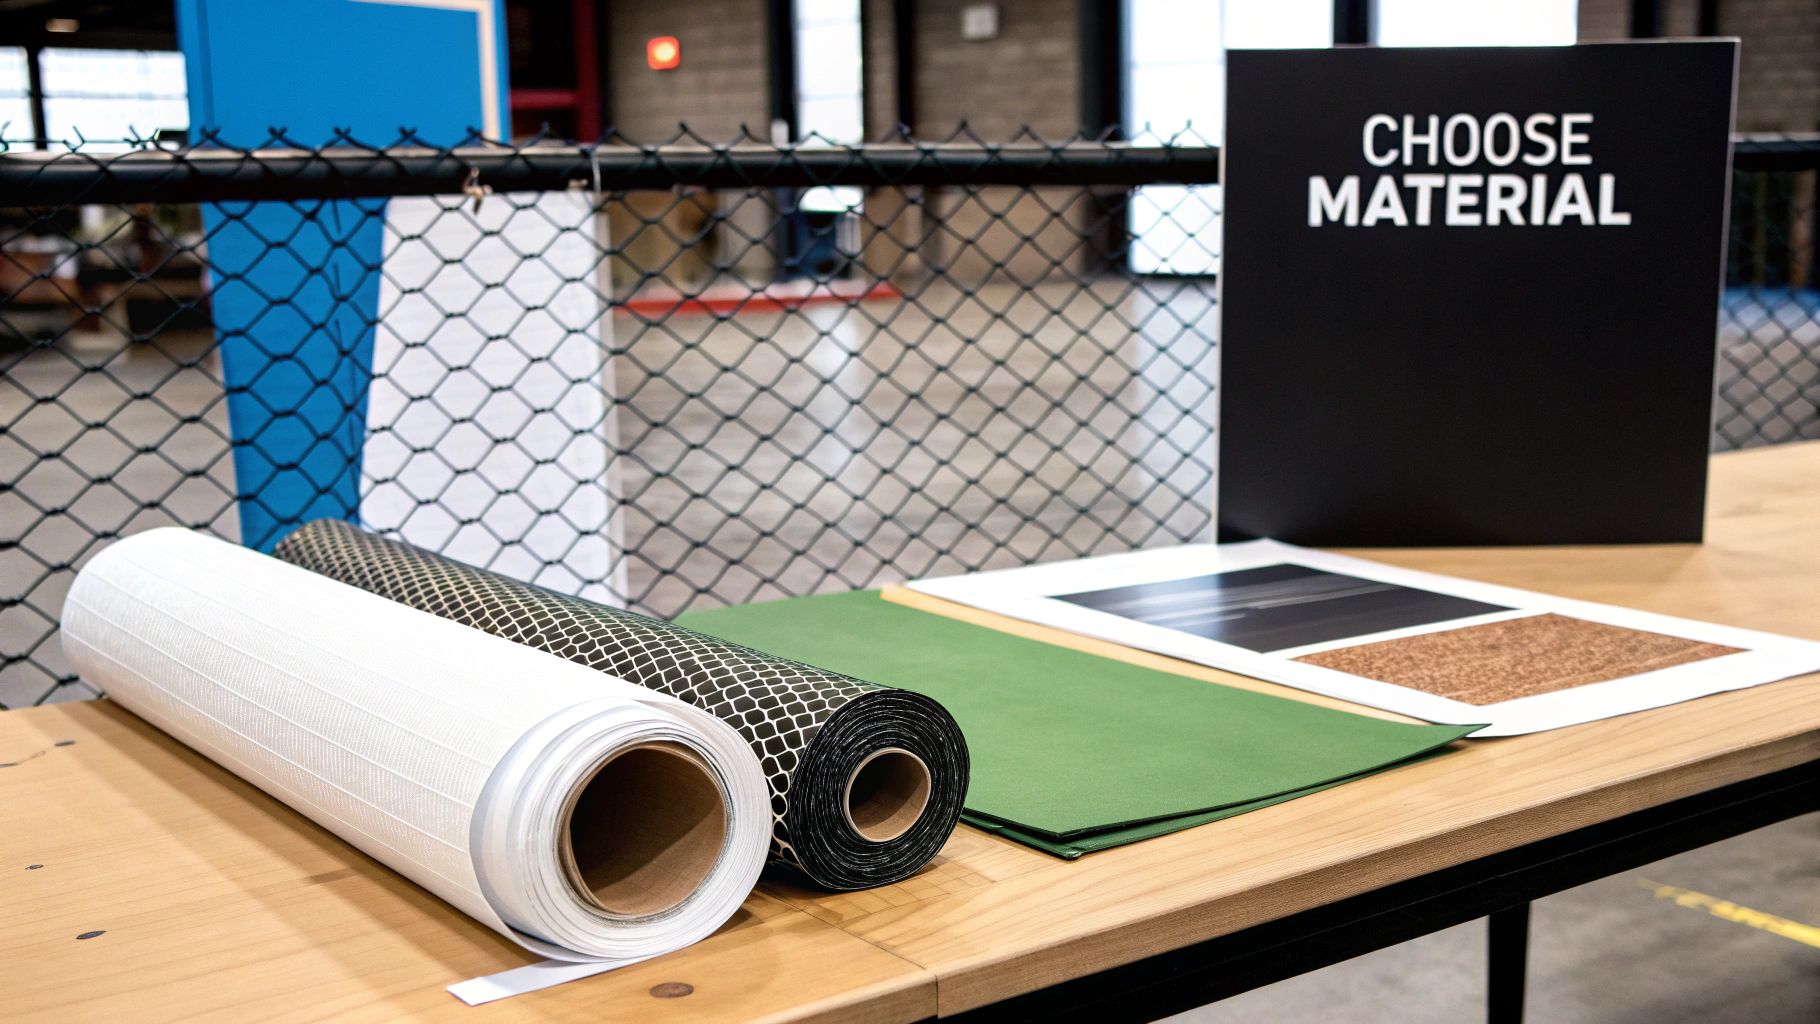
A great design is one thing, but the material you print it on is what really brings a birthday banner to life. Get this part right, and your banner won't just look amazing—it will hold up perfectly, whether it's hanging in a cosy living room or braving the elements in a pub garden.
The biggest factor here is location. An indoor party has completely different demands from an outdoor bash, especially with our wonderfully unpredictable UK weather. This decision is crucial for making your birthday custom banners a true success.
Durable Vinyl For Indoor Celebrations
For most indoor parties, you can't go wrong with a standard PVC vinyl banner. It’s the industry go-to for a reason: it's affordable, incredibly durable, and delivers stunningly vibrant, high-resolution prints. That makes it perfect for showing off photos and colourful designs behind the cake table or as a main feature wall.
This stuff is tough enough to be rolled up and reused for future birthdays, making it a great choice for family traditions. Since you don't need to worry about wind or rain, the focus is purely on visual impact. To get the best results, our guide to vinyl banner printing in the UK dives deeper into achieving that perfect professional finish.
Weatherproof Options For Outdoor Parties
Planning a garden party, a barbecue, or a celebration in a local park? You’ll need a banner that can handle whatever the British weather throws at it. A standard indoor vinyl just won't cut it.
This is where weatherproof PVC comes into its own. It's specifically built for outdoor use, which means it is:
- Water-Resistant: Your banner will easily shrug off a downpour without the ink smudging or the material weakening.
- UV-Stable: The inks are formulated to resist fading in the sun, keeping the colours bright and punchy all day long.
- Tear-Resistant: It’s tough enough to be secured to fences or between trees without ripping.
If you’re in a particularly windy spot—like a coastal venue or an open field—go one step further and choose a PVC mesh banner. This material is perforated with thousands of tiny holes, allowing wind to pass straight through. This massively reduces the 'sail effect' that can cause a solid banner to flap wildly or even tear from its fixings.
Pro Tip: For any outdoor banner, always, always opt for reinforced hems and metal eyelets. Hems strengthen the edges to prevent fraying, and eyelets give you solid anchor points for rope or cable ties. It’s the secret to making sure your banner stays exactly where you put it.
Eco-Friendly Materials For A Greener Party
Many of us are trying to make more sustainable choices, and party planning is no exception. If you're looking for a greener alternative to traditional PVC, ask about our PVC-free banner materials. These are typically made from recyclable substrates like polyester-based textiles.
They might feel slightly different, but they still offer fantastic print quality. It's the ideal way to get that same visual punch for an environmentally conscious celebration, giving you a brilliant banner you can feel good about.
To help you decide, here’s a quick rundown of the most common options and what they’re best for.
Comparing Birthday Banner Materials
| Material | Best For | Key Features | Considerations |
|---|---|---|---|
| Standard PVC Vinyl | Indoor parties, photo backdrops, one-off or reusable events | Cost-effective, vibrant print, durable, easy to clean | Not ideal for windy conditions; can create glare with a gloss finish |
| Weatherproof PVC | Outdoor parties, garden events, long-term displays | Water-resistant, UV-stable inks, tear-resistant | Heavier and slightly more expensive than standard vinyl |
| PVC Mesh | Very windy locations, fences, scaffolding, large-scale banners | Allows wind to pass through, reduces sail effect, lightweight | The tiny holes mean the print is slightly less solid up close |
| PVC-Free Fabric | Eco-conscious parties, indoor events, premium backdrops | Recyclable/biodegradable options, high-end feel | Can be more expensive; may not be as weatherproof as PVC |
Ultimately, the best material comes down to where and how you’ll be using the banner. For most birthdays, a good old PVC vinyl will do the trick, but it's great to know you have tougher or greener options when you need them.
Finishing Touches Matter
Don’t overlook the finish! This final touch can make a surprising difference to how your banner looks, especially in photos.
- Gloss Finish: This gives your banner a shiny, reflective surface that makes colours really pop. It’s great for creating a high-impact, vibrant look, but watch out for glare in brightly lit rooms or from a camera flash.
- Matte Finish: A non-reflective, satin-like surface is the professional’s choice for photo backdrops. It eliminates glare from lighting, ensuring photos of the birthday star are crisp and clear without any distracting bright spots.
How to Plan Your Banner Size and Placement
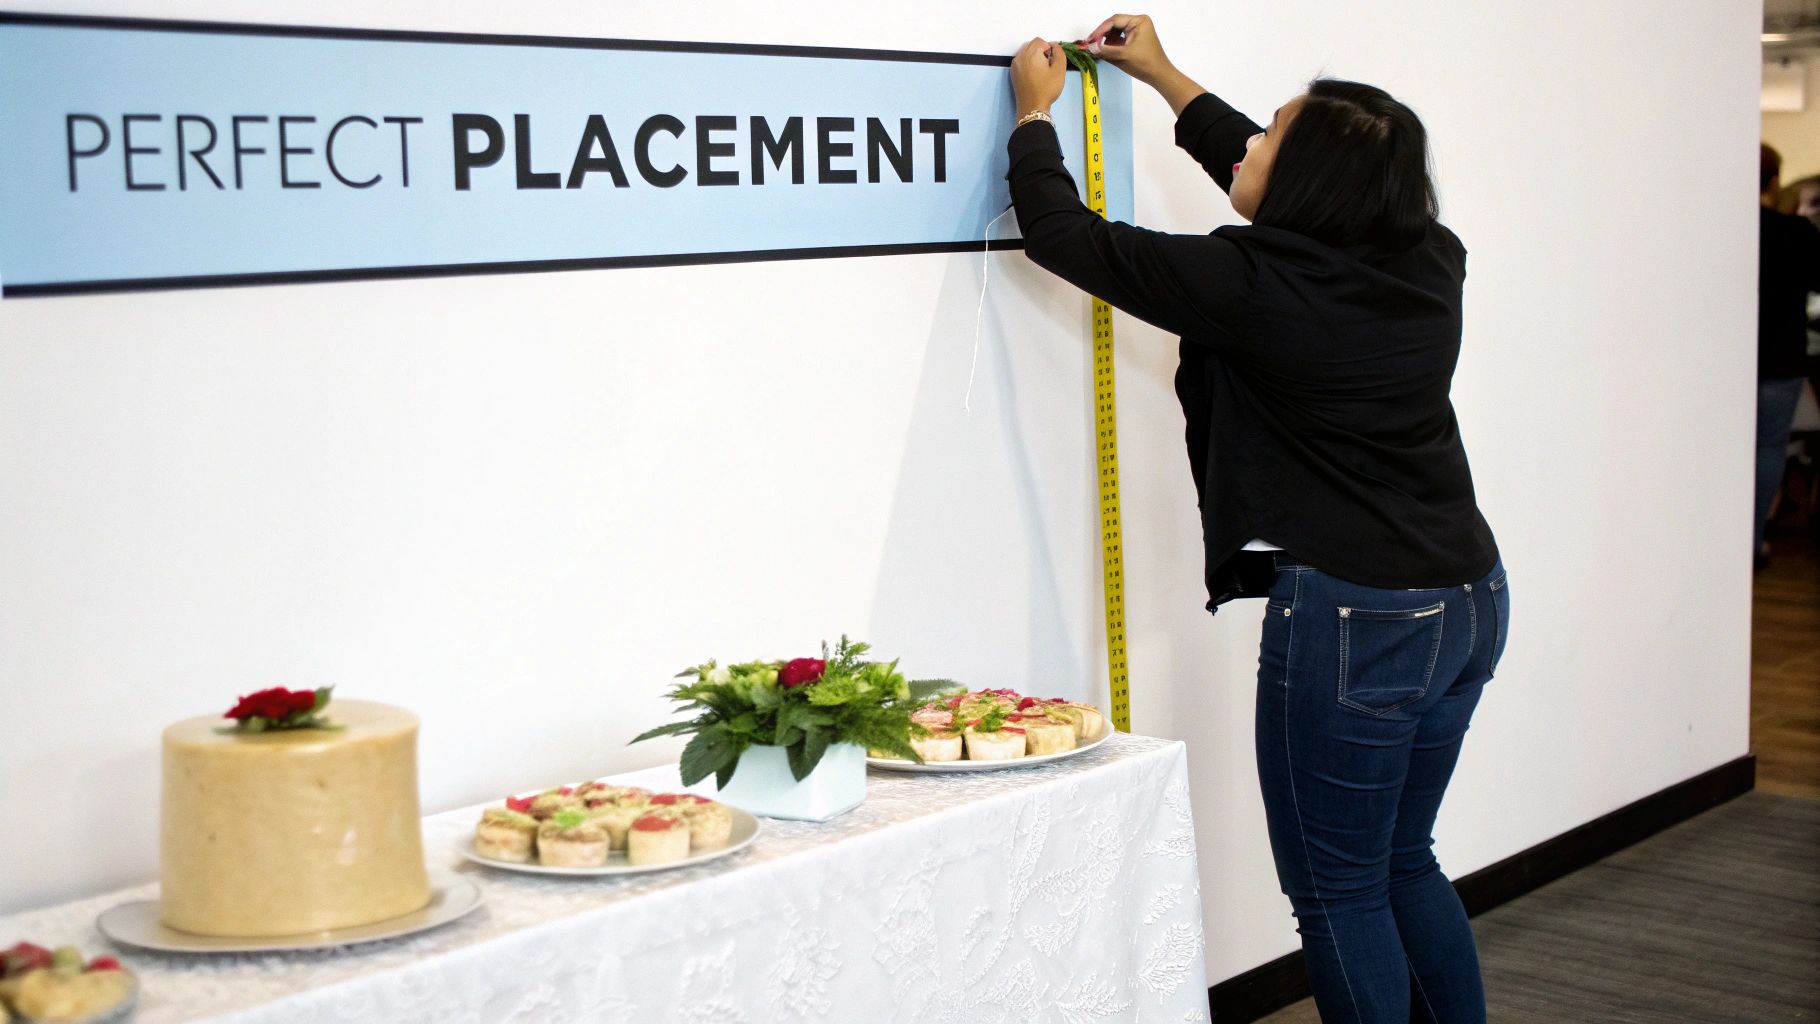
Even the most stunning banner design can fall flat if it’s the wrong size for the space or tucked away in a corner. Nailing the size and placement of your birthday custom banners is just as crucial as the artwork itself. Get it right, and it complements the space; get it wrong, and it either overwhelms it or gets completely lost.
First things first, grab a tape measure. "About six feet" just won't cut it. You need the exact dimensions of that garden fence panel, the wall behind the cake table, or the doorway you plan to frame. Precision here prevents problems later.
Matching Banner Size to Your Venue
The goal is all about scale. A massive banner in a cosy living room feels cramped and awkward, while a small one will disappear in a cavernous village hall. You're looking for that sweet spot where the banner makes a real statement without dominating everything else.
Also, think about viewing distance. Will your guests see it from across a large function room, or up close as they walk down a hallway? This dictates the size of your text and images. A good rule of thumb is that text needs to be at least one inch tall for every 10 feet of viewing distance to be easily readable.
Here are a few reliable starting points for common UK party venues:
- Pub Function Rooms: These spaces often have long, clear walls perfect for a landscape banner. A 6ft x 2ft (approx. 183cm x 61cm) banner works brilliantly above a seating area or buffet.
- Village or Community Halls: With their higher ceilings and bigger walls, you can afford to go larger. An 8ft x 3ft (approx. 244cm x 91cm) banner makes a fantastic focal point.
- Home Celebrations: For parties at home, something more modest like a 4ft x 1.5ft (approx. 122cm x 46cm) banner is usually ideal, fitting neatly over a fireplace or on a feature wall.
Strategic Placement for Maximum Impact
With the size sorted, it's time to think creatively about where it will go. The most obvious spot isn't always the best one. You want a location that grabs attention and genuinely adds to the party atmosphere.
The classic choice is behind the cake table, and for good reason—it creates the perfect photo backdrop for the big "happy birthday" moment. But don't stop there.
Consider these other high-impact placement ideas:
- Entrance Greeting: Hang a vertical banner on the front door or just inside the entryway to welcome guests and set a festive tone from the moment they arrive.
- Framing a Doorway: Use a pair of matching vertical banners on either side of a main doorway. It’s a simple trick that creates a grand, inviting entrance to the main party area.
- Table Runner: A long, narrow banner—think 8ft x 1ft (approx. 244cm x 30cm)—can be repurposed as a unique, decorative runner down the centre of a buffet or gift table.
Pro Tip: Always check the background. Placing your banner against busy, patterned wallpaper can make it hard to read. A plain, neutral-coloured wall will make your design pop and look much sharper in photos.
If you're planning a larger event with a dedicated photo booth, the same principles apply, just on a grander scale. You can find more tips on creating the perfect photo background in our detailed guide to backdrop banners for UK events, which dives deeper into materials and sizing for photographic perfection.
Final Checks Before You Order
Before you hit that 'confirm order' button, do one last real-world check. Cut a piece of paper to size or use masking tape to mark out the banner's dimensions on the wall. It’s a simple five-minute job that can save you from the disappointment of ordering a banner that's awkwardly large or surprisingly small.
And don't forget to account for any existing fixtures. Is there a light switch, thermostat, or pesky smoke alarm right in the middle of your perfect spot? A quick measure and a careful look around ensures your banner looks like it was made for the space—because it was.
Designing a Banner That Gets All the Attention
This is where the magic happens and your creative vision for the party comes to life. Whether you’ve got a print-ready file or are starting from scratch, a show-stopping banner is all about a few smart, simple choices. The right design for your birthday custom banners will grab attention, set the perfect mood, and look fantastic in all the photos.
It really boils down to the basics: colour and contrast. Your banner needs to be seen from across a room or a garden, so bold, high-contrast colour combinations are your best friend. Always think dark text on a light background or the other way around. Stay away from subtle palettes like pale yellow on white, as they just get washed out and become almost invisible in certain lighting.
For instance, a deep navy blue background with crisp white text will always pop more than mint green with light grey lettering. It’s a simple principle, but it’s one of the most effective ways to make sure your message is seen instantly.
Choosing Fonts and Wording That Work
When it comes to fonts, clarity is king. Those beautiful, swirly scripts might look lovely up close, but they’re often impossible to read from a distance. You're much better off choosing clean, bold, and festive fonts that are easy to make out at a glance. You can't go wrong with sans-serif workhorses like Helvetica, Futura, or Gill Sans.
The message itself should be short, sweet, and straight to the point. The classics are classics for a reason:
- Simple & Sweet: "Happy 40th Birthday, Sarah!"
- Milestone Celebration: "Cheers to 50 Years!"
- Fun & Playful: "Liam is Finally Legal! Happy 18th!"
- Warm Welcome: "Welcome to Emily’s 30th Birthday Bash"
Make sure the main message is large and centre-stage, with any smaller details playing a supporting role. The goal is for someone to understand what the celebration is about in a single glance. If you want a deeper dive into balancing text and images, our complete guide on how to design a banner is packed with expert tips for getting a professional layout.
The Golden Rule for Photos
Putting a photo of the birthday person on the banner is a wonderful personal touch, but it comes with one non-negotiable rule if you want to avoid a blurry, pixelated mess: your photo must be high resolution.
For printing, the industry gold standard is 300 dots per inch (dpi) at the final printed size. That little photo you pulled from social media might look okay on your phone, but once it’s blown up to banner size, it’s going to look fuzzy and unprofessional.
Always start with the original, high-quality photograph from your camera or phone. If a professional took the picture, just ask them for the high-resolution file for printing. This one step makes all the difference between a sharp, vibrant banner and a disappointing one.
Artwork Pre-Flight Checklist Before You Print
Before you hit "send" on your masterpiece, it's worth running through this quick pre-flight check. Catching a tiny mistake now can save you the headache and cost of a reprint later. This list will help make sure your artwork for birthday custom banners is absolutely perfect.
Artwork Pre-Flight Checklist
| Check | Requirement | Why It Matters |
|---|---|---|
| Resolution | All images are 300dpi at print size. | Prevents photos and graphics from appearing pixelated or blurry. |
| Colour Mode | Artwork is saved in CMYK colour mode. | Ensures the colours you see on screen will match the final printed banner. |
| Proofreading | All text is checked for spelling and grammar. | Avoids embarrassing typos on names, dates, or messages. |
| Bleed | A 3mm bleed area is included on all sides. | Prevents white edges from appearing if the banner shifts during trimming. |
| Safe Zone | All key text and images are within the safe zone. | Guarantees that no important elements are cut off during finishing. |
| File Format | Artwork is saved as a print-ready PDF, EPS, or TIFF. | These formats preserve quality and are universally accepted by printers. |
Taking a couple of minutes to review these points is one of the smartest things you can do. It’s just like proofreading an important email before sending it—it ensures everything is exactly as you planned and helps prevent any last-minute party panics. Follow this advice, and you can be confident your banner design will look brilliant.
From Ordering to Installation Made Easy
Once your design is signed off, the next bit—getting the banner from our screen to your celebration—should be completely stress-free. Understanding the timeline and knowing a few simple installation tricks will make sure your birthday custom banners are up and looking perfect long before the doorbell rings.
The secret? Just a little bit of forward planning. Most reputable UK printers like us work fast, but building in a small buffer is always a smart move for your own peace of mind.
Navigating The Production Timeline
As soon as you’ve uploaded your artwork and hit 'order', the wheels start turning. A typical journey with a UK-based printer involves a few clear stages, so you’ll know exactly what’s happening and when.
Here’s a quick rundown of what to expect:
- Artwork Proofing: The very first thing we'll do is send you a digital proof via email. This is your final chance to check everything—names, dates, spelling, the lot. Give it a proper look over before you give us the green light.
- Production: Once you’ve approved the proof, your banner heads to the print room. This part of the process usually takes around 24-48 hours. We’ll print it, trim it, and add any finishes you’ve chosen, like hems and eyelets.
- Dispatch and Delivery: Your finished banner is then carefully packaged up and sent on its way. With free tracked UK delivery, you can expect it to land on your doorstep within 1-2 working days after it leaves us.
All in all, we’d recommend allowing around four to five working days from placing your order to having the banner in your hands. This gives you plenty of breathing room to account for any unexpected delivery delays without any last-minute party panic. If you're coordinating multiple elements for a big event, a good planner's guide to prop hire for events can be a lifesaver for getting the logistics just right.
This simple diagram shows the core design elements to think about before you get to the ordering stage.
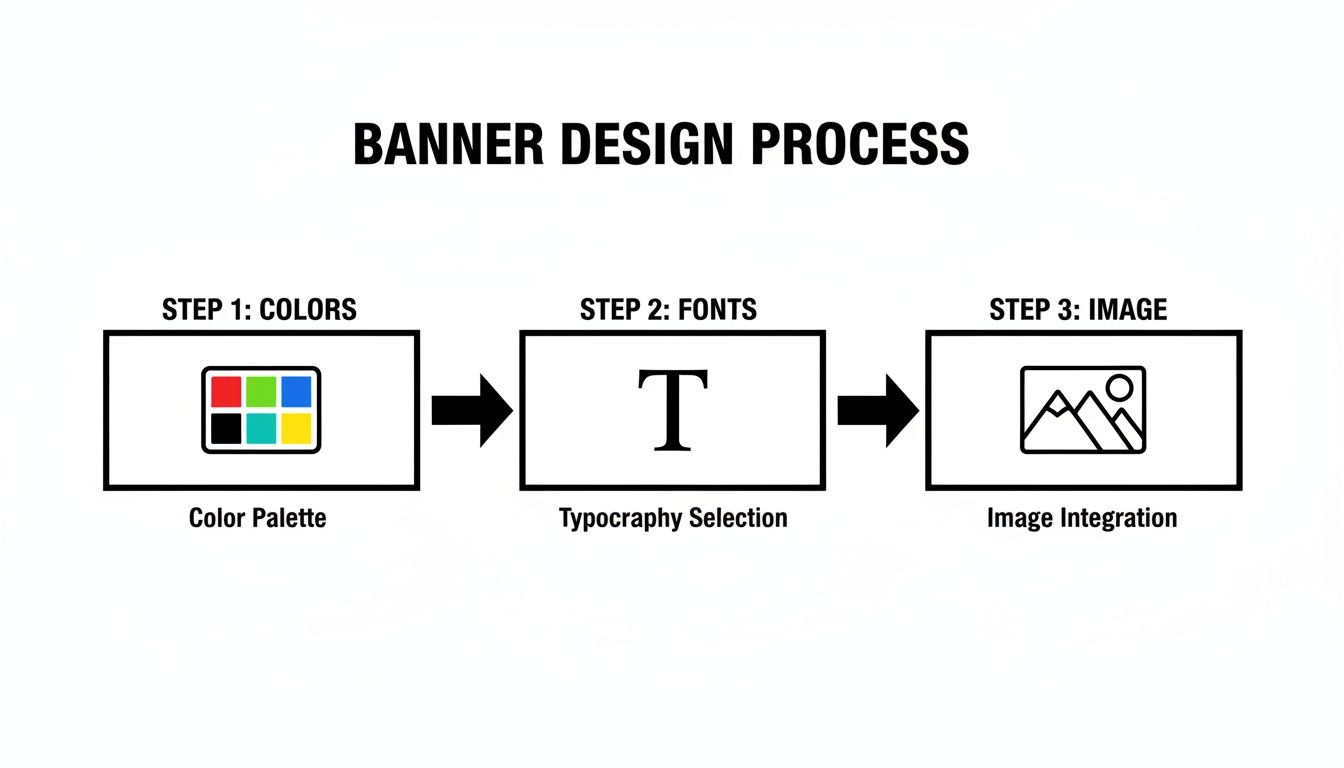
It really just boils down to getting your colours, fonts, and images right—these are the building blocks of a great banner.
A Practical Guide To Banner Installation
With the banner safely delivered, all that’s left is to hang it up. How you do this will depend entirely on where you’re putting it and whether the party’s indoors or out. The good news is you don't need a professional toolkit—a few simple bits and bobs will do the job perfectly.
For hanging a banner on a garden fence or between two posts, you can’t go wrong with cable ties or bungee cords. They’re strong, weatherproof, and dead easy to use. Just thread them through the metal eyelets and pull them tight to make sure the banner is taut and doesn't sag.
If you’re inside and want to keep your walls pristine, damage-free adhesive hooks are your best friend. Just make sure you pick hooks that can handle the banner’s weight with a bit to spare. Stick them on the wall, give the adhesive time to set, and then hang your banner using the eyelets.
Here's a pro tip for a perfectly straight hang: use a spirit level app on your phone. Just rest your phone along the top edge of the banner as you hold it in place, and adjust until it’s perfectly level before you fix it. It's a simple trick that makes a massive difference to the final look.
Troubleshooting Common Installation Issues
Even the best-laid plans can hit a minor snag. If you run into a little trouble on party day, don’t panic. Here’s how to sort out the most common issues quickly and easily.
-
The Problem: The banner has creases from being rolled up for delivery.
-
The Fix: Unroll it and lay it flat in a warm room, or even in the sun for a few minutes. The gentle heat helps the vinyl relax and smooths out most of the wrinkles on its own. Whatever you do, don't use an iron—it will melt the material instantly.
-
The Problem: It’s a bit windy and your outdoor banner is acting like a sail.
-
The Fix: If you haven’t opted for a mesh banner, you can make a few small, U-shaped cuts in the middle of the banner with a craft knife. It’s a bit of a DIY fix, but it lets the wind pass through and takes the pressure off the fixings.
-
The Problem: The banner is sagging in the middle.
-
The Fix: This usually just means it isn't pulled tight enough. Go back and re-tension the fixings, pulling each corner outwards. For a really long banner, adding a central fixing point at the top and bottom can provide that extra support it needs.
Your Birthday Banner Questions Answered
Even when you think you've got everything sorted, a few last-minute questions always pop up before ordering. It’s completely normal. To put your mind at ease, we’ve pulled together the most common queries we get from our UK customers and answered them right here.
One of the first things people want to know is, "How fast can I get my banner?" We get it – parties can be a rush! Once you give the final artwork the thumbs up, we print and dispatch most banners from our Manchester facility within 24-48 hours. With our free tracked UK delivery, it’ll be on your doorstep one to two working days after that.
Can I Use My Own Photos In The Design?
Yes, absolutely! In fact, we encourage it. A personal photo makes a banner truly special. The one thing you need to get right is the quality. For a crisp, clear print that looks fantastic, your photo needs to be high resolution. We’re talking 300dpi (dots per inch) at the final size it will be printed.
A snap you've pulled from Facebook might look great on your phone, but it will almost certainly look blurry and pixelated when blown up on a big banner. Always dig out the original file from your camera or smartphone for the best results.
What Is The Most Popular Banner Size?
While every venue is different, our hands-down bestseller for birthday parties is the 6ft x 2ft (around 183cm x 61cm) banner. It's the perfect all-rounder—big enough to make a real statement but not so huge that it takes over the entire room.
It’s just so versatile. We see customers using this size in all sorts of ways:
- Positioned above the cake or gift table to create a brilliant focal point for photos.
- Hung on a main wall in a pub function room, where it's easily seen from anywhere.
- Strung across a garden fence to add a festive touch to an outdoor do.
Do I Need A Special Design Programme?
Not at all. You don’t need to be a pro graphic designer with fancy software like Adobe Illustrator or Photoshop. Many of our customers create stunning designs using free and easy-to-use online tools like Canva, which has a simple drag-and-drop interface.
The key is how you save the file. To make sure it’s ready for print, save your final design as a high-quality PDF. This locks in all your fonts and images perfectly. If you run into any trouble, our team is always here to give your file a quick check.
A quick tip on colours: your screen shows colours in RGB (Red, Green, Blue), but our printers use CMYK (Cyan, Magenta, Yellow, Black). To get the printed colours as close as possible to what you see on screen, set your design file to CMYK mode before you start.
How Do I Hang My Banner Without Damaging Walls?
This is a big one, especially if you're in a hired venue or don't fancy patching up plaster at home. Luckily, it's easy to hang a banner without leaving a trace. For indoor walls, your best friend is a set of damage-free adhesive hooks.
They stick firmly to most painted surfaces and, best of all, they peel off cleanly without taking paint with them or leaving any sticky gunk behind. Just check the weight limit on the packet—for a standard vinyl banner, you won't need anything heavy-duty. It’s a foolproof way to get your banner perfectly placed without any post-party stress.
Ready to create a banner that’ll be the talk of the party? At Banner Printing Ltd, we specialise in high-quality, vibrant birthday banners with fast, free UK delivery. Start designing yours today at https://bannerprintingltd.co.uk.


