Picking the right banner for a trade show isn't just about getting your name out there; it's about making a smart investment. You're balancing your booth size, budget, brand message, and even how you'll get it to the venue. The perfect choice really hinges on your game plan for the event. Are you after a quick, easy-to-carry roller banner, or do you need a huge, immersive backdrop to really stop people in their tracks?
How to Choose the Right Trade Show Banner
Feeling a bit lost in the sea of banner options? Don't worry. It's actually pretty simple if you start by asking the right questions. Think of your banner as more than just a sign – it’s a tool. It has a job to do. Are you there to build brand awareness, capture leads, or show off a new product? Each of those goals points to a different type of display.
The decision-making process usually kicks off with the most practical detail: your space. A cosy 3×3 metre stand needs a very different approach to a sprawling, open-plan area. And let's not forget about logistics. If your team is on the road hitting multiple shows a year, a lightweight banner that’s a doddle to set up will save you endless time and hassle.
The Key Factors to Pin Down
To find your perfect match, let's look at the core things you need to consider:
- Your Booth Size and Layout: Get the tape measure out. A big pop-up backdrop can create a fantastic, self-contained world in a larger booth. For smaller spots, a couple of slim roller banners can maximise your presence without making the space feel cramped.
- Your Budget: The price range is pretty wide. Simple roller banners are incredibly cost-effective, while a custom fabric tension wall is more of an investment for that seamless, high-end finish.
- Your Main Goal: If you're hoping for great photos and social media buzz, a step-and-repeat banner is a no-brainer. But if you need to get detailed product info across, a series of smaller, focused banners might be the way to go.
- Transport and Setup: Think about who's putting it all together. A roller banner can be up in seconds with just one person. Some of the bigger systems might need a bit more of a team effort.
This flowchart gives you a visual path to follow, helping you see how your answers guide you straight to the best banner for the job.
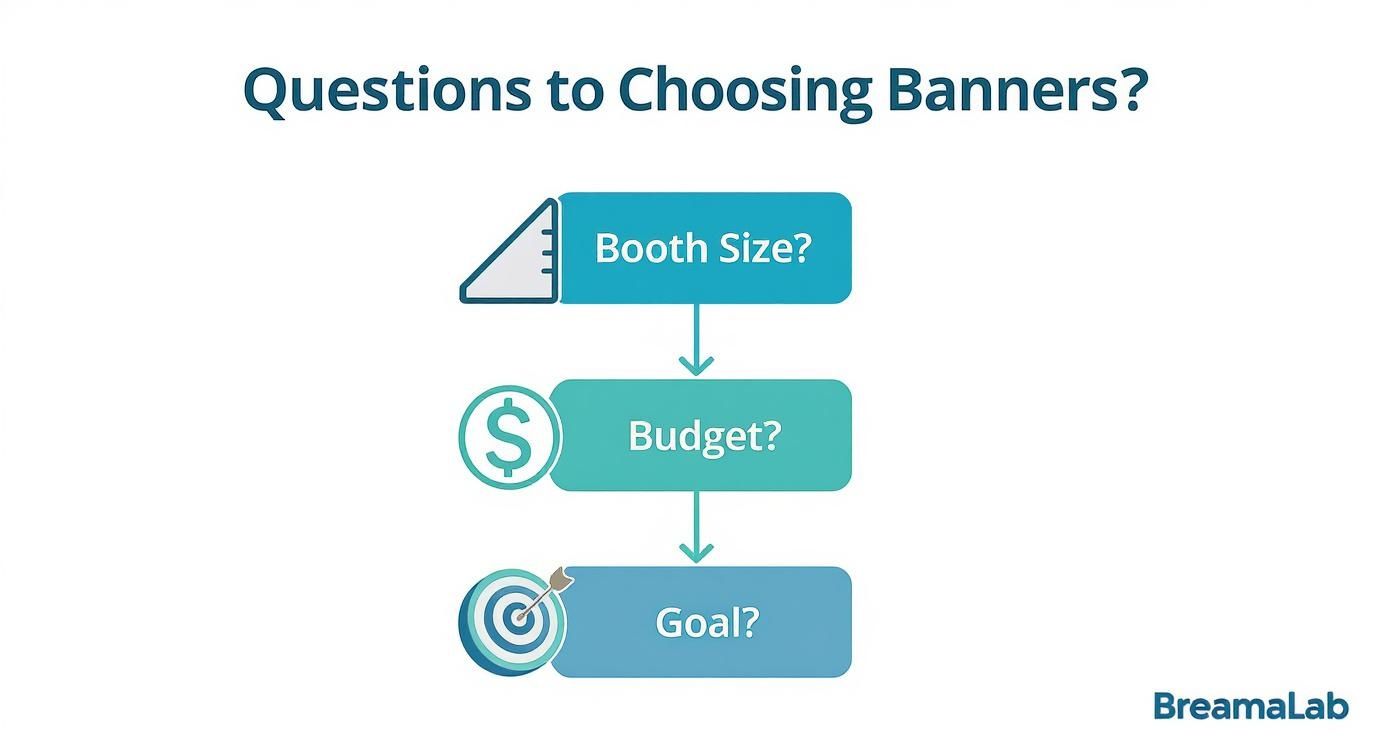
As you can see, once you've nailed down your space, budget, and goals, the options quickly narrow themselves down.
Getting this right is more important than ever, as UK businesses are flocking back to in-person events. Recent figures show that 64% of exhibitors are planning to attend even more trade shows. Better yet, almost half of them—48% of exhibitors—say that an eye-catching stand is the single most effective way to pull in the crowds. And what's at the heart of a great stand? A brilliant banner. You can read more about these UK exhibition industry statistics and see how your plans stack up.
Quick Guide to Choosing Your Trade Show Banner
To make things even easier, we've put together this quick comparison table. It gives you an at-a-glance look at the most popular banner types, helping you make a fast, informed decision based on what matters most at a trade show.
| Banner Type | Best For | Portability | Typical Budget | Impact Level |
|---|---|---|---|---|
| Roller/Pull-Up | Small spaces, quick setup, and budget-friendly promotions | Excellent | £ | Medium |
| Pop-Up Backdrop | Creating an immersive, branded background for larger booths | Good | ££ | High |
| Fabric Tension | A premium, seamless, and modern-looking display | Good | £££ | Very High |
| Vinyl Step & Repeat | Photo opportunities, media walls, and sponsor recognition | Fair | ££ | High |
| Mesh Banner | Outdoor events, windy conditions, or large-scale displays | Excellent | £ | Medium-High |
Hopefully, that table helps clarify which direction to go in. Each banner has its strengths, and the best one for you is simply the one that ticks the most boxes for your specific event.
A Practical Guide to Banner Types
Choosing the right banner for your trade show stand is a bit like picking the right tool for a job. You wouldn't use a sledgehammer to hang a picture, and you definitely wouldn't use a tiny banner when you need to make a massive statement. Let's walk through the most common types and figure out where each one shines.
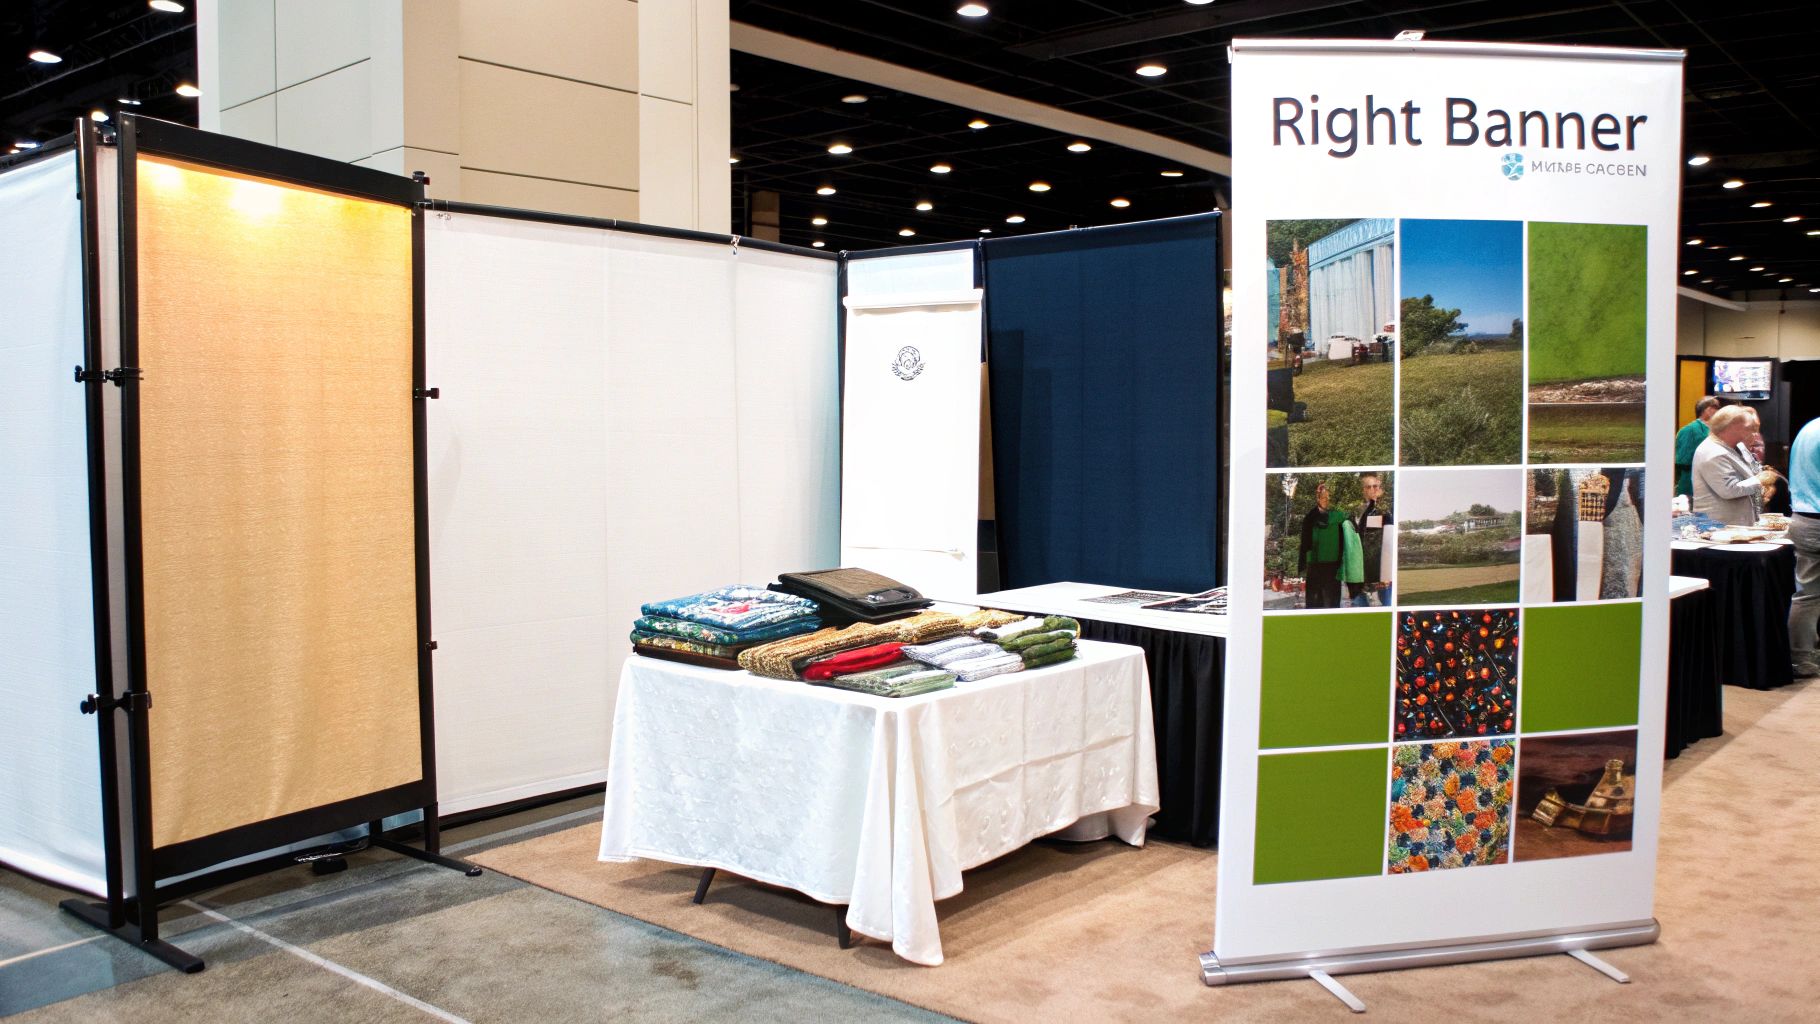
This isn't just about filling space; it's about creating an experience that pulls people in. Getting the banner right is fundamental to your stand’s performance, and the stats back this up.
In fact, banners are still a cornerstone of UK trade show marketing. One survey found that 30% of exhibitors named banners and posters as their most effective tool for attracting visitors. Even with all the digital options out there, their appeal and power endure. You can see more UK trade show trends over at Display Wizard.
Roller Banners: The Versatile Workhorse
Think of the roller banner (or pull-up banner) as the Swiss Army knife of the exhibition world. It’s compact, incredibly easy to assemble, and surprisingly versatile, making it a go-to for pretty much everyone. The graphic simply retracts into a sturdy base, keeping it safe during travel and letting you set up in less than a minute.
This makes them perfect for anyone who travels a lot or is always short on setup time. They work brilliantly as a welcoming sign at the entrance to your booth, for flagging a special offer, or as part of a bigger modular display. They're also cost-effective, so you can use several to get different messages across without breaking the bank. For a closer look, check out our guide on how high-impact trade show roller banners can elevate your stand.
Key Takeaway: Roller banners give you the best mix of portability, speed, and value. They’re the perfect solution for small to medium-sized booths or as extra signage in a larger space.
Pop-Up Displays: The Instant Backdrop
When you need to create a whole branded environment, the pop-up display is your best friend. These are bigger, frame-based systems that literally "pop up" to form a full-size graphic wall. In an instant, they can transform a bland shell scheme into a professional, branded space that looks the business.
They act as a fantastic backdrop, giving you a huge canvas for your main message and tying your whole stand together visually. They’re also ideal for photo opportunities, ensuring your brand is always in the background of any pictures taken at your booth.
- Best For: Creating a strong visual anchor in booths 3×3 metres or larger.
- Advantage: Seriously high impact and brilliant for establishing a professional presence.
- Consideration: They take up more room in the car and need a few more minutes to assemble than a roller banner.
Fabric Tension Displays: The Tailored Suit
For a truly premium and modern look, nothing beats fabric tension displays. These systems use a lightweight frame with a printed fabric graphic stretched tightly over it, creating a finish that's completely seamless and flat. The result is a sharp, vibrant, and glare-free display that just oozes quality.
The dye-sublimation printing we use for fabric creates rich, deep colours that really pop. And because the graphic is one continuous piece of material, you get a sleek, uninterrupted look with no visible panel lines. These are the top choice for brands wanting to project a high-end, polished image.
Hanging Banners and Vinyl Banners
Finally, don't forget about the specialists. Hanging banners are suspended from the ceiling of the exhibition hall, making you visible from right across the venue. This is a game-changer for helping attendees find your stand in a busy, crowded hall.
Vinyl banners, on the other hand, are the durable, do-it-all option. Usually finished with eyelets for easy hanging, they are tough enough for both indoor and outdoor use, which makes them a flexible asset for any marketing kit. They are perfect for massive graphics, sponsor walls, or any situation where you need a display that can take a beating.
Selecting Materials for Durability and Impact
The material you choose for your banner is the very foundation of its performance. It dictates everything from the vibrancy of your colours to how well it stands up to the chaos of a bustling trade show floor. Think of it like choosing the right fabric for a suit; the cut and style matter, but the material determines how it hangs, feels, and ultimately, how long it lasts.
Getting this choice right ensures your banners for trade show displays not only look sharp but are a smart investment for the long run. Each option has a specific job to do, and matching it to your event environment is crucial for success. This decision directly influences your display's durability, visual appeal, and even how easy it is to lug around.
PVC Vinyl: The Durable Workhorse
When you need a banner that can take a beating and come back looking great, PVC Vinyl is the undisputed champion. This stuff is the go-to choice for its sheer toughness and weather resistance, making it an incredibly versatile workhorse for any exhibitor. It’s rugged, waterproof, and easy to wipe clean—a real lifesaver after a long event.
Its robust nature means it's far less prone to tearing or getting battered during transport and setup, a common headache for frequent exhibitors. This resilience makes it perfect for everything from high-traffic indoor stands to outdoor promotions where it might face the notoriously unpredictable British weather.
Polyester Fabric: The Premium Choice
For a more refined, high-end look, Polyester Fabric is the way to go. Fabric banners are printed using a dye-sublimation process, which infuses the ink directly into the fibres. The result? Incredibly rich, vibrant colours that have a premium, almost photographic quality.
The real game-changer with fabric is its non-reflective, matte surface. Under the harsh, direct lighting you find in most exhibition halls, fabric banners stay completely glare-free. This ensures your message is always crystal clear from any angle, making them perfect for media walls and backdrops where you know cameras will be flashing.
Expert Insight: Fabric is also much lighter than vinyl and can be folded without creasing, which makes storage and transport an absolute breeze. This makes it an excellent option for large pop-up backdrops and tension displays.
Specialised Materials for Specific Needs
Beyond the two main players, some situations call for a more specialised solution. Knowing your options means you're prepared for any event, whether it's indoors or out in the elements.
- Mesh Banners: If your event is outdoors, mesh is a must. It’s a type of perforated vinyl that lets wind pass straight through it. This clever design stops your banner from turning into a giant sail and putting dangerous strain on its fixings.
- Eco-Friendly Options: For brands focused on sustainability, PVC-free materials offer a greener alternative without sacrificing print quality. These options help reduce your environmental footprint, a message that really connects with today's conscious consumer.
To make the decision a bit easier, here’s a quick breakdown of how these materials stack up for trade show use.
Banner Material and Finish Comparison
| Material/Finish | Key Benefit | Best Use Case | Consideration |
|---|---|---|---|
| PVC Vinyl | Extreme durability and weather resistance. Easy to clean. | High-traffic indoor stands, outdoor events, long-term use. | Can be heavy and prone to creasing if not rolled properly. |
| Polyester Fabric | Premium, glare-free finish with vibrant colours. Lightweight and foldable. | Indoor backdrops, media walls, pop-up displays, high-end booths. | Less durable than vinyl and can be more susceptible to stains. |
| Mesh Vinyl | Wind-permeable, preventing the "sail effect". | Outdoor events, building wraps, windy locations. | The perforated design means graphics are slightly less solid. |
| Matte Finish | Diffuses light, eliminating glare and reflections. | Standard for almost all indoor trade show displays and backdrops. | Colours may appear slightly less "punchy" than a gloss finish. |
| Gloss Finish | Enhances colour vibrancy and saturation for a high-impact look. | Smaller promotional signs in controlled lighting environments. | Highly reflective and can create glare, obscuring your message. |
This table should give you a solid starting point for matching the right material to your specific needs, ensuring your banner looks professional and performs brilliantly.
Choosing Your Finish: Matte vs. Gloss
Finally, the finish on your banner is the finishing touch. A matte finish is the standard for most indoor trade show displays for a very good reason: it diffuses light, preventing distracting glare and reflections. This ensures your message is easy to read under those bright spotlights.
In contrast, a gloss finish can make colours pop with more saturation and vibrancy. While it can be eye-catching, it’s best reserved for situations with controlled lighting to avoid reflections that might hide your message. It's a great choice for smaller promotional signs but generally not ideal for large backdrops.
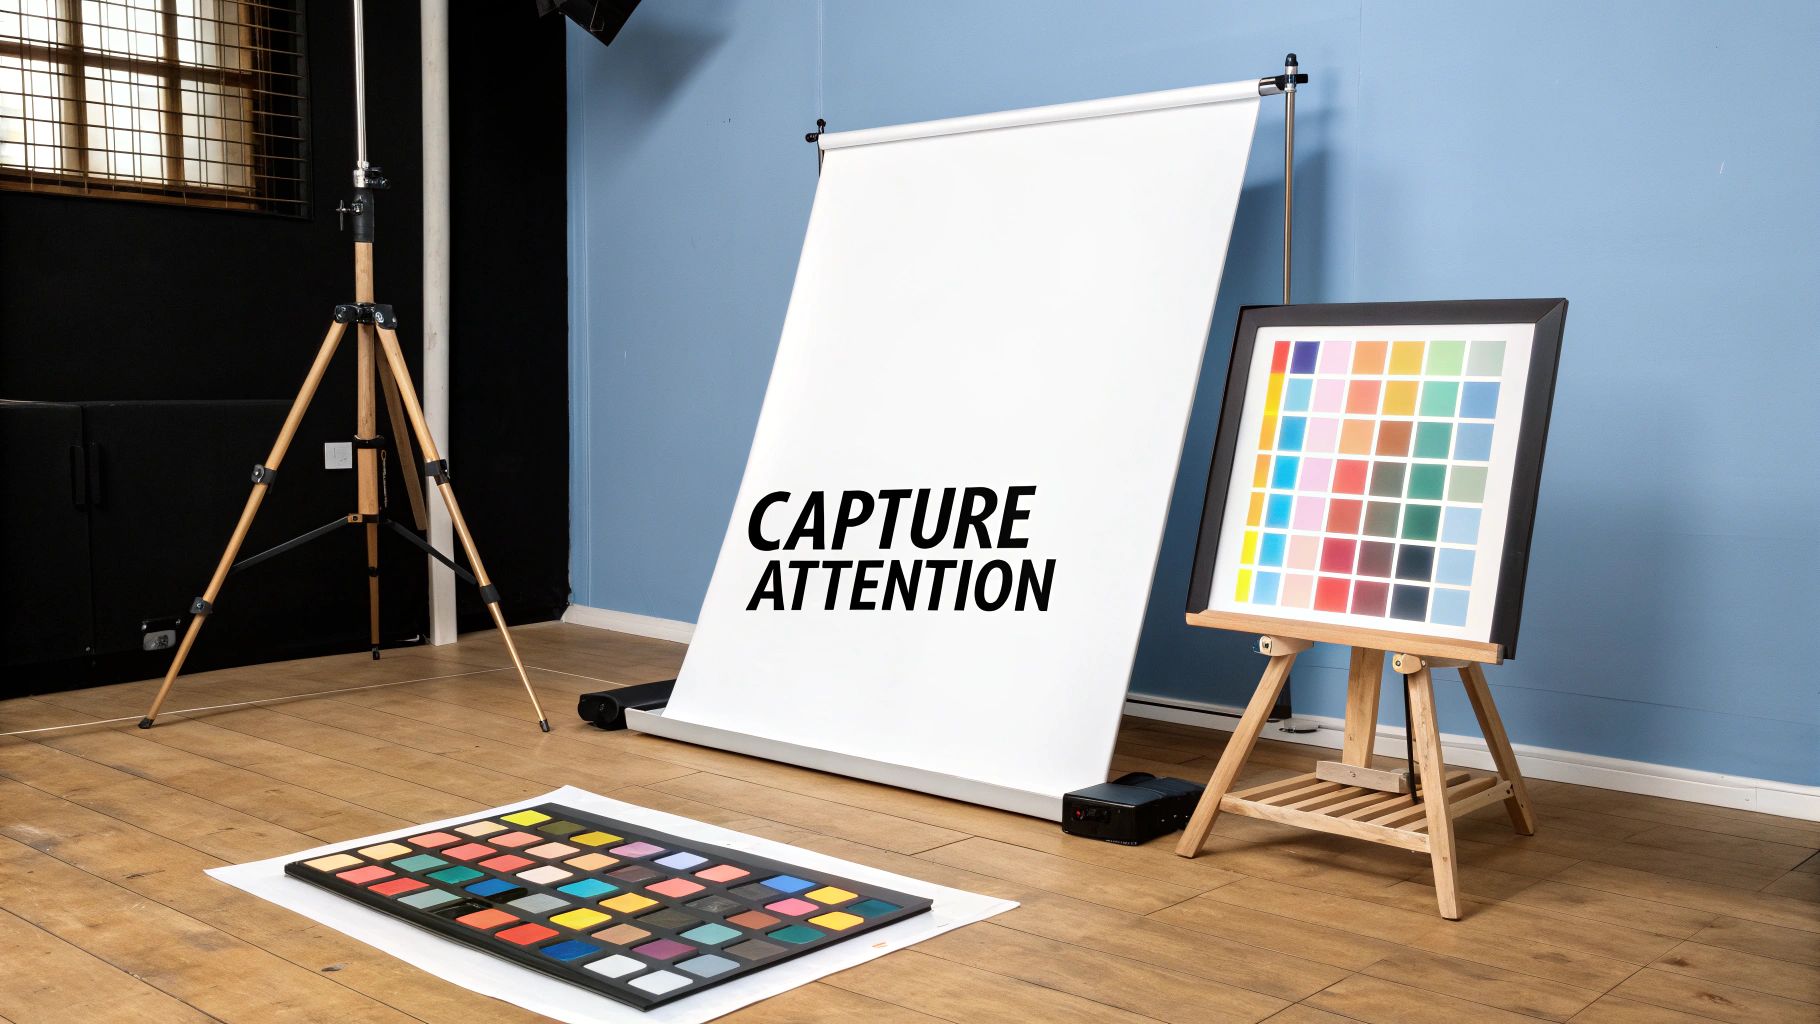
Designing Banners That Stop People in Their Tracks
Let's be blunt: a great banner is your silent salesperson. In the chaotic, noisy environment of a trade show, you have just a few seconds to snag someone's attention. A truly effective design isn't a fluke—it's the result of smart, strategic thinking that turns a quick glance into a real conversation.
The whole point is to stop people from walking straight past your stand. Your banner has to work incredibly hard and fast, telling people who you are, what you offer, and why they should care, all in a fleeting moment. A poorly designed banner, no matter how much you spent on it, just becomes part of the background noise.
Embrace the Three-Second Rule
Picture someone walking down a crowded aisle, absolutely bombarded with sights and sounds. You're lucky if they give your display a glance that lasts longer than three seconds. Your design must be built for this tiny window of opportunity, delivering a clear, compelling message almost instantly.
The key is to keep it simple and focused. Fight the urge to cram every single detail about your business onto the banner. Instead, zero in on one powerful idea or question that sparks curiosity and makes someone want to step closer.
The Core Principle of Banner Design: Your banner isn't there to close the sale. Its job is to start the conversation. Think of it as a hook that draws people in, so your team on the stand can do what they do best.
Building a Clear Visual Hierarchy
Visual hierarchy is the secret sauce behind designs that just work. It’s all about arranging your content to guide a person's eye through the message in the right order of importance. Get this right, and they’ll see your main point first and your call to action last.
Think of it as a signpost for the eyes. The most crucial bit of information needs to be the biggest, the boldest, and positioned highest up on the banner. Secondary details get smaller and are placed further down.
Here’s a simple way to structure it:
- Powerful Headline: This belongs at the top, right at eye level. Keep it short, punchy, and make it solve a problem or promise a clear benefit. This is 75% of your message.
- Key Supporting Graphics: A high-quality image or clean graphic should sit in the middle. It adds visual interest, gives context, and stops the banner from being a wall of text.
- Company Logo and Contact Details: Your branding needs to be clear but not overpowering. Place your logo, website, or maybe a QR code near the bottom, where it’s easily seen once someone has already decided to approach your stand.
For a much deeper dive into the nuts and bolts, our guide on how to design a banner that works gives you a complete checklist to follow.
Mastering Colour and Typography
Colour is a psychological shortcut. The right palette can trigger emotions and make your banner pop from across a busy exhibition hall. Always go for high-contrast combinations to make your text instantly readable. Think bold colours against a simple background—like a bright yellow on a dark charcoal, or a deep blue on a clean white.
Typography is just as important. The font has to be legible from a distance. Stay away from fancy, cursive, or very thin fonts that are hard to decipher in a split second. Stick to clean, bold sans-serif fonts like Helvetica, Arial, or Open Sans for your main messages. As a rule of thumb, make sure it’s big enough to be read from at least three metres away.
Why High-Resolution Imagery Is Non-Negotiable
Nothing screams "amateur" faster than a pixelated, blurry image stretched across a massive banner. It looks terrible up close and can instantly damage your brand's credibility. Always, always use high-resolution photos and vector-based logos for your artwork.
Make sure any images you provide are at least 300 DPI (dots per inch) at their final print size. This is the only way to guarantee a sharp, crisp, and professional finish that reflects the quality of your business. It's a non-negotiable step that ensures your investment pays off.
Mastering Trade Show Logistics and Setup
Your banner’s journey doesn’t end when it leaves our print shop. In fact, that’s just the beginning. The often-overlooked logistics of getting your display to the venue and setting it up are where a successful exhibition is truly made or broken.
Trust me, there’s nothing more frustrating than investing in a stunning banner, only for it to arrive damaged or take an hour of frantic assembly on the day. Thinking about the practicalities from the get-go protects your investment and, more importantly, your sanity.
Even simple choices, like picking a banner that comes with a robust, padded carry case, can be the difference between a pristine graphic and one that’s scuffed before the show even opens.
This planning phase is absolutely critical. For instance, before you book a courier, always double-check their maximum parcel dimensions and weight limits. It’s a small step that can save you from last-minute shipping headaches and unexpected fees.
Transporting Your Banners Safely
Getting your banners and displays to the venue in perfect condition is mission number one. Things like roller banners and pop-up systems are designed for travel, but that doesn’t mean they’re indestructible. Their carry cases are your first line of defence against the inevitable knocks and scrapes of transit.
For larger, more complex displays, investing in a hard-shelled, wheeled transport case is one of the smartest moves you can make. It might feel like an extra cost upfront, but it provides far superior protection that pays for itself by keeping your expensive graphics looking brand new, event after event.
If you want to dive deeper, you might be interested in our guide to the best portable display stands for exhibitions, which covers a range of options built specifically for easy travel and quick assembly.
Pro Tip: Always, and I mean always, do a full trial run of your setup at your office before heading to the event. This is your chance to spot any missing parts or potential hiccups while you still have time to fix them, not in a blind panic on the exhibition floor.
A Smooth and Stress-Free Setup
Once you arrive, a methodical approach is your best friend. The beauty of modern banners is their simplicity, but following a few basic steps will ensure everything goes off without a hitch.
For a Roller Banner:
- First, swivel the stabilising feet out from the base until they’re perpendicular. This is key for stability!
- Assemble the collapsible pole and pop it firmly into the hole in the base unit.
- Now for the big reveal. Carefully pull the graphic up from the base and hook the top bar securely onto the pole.
For a Pop-Up Backdrop:
- Gently expand the collapsible frame until you hear the magnetic locking arms satisfyingly click into place.
- Start attaching your graphic panels from one end, taking care to align them perfectly using the magnetic strips.
- Smooth each panel down as you go. This little bit of care creates that seamless, professional-looking wall that really impresses.
Care and Maintenance for Longevity
Want your banners to look sharp for every event on your calendar? A little TLC goes a long way. After the show, take just five minutes to clean your display before packing it away. This simple habit stops dirt and grime from setting in and becoming a permanent feature.
Here’s a quick guide for different materials:
- PVC Vinyl: A piece of cake. Just wipe it down with a soft, damp cloth and a bit of mild soap. Stay away from harsh chemicals or abrasive cleaners – they’ll ruin the print.
- Polyester Fabric: Many of our fabric graphics are machine washable on a gentle, cool cycle. But always check the specific instructions first, and let it air-dry completely to avoid any musty smells.
Always store your banners in their dedicated cases in a cool, dry place. Rolling vinyl banners up tightly and correctly is the secret to preventing creases, ensuring your display looks as good at its tenth show as it did at its first.
Your Budgeting and Ordering Timeline
Sorting out your budget and timeline for trade show banners can feel like a bit of a juggling act. Get it wrong, and you're facing last-minute panic and rush fees. Get it right, and you’ll have a stunning display that arrives on time, stress-free. Let's walk through how to plan it all out.
First, where do banners fit into the grand scheme of your event budget? Investing in high-quality banners for trade show displays is a serious piece of your marketing spend. Here in the UK, exhibitors pour an average of 31.6% of their total marketing budgets into trade shows, with a good chunk of that going towards signage that grabs attention. When you consider the average cost for a standard booth setup hovers around £2,100, planning your banner costs wisely becomes crucial. You can see more on UK trade show spending habits to get a feel for how your budget stacks up.
A few key things will shape the final price tag on your banners, so it’s smart to get your head around them early.
Key Factors Influencing Banner Costs
- Size and Type: It goes without saying that a massive pop-up backdrop will be a bigger investment than a standard roller banner.
- Material Choice: Premium materials like sleek polyester fabric have a different price point and feel compared to standard PVC vinyl.
- Hardware Quality: The stand itself matters. A heavy-duty, premium roller banner cassette will cost more than a basic one, but it's built to last.
- Turnaround Time: Need it yesterday? Urgent orders often include rush fees. Planning ahead is genuinely your best budgeting tool.
Your Step-By-Step Ordering Timeline
To keep things smooth and avoid any last-minute headaches, we always recommend starting the process at least six weeks before your event. This gives you plenty of breathing room for design, approvals, printing, and delivery.
Crucial Tip: Always build in a few buffer days. Whether it’s a last-minute design tweak or a courier delay, that little bit of extra time is a lifesaver, stopping a small hiccup from turning into a major drama.
Use this checklist to keep everything on track.
6–8 Weeks Before the Event
- Nail Down Your Goals and Message: What do you actually want your banners to do? Decide on your core message.
- Set Your Budget: Figure out what you can realistically spend and get it signed off if you need to.
- Request Quotes: Get in touch with us! Send over your initial ideas, rough sizes, and material thoughts, and we’ll give you a clear cost estimate.
4–6 Weeks Before the Event
4. Finalise Your Artwork: This is the time to work with your designer (or ours!) to get that print-ready artwork perfect. Check, double-check, and triple-check every detail – spelling, logos, contact info.
5. Place Your Order: Formally submit your order along with your high-resolution artwork files.
2–4 Weeks Before the Event
6. Approve the Digital Proof: We'll send you a digital proof showing exactly how your banner will look. Give it a thorough review and give us the thumbs-up to go to print.
7. Confirm Production and Delivery: Once you’ve approved it, we’ll get to work. We’ll also give you an estimated delivery date so you know when to expect your new display.
1 Week Before the Event
8. Receive and Inspect: They've arrived! Unpack your banners straight away and check that everything is absolutely perfect.
9. Do a Trial Run: Don't wait until you're on the exhibition floor. Do a full practice setup to get familiar with it and make sure all the bits and pieces are there.
Your Trade Show Banner Questions Answered
When you're diving into the world of exhibition displays, a few questions always pop up. Getting the right answers can be the difference between a smooth, successful event and a last-minute scramble. We hear these queries all the time from UK exhibitors, so let's clear them up.
How Far in Advance Should I Order My Banners?
The golden rule? Give yourself plenty of breathing room. We always recommend getting your order finalised at least four to six weeks before your event. It might sound like a long time, but that window is your best friend.
This buffer isn't just for peace of mind; it allows for a proper, professional process:
- Design & Revisions: You get enough time to nail the artwork without rushing creativity.
- Proofing: You can carefully check every single detail on the final proof.
- Printing & Finishing: Quality work can't be rushed, and this avoids cutting any corners.
- Shipping: It means you can rely on standard delivery instead of paying a fortune for express services.
Plan ahead, and you’ll completely sidestep the stress, extra costs, and logistical nightmares that always come with those eleventh-hour orders.
Can I Reuse My Banners for Multiple Trade Shows?
Absolutely—in fact, you should! A high-quality banner is an investment, designed to be used again and again. The secret to making them last is all down to the material you pick and how you look after it. Banners made from tough PVC vinyl or premium polyester fabric are built to handle the demands of a busy event schedule.
To get the most out of your banners for trade show displays, a little care goes a long way. Always give them a gentle clean after a show and store them properly in their carry cases. That simple habit will keep them looking sharp and ready for the next exhibition.
What Is the Best Way to Transport Banners?
Getting your display to the venue in one piece is non-negotiable. For roller banners and pop-up systems, always use the padded carry cases they come with. They’re specifically designed to shield the hardware and graphics from the inevitable bumps and scrapes of transit.
If you’re working with larger or more intricate displays like fabric tension walls, it's worth investing in a hard-shelled transport case. They offer that extra level of protection against bigger impacts.
Travel Tip: Before you book anything, double-check your courier's (or airline's) size and weight limits for oversized parcels or luggage. A quick look on their website can save you a massive headache on travel day.
How Do I Clean and Maintain My Banners?
A bit of simple maintenance is the key to protecting your investment. For any PVC vinyl banners, all you need is a soft, damp cloth and a bit of mild, soapy water to wipe away any dust or marks. Steer clear of harsh chemicals, as they can easily ruin the printed surface.
Polyester fabric banners can often go in the washing machine on a cool, gentle cycle, but it's crucial to check the specific care instructions for your product first. Always let the fabric air-dry completely before packing it away to avoid mildew. When the show's over, roll your vinyl banners carefully (print-side out) and fold fabric graphics neatly to prevent creases and keep them looking pristine.
Ready to create a display that stops attendees in their tracks? At Banner Printing Ltd, we specialise in high-quality, durable banners for trade show displays, all printed in our Manchester facility and delivered free across the UK. Explore our full range of exhibition solutions and get an instant quote today!


One Comment
[…] media right from the show floor. For more tips on making an impact, our guide on choosing effective banners for trade show displays is packed with […]