Picking the right poster printing size is easily the most important call you'll make to get your message seen. It’s not just about what looks good; it’s a strategic choice that directly impacts visibility, impact, and even your budget. Think of it like picking the right tool for the job — a small A4 notice is perfect for a community noticeboard, but you’ll need a massive A0 poster to grab attention from across a busy street.
Why Your Poster Printing Size Matters
Before we jump into specific dimensions like A1 or A2, it’s worth understanding the strategy behind the choice. Picking a size isn’t random; it's about matching your poster’s physical presence with its purpose. The whole system of standardised sizes was created to solve this exact problem, making design, printing, and display far more straightforward for everyone.
This idea has some serious history. Poster printing in the UK goes way back to the late 15th century, but the real game-changer was lithography in the mid-19th century. This new tech allowed for incredibly detailed and colourful prints, turning basic text notices into the powerful visual marketing tools we know today. You can see some incredible historical examples over at the V&A Museum.
Connecting Size with Purpose
The guiding principle is simple: where your poster will be seen dictates how large it needs to be. Bigger isn't always better if the context is wrong. For example, a gigantic poster in a narrow hallway can feel overpowering and be hard to read, while a tiny one in a huge exhibition hall will just get lost.
To get it right, you need to weigh up three key factors:
- Viewing Distance: How far away will people be? A poster meant to be seen from 20 feet away needs much bigger text and bolder graphics than one designed to be read from just two feet away.
- Environment: Is the location cluttered with other visuals, like a busy high street, or is it a clean, minimalist gallery? Your poster has to fight for attention in its surroundings.
- Message Complexity: How much do you need to say? A simple, punchy announcement can work on a smaller format, but a detailed infographic or an event schedule needs more room to stay legible.
Choosing a poster size is the first step in visual storytelling. It sets the stage for your design and defines the physical space your message will occupy in the real world.
Ultimately, a well-chosen poster printing size is the foundation of an effective campaign. It ensures your design has the space it needs to breathe, your text is clear from the right distance, and your investment delivers the biggest possible impact. By thinking strategically about size from the get-go, you’re setting your project up for success before you even open your design software.
Understanding UK and International Poster Sizes
Stepping into the world of poster printing can feel a bit like learning a new language, with terms like A0, A1, and A2 thrown around. But the system we use here in the UK, and across most of the world, is actually brilliantly simple. It’s all based on the ISO 216 'A' series, a standard designed for pure logic and consistency.
Think of it this way: take a huge sheet of paper, an A0, and fold it perfectly in half. What you get is an A1. Fold that A1 in half, and you have an A2. This clever system continues all the way down to the A4 sheet on your desk. Each size is exactly half of the one before it, keeping the proportions identical.
This standardisation is a massive help. It means your A2 poster printed in Manchester will be the same size as one printed in Madrid, making international campaigns a breeze and ensuring frames and display stands fit perfectly every time.
The A-Series Explained: A Quick-Reference Chart
The A-series is the foundation of UK poster printing. Choosing the right one is like picking the right volume for your message – you wouldn't whisper in a packed hall or shout in a quiet café. Knowing what each size is typically used for helps you match the poster to the environment.
The table below breaks down the dimensions and common uses for the most popular UK poster sizes.
UK Standard Poster Sizes (ISO A-Series) Dimensions and Common Uses
| Size | Dimensions (mm) | Dimensions (inches) | Common UK Uses |
|---|---|---|---|
| A0 | 841 x 1189 mm | 33.1 x 46.8 in | Huge, attention-grabbing posters for outdoor ads, shopping centres, and exhibition halls. |
| A1 | 594 x 841 mm | 23.4 x 33.1 in | The classic large poster. Perfect for shop windows, event announcements, and trade show displays. |
| A2 | 420 x 594 mm | 16.5 x 23.4 in | The most popular all-rounder for indoor ads in pubs, cafes, and community spaces. |
| A3 | 297 x 420 mm | 11.7 x 16.5 in | Ideal for detailed notices and charts in reception areas or on notice boards. |
| A4 | 210 x 297 mm | 8.3 x 11.7 in | Standard document size, often used for flyers, handouts, and small informational signs. |
This at-a-glance guide should make it easy to visualise which A-series size will deliver the impact you need.
Here’s a closer look at what each of the main poster sizes does best:
-
A0 (841 x 1189 mm): This is the big one, a real showstopper. Its massive scale is built for grabbing attention in wide-open spaces where you need to be seen from a distance. Think shopping centres, exhibition halls, or outdoor advertising hoardings.
-
A1 (594 x 841 mm): Often seen as the go-to large poster size, A1 is a versatile workhorse. It’s big enough to command a shop window, announce a major event, or act as the focal point for a trade show stand.
-
A2 (420 x 594 mm): This is probably the most popular size for general event promotion and indoor ads. A2 posters are large enough to get noticed in busy spots like pubs, cafes, and community centres without being overwhelming.
-
A3 (297 x 420 mm): Double the size of a standard A4 page, A3 is perfect for more detailed notices meant to be viewed up close. It works brilliantly for informational posters in reception areas, detailed sales charts, or small-scale promotions on notice boards.
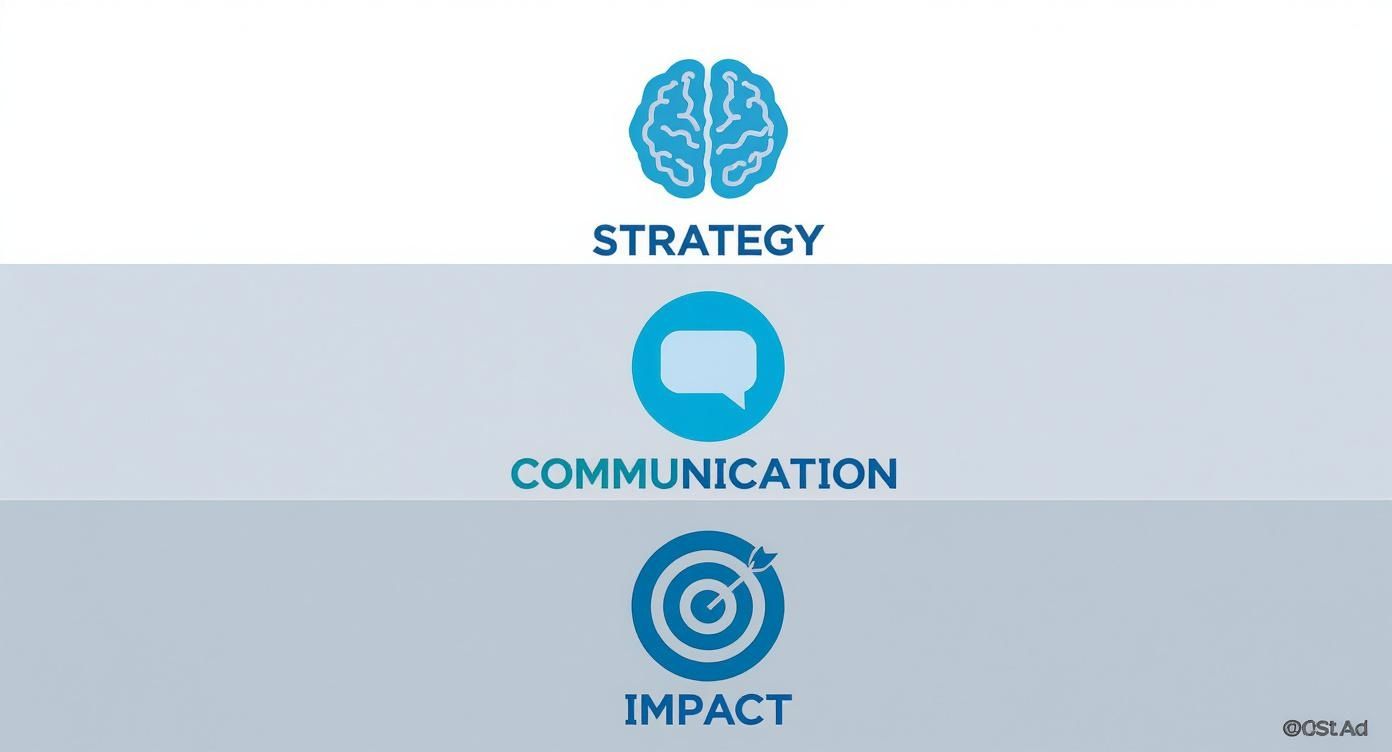
Choosing the right size is the first step in a successful campaign, connecting your strategy to your communication method to achieve real impact.
UK Sizes vs. Common US Sizes
While the A-series is the global standard, it’s vital to know that the United States uses its own system based on inches. This difference can cause serious headaches if you’re collaborating with an American team or using design templates built for the US market.
A common medium poster in the US is 18 x 24 inches, which is close to our A2 but not an exact match. Likewise, their large 24 x 36 inches poster is nearly the same as our A1, but the different aspect ratio means your artwork would need some serious tweaking to fit.
Always double-check which measurement system you’re working with (ISO 'A' series or US inches) right from the start. A simple mix-up can lead to expensive reprints or artwork that doesn't fit its frame.
Movie posters, for example, have their own world standard. The classic "one-sheet" you see at the cinema is typically 27 x 40 inches, a size that doesn’t line up with any A-series dimensions at all.
Knowing these little details is key. And if you're planning something truly massive, you might be looking beyond standard posters altogether. For those aiming for a huge visual presence, our guide on event backdrop banners offers great insights into making an even bigger splash.
Ultimately, getting to grips with the A-series is your first big win. When you understand how each poster printing size is designed to work—from the commanding A0 to the informative A3—you can make smarter choices that guarantee your message gets seen and heard.
Matching Your Poster Size to Your Goal
Knowing your A-series sizes is one thing, but the real art is matching those dimensions to what you’re trying to achieve. Choosing the right poster printing size isn’t just about what looks good; it’s a strategic move. It's about making sure your message hits home with maximum impact, whether it’s in a quiet hallway or a packed exhibition centre.
The main idea is simple: your poster has to fit its environment and viewing distance. You wouldn't whisper a secret across a football pitch, would you? In the same way, a small A3 poster advertising a flash sale will get completely lost in a massive shopping centre, its message swallowed by the sheer space.
On the flip side, a huge A0 poster crammed into the doorway of a tiny boutique would feel overpowering and just plain wrong. The trick is to match the scale of your poster to the scale of the space and the attention span of your audience. Getting this right is what great print marketing is all about.
Posters for Retail and Point of Sale
In a shop, your main job is to sway a customer's decision right at the crucial moment. You're talking to people who are already in your space and ready to listen. Because they’re close up, smaller, more detailed posters work brilliantly.
- A3 (297 x 420 mm): This is your go-to size for placing near the till, on product displays, or inside changing rooms. It’s big enough for a clear call-to-action without hogging all the attention.
- A2 (420 x 594 mm): Step it up to A2 for in-store promotions that need a bit more oomph, like announcing a new collection at the end of an aisle or advertising a special offer in a café.
Think of these smaller sizes as your silent salespeople, giving helpful nudges just where they're needed most.
Dominating Events and Trade Shows
Trade shows are a whole different ball game. You’re fighting for eyeballs against hundreds of other brands in a noisy, visually chaotic space. Your mission is to get spotted from across the room and pull people to your stand. This is where big posters aren't just an option—they're essential.
An A1 or A0 poster is like a lighthouse for your brand, cutting through the noise and signalling your presence. It's the visual handshake that gets people to walk over.
At a busy event, your poster has just three seconds to capture someone's attention from a distance. If the size is too small, your message will never even enter the conversation.
Here's how the big guns perform here:
- A1 (594 x 841 mm): This is the minimum size you should consider for a trade show. It’s large enough for a bold headline and a striking graphic that can be seen from several metres away, making it a classic choice for shell scheme walls.
- A0 (841 x 1189 mm): When you really need to make a statement, go for A0. Its massive scale demands attention and gives you plenty of canvas for stunning visuals that stand out even in the biggest exhibition halls.
Impactful Outdoor and Public Advertising
When you take your message outside, you’re up against the ultimate challenge: catching the eye of people on the move, often from far away. Outdoor advertising needs the largest poster printing size options available to compete with the world around it. While A0 is a solid choice for high-street displays, this is also where custom large-format printing for billboards and hoardings really shines.
The UK's custom printing market is booming, proving just how powerful physical media still is. Promotional product sales have hit a record £1.232 billion, and it's all part of a wider UK print industry worth around £23 billion. This growth is fuelled by new digital printing tech and a bigger demand for sustainable options. You can learn more about the UK’s thriving custom print market.
This shows just how much businesses value getting their message seen. And picking the right size is the very first step to making sure your investment in print gets you the results you’re after.
Preparing Your Artwork for a Flawless Print
You’ve chosen the perfect poster size. Fantastic! But the job isn't quite finished. The next step is making sure the digital file you send us looks just as brilliant in print as it does on your screen.
Think of this as your pre-flight checklist. Following these simple technical steps helps you sidestep the common traps that lead to fuzzy images, disappointing colours, or—worst of all—expensive reprints. It’s less about being a design wizard and more about a few core printing principles.
Cracking the Code on Resolution and DPI
Ever seen a poster that looked blurry or pixelated up close? That’s nearly always a resolution problem. For printed materials, we measure resolution in DPI, which stands for 'Dots Per Inch'. It simply tells you how many tiny dots of ink the printer will place in every square inch of paper to build your image.
For a crisp, professional-looking poster, the gold standard is 300 DPI. When your file is set to this resolution at its final print size, the ink dots are so densely packed that the human eye sees them as a single, smooth image.
Going below this can cause real problems. A file at 150 DPI might look okay from a distance, but it will almost certainly appear soft or blurry when viewed up close. If your poster is going in a shop, at an event, or in an office, sticking to 300 DPI is non-negotiable for a quality finish.
Think of DPI like the thread count on bedsheets. A low thread count feels rough and you can see the individual threads. A high thread count feels smooth and luxurious. 300 DPI is the high-thread-count version of printing.
From Screen Colour to Print Colour
One of the most common surprises for people new to printing is seeing their vibrant screen colours look different on the final poster. Don't worry, it's not an error—it's just science. Your computer screen and our printers speak two different colour languages.
- RGB (Red, Green, Blue): This is the language of screens. Monitors create colour by adding red, green, and blue light together. The more light you add, the closer you get to pure white.
- CMYK (Cyan, Magenta, Yellow, Black): This is the language of printers. We create colour by mixing these four inks on paper. This process subtracts light, so the more ink you add, the closer you get to black.
The RGB colour range is much wider than what CMYK inks can reproduce. This means some super-bright colours on your screen (like electric blues or neon greens) simply don't exist in the world of print.
To avoid any nasty surprises, you should always set up your design file in CMYK mode from the very start. This gives you a much more accurate preview of how the colours will actually look on paper. For a deeper dive, check out our guide on uploading artwork for custom banners, which covers these essentials.
Why Bleed and Safe Zones Are So Important
When we print your poster, it’s usually on a large sheet of paper that gets trimmed down to the final size. Since mechanical trimmers aren't 100% precise down to the micrometre, we need a small margin for error. This is where 'bleed' comes in.
Bleed is a safety margin. To create it, you simply extend your background colours or images about 3mm beyond the final trim edge on all sides. That way, if the trimmer cuts a fraction of a millimetre off, this extra bit of design ensures you don’t end up with an ugly white sliver along the edge of your poster.
The safe zone is the opposite. It’s an area inside the trim line where you should keep all your vital text and logos. By keeping important elements away from the very edge, you guarantee they won’t get accidentally clipped off during trimming.
To help you get it right every time, we've put together a simple checklist. Run through this before you send us your file, and you’ll be set for a perfect print.
Artwork Setup Checklist for Poster Printing
This table will guide you through the essential steps to prepare a print-ready file, ensuring your final poster looks exactly as you intended.
| Checklist Item | Requirement | Why It's Important |
|---|---|---|
| Resolution | 300 DPI at the final print size | Guarantees your images and text are sharp, clear, and professional-looking up close. |
| Colour Mode | CMYK (not RGB) | Ensures the colours you see on screen are a realistic match for the final printed ink colours. |
| Bleed | Extend artwork 3mm beyond all edges | Prevents thin white lines from appearing at the edges of your poster after trimming. |
| Safe Zone | Keep key text/logos inside the trim line | Protects your important information from being accidentally cut off during the finishing process. |
| File Format | High-quality PDF or JPG | These formats lock in all your design elements and are universally compatible with professional printers. |
Following these steps is the single best way to ensure the poster you designed on screen is the exact one you get in your hands. It takes the guesswork out of the process and sets you up for success.
Choosing the Right Materials and Finishes
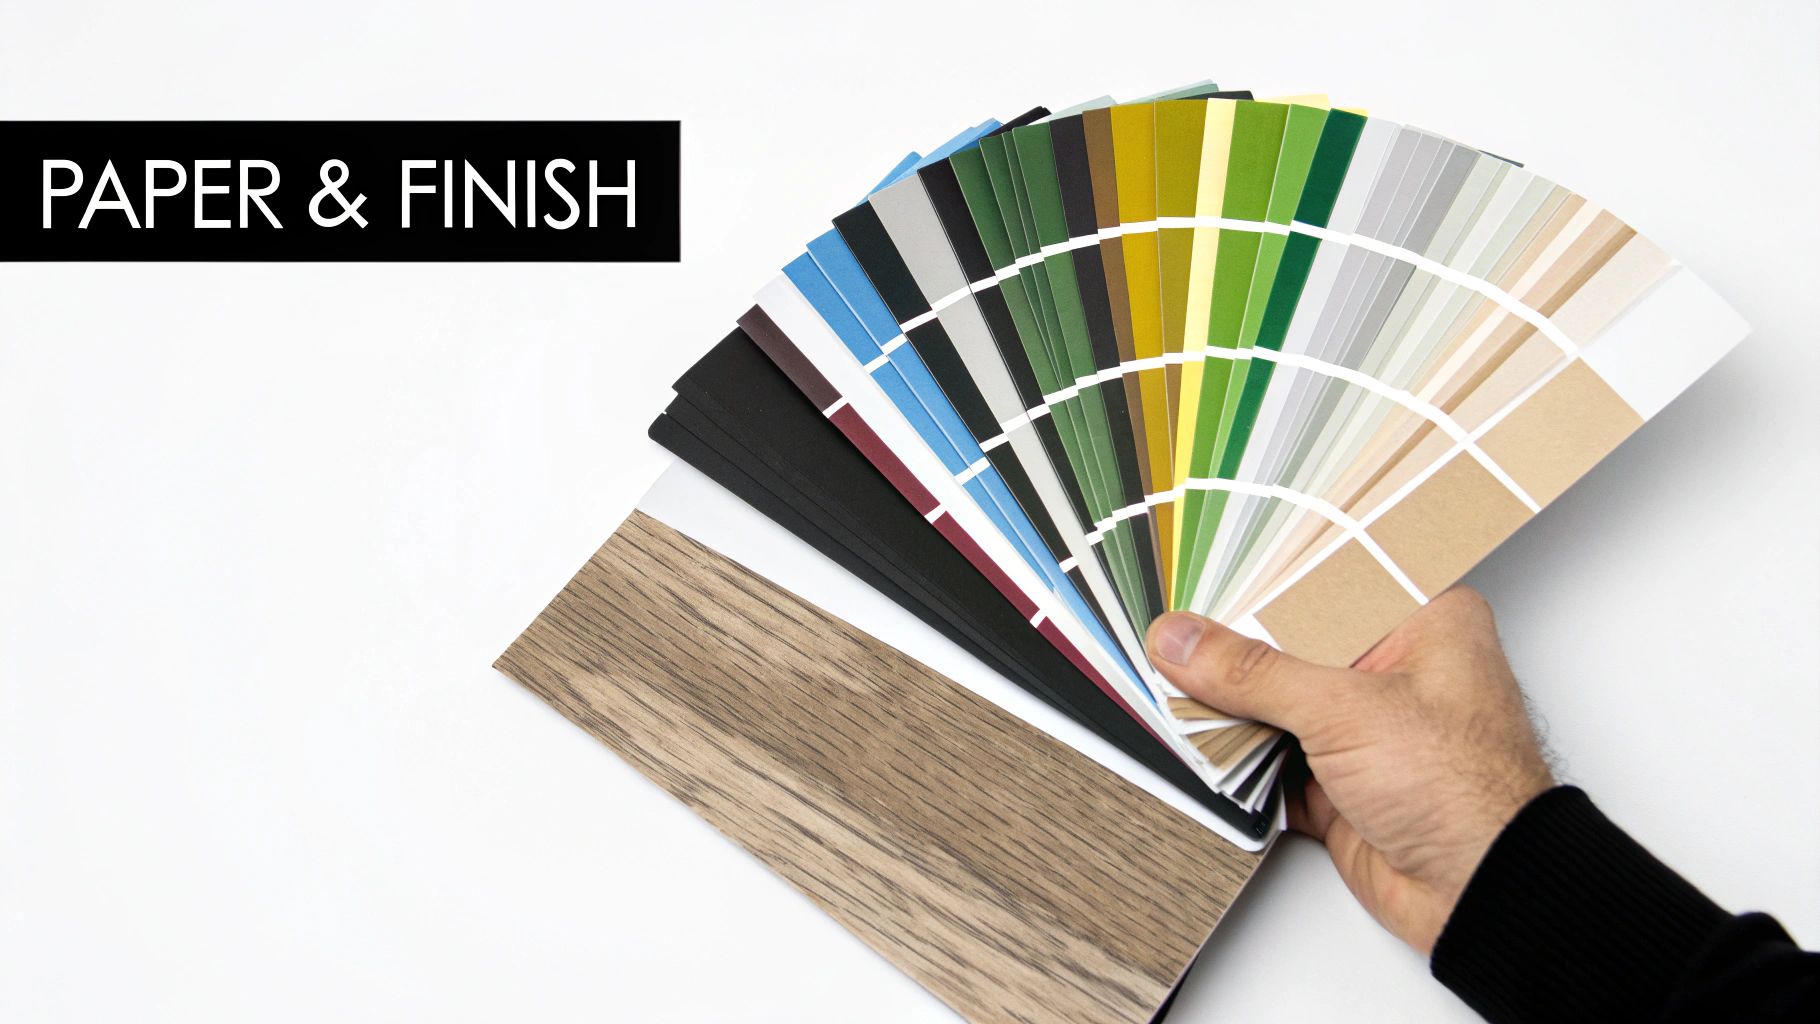
While the right poster printing size gets your message on the wall, the material and finish you choose are what truly make it sing. These details define how your poster feels to the touch, how it plays with the light, and most importantly, how well it holds up wherever you hang it.
Think of it as the difference between a standard photo and a gallery-quality print. The texture and finish add a whole new layer of professionalism and impact. A flimsy, see-through paper can make even the most incredible design look cheap, whereas a premium, heavy stock communicates quality before anyone even reads a word.
Understanding Paper Weight and Durability
One of the first calls you’ll make is on paper weight, measured in GSM (Grams per Square Metre). This isn't just a technical spec; it's a direct measure of your poster's thickness, sturdiness, and overall feel. A higher GSM number means a heavier, more substantial paper.
For most indoor uses, 170gsm is a fantastic all-rounder. It’s sturdy enough to hang beautifully without creasing easily, giving you a professional look that’s also great value. But if you’re after a touch of luxury or know the poster will be handled a lot, stepping up to a 250gsm stock makes a world of difference. It just feels more premium and is built to last.
A poster's weight does more than add durability—it adds authority. A heavier paper stock instinctively feels more important and valuable, boosting the perceived quality of your brand or event.
Choosing the Perfect Finish for Your Environment
The finish of your poster—how the surface is treated—is all about controlling light. This decision is vital for making sure your message stays clear and vibrant in its final location. Each finish has its own personality and practical strengths.
-
Matt Finish: Your best friend in the fight against glare. A matt finish has zero shine, making it perfect for brightly lit spots like galleries, shop interiors with spotlights, or rooms with big windows. Text is incredibly easy to read on a matt surface.
-
Gloss Finish: Want colours that leap off the page? Gloss is the answer. Its shiny, reflective surface makes images look unbelievably vibrant and rich. It’s ideal for photographic posters or designs packed with bold, saturated colours—just be careful about placing it directly under harsh lights.
-
Satin Finish (or Semi-Gloss): This is the best of both worlds. A satin finish has a subtle sheen that makes colours pop without the intense reflections you get from a full gloss. It’s a hugely versatile and popular choice that looks brilliant in almost any indoor setting.
Options for Outdoor and Demanding Conditions
When your poster has to face the great outdoors, standard paper simply won’t do. For any outdoor campaign, durability and weather resistance are non-negotiable. This is where specialised materials step in.
Waterproof PVC vinyl is the gold standard for outdoor banners and posters. It’s engineered to stand up to rain, wind, and sun without tearing or fading, keeping your message bright and bold for weeks or even months. If you need a truly tough solution, check out our premium outdoor vinyl banners which are both weatherproof and UV-resistant.
The UK's large-format printing industry has shown incredible resilience, with businesses continuing to invest in powerful advertising. The sector's turnover hit £11.6 billion in 2020 despite everything, and there’s a growing appetite for sustainable materials like recyclable polyester and PVC-free boards. This shift proves how important it is to pick materials that not only work hard but also align with modern environmental values.
Your Poster Printing Questions, Answered
When you’re about to get a project printed, a few practical questions always seem to pop up. You’ve got the design sorted and you know what you want to achieve, but those final details can feel like a hurdle. We get it. To make sure you can move forward with total confidence, we’ve put together clear, straight-to-the-point answers to the questions we hear most often.
Think of this as your go-to guide, building on what you’ve learned about sizes and artwork to tackle those real-world uncertainties that arise just before you’re ready to hit ‘print’.
What Is the Most Popular Poster Size for Events in the UK?
For most indoor events, the A2 (420 x 594 mm) is the undisputed champion. It just hits that perfect sweet spot—big enough to catch the eye in a busy pub, café, or community hall, but not so massive that it's a pain to find wall space for. It’s the reliable workhorse of event promotion.
But what if you're in a bigger space, like an exhibition hall, or you're advertising outdoors? That's when you step up to an A1 (594 x 841 mm). It has the scale you need to be seen clearly from across a room, cutting through all the other visual noise.
Rule of thumb: Go for A2 for general indoor use where people will see it up close. Choose A1 when you need to make a bigger impact from further away.
Can I Print a Poster from My Phone Camera?
This is a classic question, and the honest answer is: it depends. A photo from a modern high-end smartphone can often look fantastic printed at A4 or maybe even A3. The cameras on phones today are incredibly powerful and capture a ton of detail.
The problem comes when you try to blow that same photo up to a much larger poster size, like A2 or A1. At that scale, you’ll start to see the limits of the image's resolution. The result? A print that looks blurry, soft, or pixelated. To get a really crisp A2 print, you need a high-resolution file that was designed for it.
If you’re ever in doubt, just send us your file. We can run a quick quality check and let you know the absolute maximum size it can be printed at without losing its sharpness. That way, you’ll never be disappointed with the final product.
What Does GSM Mean and Which Should I Choose?
GSM stands for ‘Grams per Square Metre’. It’s simply the standard way to measure how thick and heavy a piece of paper is, which directly impacts its durability and how it feels. A higher GSM number means a thicker, heavier, and more substantial paper.
So which one is right for you?
- For a standard indoor poster that looks professional and hangs well, 170gsm is a brilliant, cost-effective choice. It’s got enough heft to look great without being too rigid.
- If you want something a bit more premium that hangs perfectly flat and has a more substantial feel, upgrading to 250gsm is a great move. That extra weight gives your poster a high-quality touch that really reflects well on your brand.
For anything outdoors, you’ll want to look past standard paper and towards specialised waterproof materials like our PVC vinyl.
Why Do My Printed Colours Look Different from My Screen?
Ah, the age-old printing puzzle! This happens because of a fundamental difference between how screens create colour and how printers do it.
Your computer screen uses the RGB (Red, Green, Blue) colour model. It creates colours by mixing light, and it can produce millions of incredibly bright, vibrant shades.
Printers, on the other hand, use the CMYK (Cyan, Magenta, Yellow, Black) model, which works by layering inks that absorb light. The range of colours (or 'gamut') that CMYK can produce is naturally smaller than RGB.
This means that when your RGB design file is converted for printing, some of those super-bright colours—especially electric blues, vivid greens, and hot pinks—can’t be perfectly replicated with ink. They might look a little duller in the final print. The only way to avoid this surprise is to design your artwork in CMYK mode from the start. This gives you a much more accurate preview on your screen of how the colours will actually look when printed.
Ready to bring your vision to life? With your questions answered, you can confidently choose the perfect poster size, material, and artwork setup for maximum impact. Banner Printing Ltd is here to make it happen with fast, high-quality printing and free UK delivery.
Explore Our Full Range of Custom Poster Printing Options
Article created using Outrank


One Comment
[…] Use strategically placed posters or hanging signs as mid-ground layers. Understanding the right poster printing size is crucial to ensure they complement the scale of your display without overwhelming […]