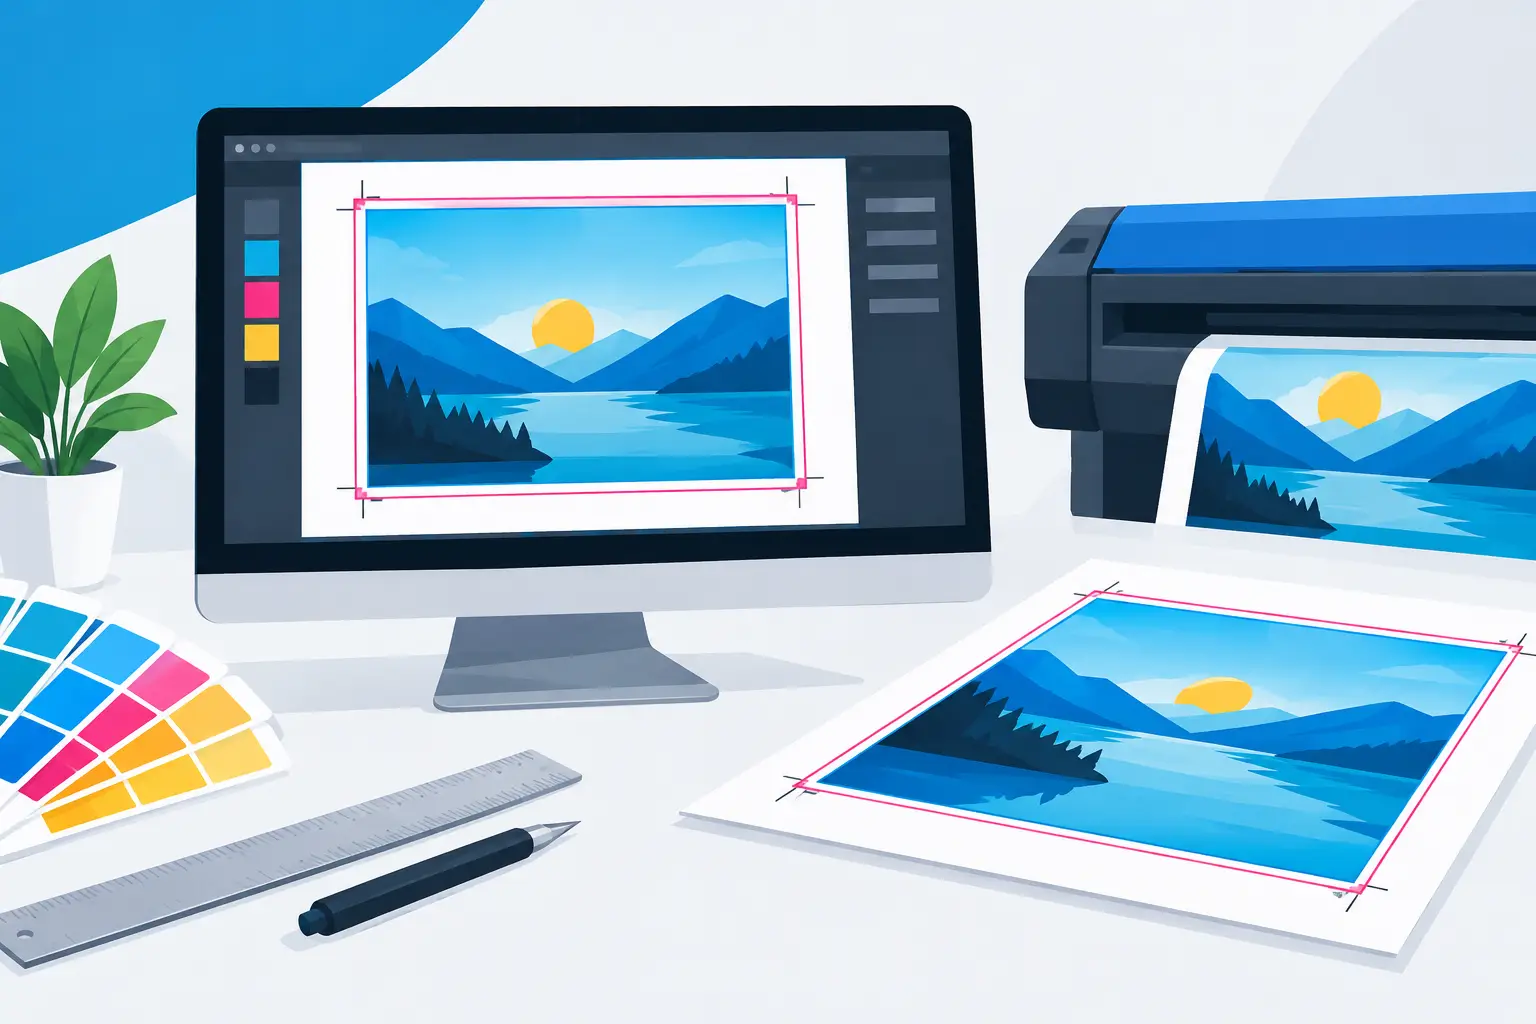
A thin white line around the edge of a flyer, poster or banner can make an otherwise strong design look unfinished. It usually happens because the artwork stopped at the finished size instead of extending beyond it. Knowing how to create bleed print files prevents that issue and gives the printer the room needed to trim your job accurately.
Bleed is a small production detail, but it has a major effect on the finished result. Whether you are ordering event posters, promotional flyers, branded stickers or business cards, setting up your artwork correctly helps keep fast turnaround on track and avoids unnecessary artwork queries.
What bleed means in print
Bleed is the extra area of artwork that extends past the final cut edge of a printed product. Once printing is complete, the sheet is trimmed down to its finished size. That extra image or background area means there is still full colour right to the edge, even if the cut moves by a fraction of a millimetre.
Commercial cutting is precise, but it is not sensible to expect a blade to land on exactly the same microscopic point across every sheet. Without bleed, a slight trim variation can reveal an unprinted white edge. With bleed, the excess artwork is removed during trimming, leaving a clean edge.
For most standard print products, a 3 mm bleed on every side is the usual requirement. A finished A5 flyer, for example, measures 148 x 210 mm. With 3 mm bleed added to each edge, the artwork file should measure 154 x 216 mm.
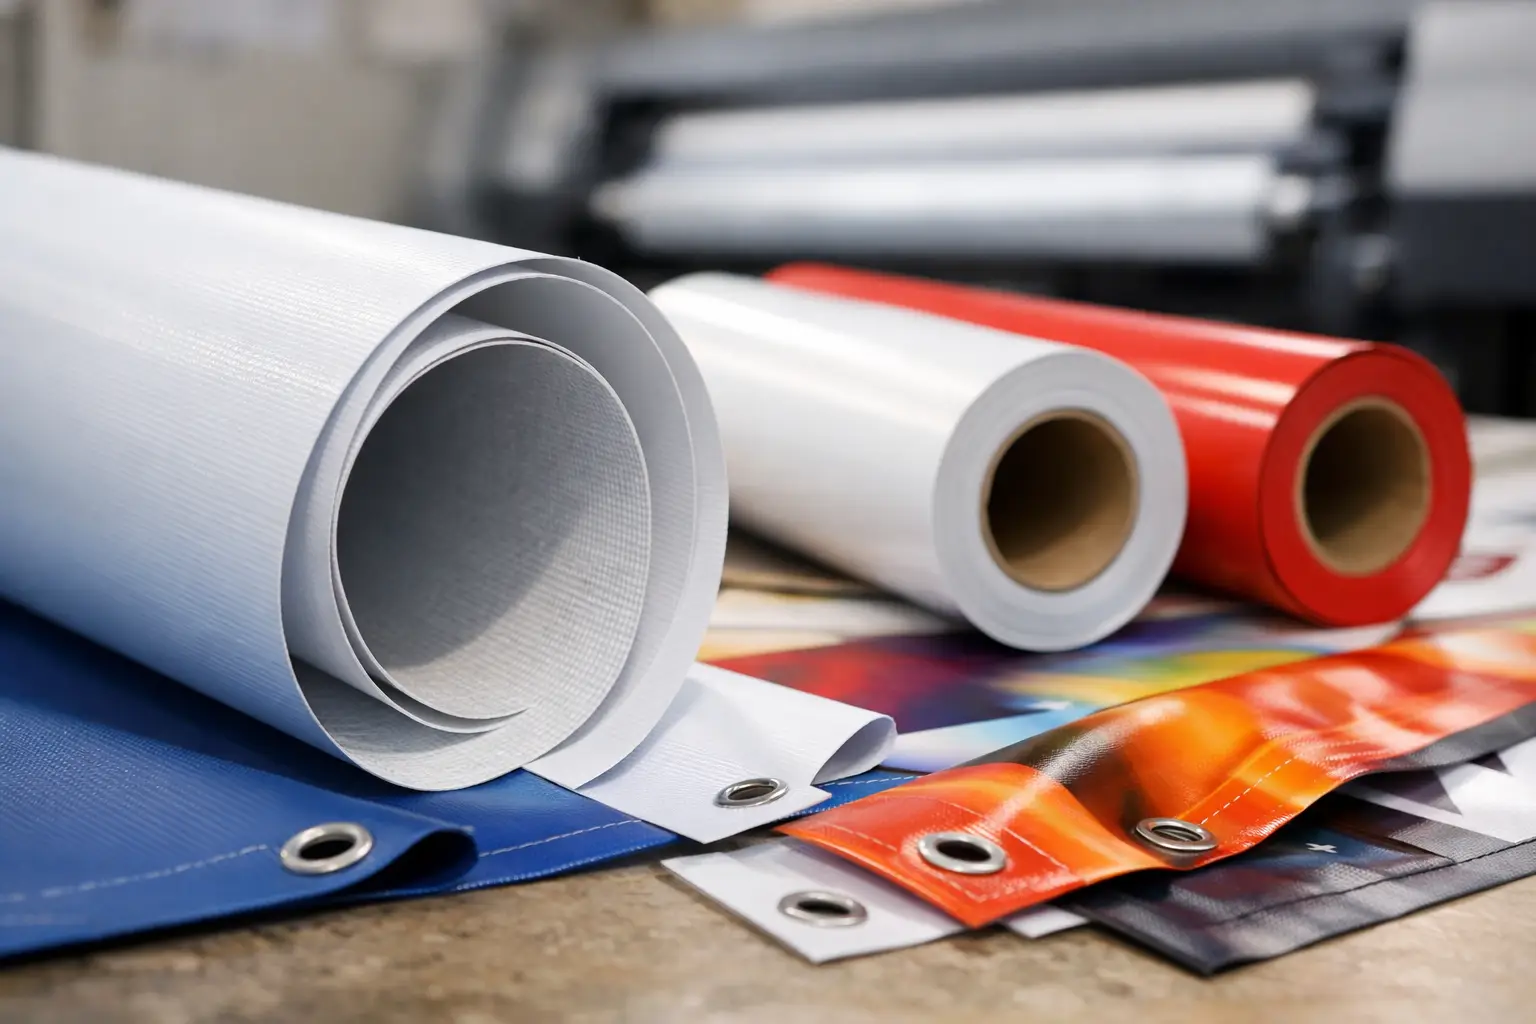
Large-format products can work differently. Vinyl banners, mesh banners and fabric backdrops may use hem, eyelet or finishing allowances rather than a conventional 3 mm bleed. Always work from the product template or artwork specification for the item you are ordering. A file prepared perfectly for a business card is not necessarily suitable for a 3 m outdoor banner.
How to create bleed print files in your design software
The best time to add bleed is when you create the document, not just before you export it. Most professional design programmes let you set a bleed value in the new-document window. Enter 3 mm for standard small-format jobs unless the product specification says otherwise.
You will normally see an outer guide around the page edge. The inner edge represents the trim size. The outer guide marks the bleed area. Any photo, colour block, pattern or graphic that is intended to reach the edge of the finished product must extend all the way to that outer guide.
A background photo on a poster is a common example. Do not place it exactly within the poster dimensions. Enlarge it so it continues into the bleed area on all four sides. The final trim removes the excess, producing an edge-to-edge image rather than a narrow white border.
If the document has already been designed without bleed, you can often add it afterwards. Increase the canvas or document setup by the required amount, then extend backgrounds and edge graphics beyond the trim line. Check each side individually. It is easy to correct the top and bottom while overlooking a thin gap on the left or right.
Working in Adobe InDesign, Illustrator and similar tools
InDesign and Illustrator are built for print setup. Add bleed in Document Setup, usually under the File menu, then enter the value required. When exporting a PDF, select the option to use the document bleed settings. This is the point many otherwise good files go wrong: the bleed is visible in the design programme but is not included in the exported PDF.
Keep crop marks off unless your printer asks for them. They can be useful in a production workflow, but they are not a substitute for bleed and may complicate an online artwork upload.
Working in Canva, PowerPoint or other office tools
Canva can export designs with crop marks and bleed enabled. Use this option only after checking that backgrounds reach the page edge and important text is kept well inside it. PowerPoint and other office software are less reliable for precise commercial print, particularly where sizing, colour conversion and PDF output matter.
They can still be suitable for simple internal posters or straightforward designs, but a professionally set PDF is the safer choice for high-volume promotional print, customer-facing displays and deadline-sensitive event materials. If you are working from an online template, choose one supplied at the correct finished size wherever possible.
Bleed, trim and safe area are not the same thing
A print-ready file has three areas to understand. Bleed sits outside the finished product. The trim line is where the product is cut. The safe area sits inside the trim line and protects key content from being clipped.
Keep logos, contact details, QR codes, offer text and faces away from the trim edge. For most flyers and business cards, allow at least 3 mm inside the trim line, and preferably more where the design allows. A 5 mm safe margin gives important elements more breathing room and often improves the layout too.
This matters even more with roller banners and large display graphics. Do not position a web address, logo or key message close to an edge, hem or cassette area. The audience needs to see it clearly from a distance, and the finishing process needs room to do its job.
Set up colour and images for dependable results
Bleed fixes edge issues, but it cannot correct every artwork problem. Before exporting, check that images are high resolution at the size they will print. For leaflets, posters and similar close-viewed products, 300 dpi at final size is a dependable benchmark. For large banners viewed from several metres away, lower resolution can be acceptable, but starting with the best available image is always wise.
Use CMYK colour mode when your design software supports it. Screens display RGB light, while printed inks use CMYK, so bright digital colours can shift when printed. Neon greens, vivid blues and intense oranges are particularly likely to look different on paper or vinyl.
That does not mean your branding will look poor. It means it should be designed with print in mind. Use approved CMYK brand values where available, avoid relying on screen brightness alone and request a proof where colour matching is business-critical.
Text should be clear, high contrast and sized for its viewing distance. A small font that looks sharp on a laptop can become difficult to read on a shop window poster or exhibition backdrop. For banners, focus on a short message, a clear call to action and contact details that can be read at the distance your customers will stand.
Export a print-ready PDF
PDF is normally the most dependable format for commercial print because it preserves page size, vectors, fonts and image placement. Export at the finished specification, include bleed, and choose high-quality print settings.
Before uploading, reopen the PDF and inspect it rather than assuming the export worked. Zoom into all four corners and confirm that backgrounds continue beyond the trim area. Check that no text has shifted, no images are pixelated and no key information sits too close to an edge.
A quick final check should cover the following:
- The document is the correct finished size with the required bleed included.
- Backgrounds and edge-to-edge graphics extend through the bleed area.
- Important content stays within the safe area.
- Images are sharp enough for the final print size.
- The PDF opens correctly and contains the right page or pages.
When bleed may not be needed
Bleed is only required when artwork, colour or images run to the edge of the finished item. If your design has a deliberate white border that remains well inside the trim line, there may be no need for edge bleed. The distinction is important: a planned border is part of the design, while an accidental white sliver is a trimming problem.
Some products also have their own finishing rules. A banner with a folded hem needs extra material for the hem, while stickers may need a cut contour and different safety margins. For these jobs, following the product artwork guide matters more than applying a generic setting.
If you are unsure, do not leave it until dispatch day. Check the specification before uploading, particularly for urgent campaigns, exhibition deadlines or outdoor signage. At Banner Printing UK, a correctly prepared file helps the production team move straight from artwork approval to HQ printing and fast delivery.
Bleed is a small allowance that protects a big investment: the first impression your printed marketing makes. Give backgrounds room to run past the edge, keep key content safely inside, and your finished print will look intentional from every angle.