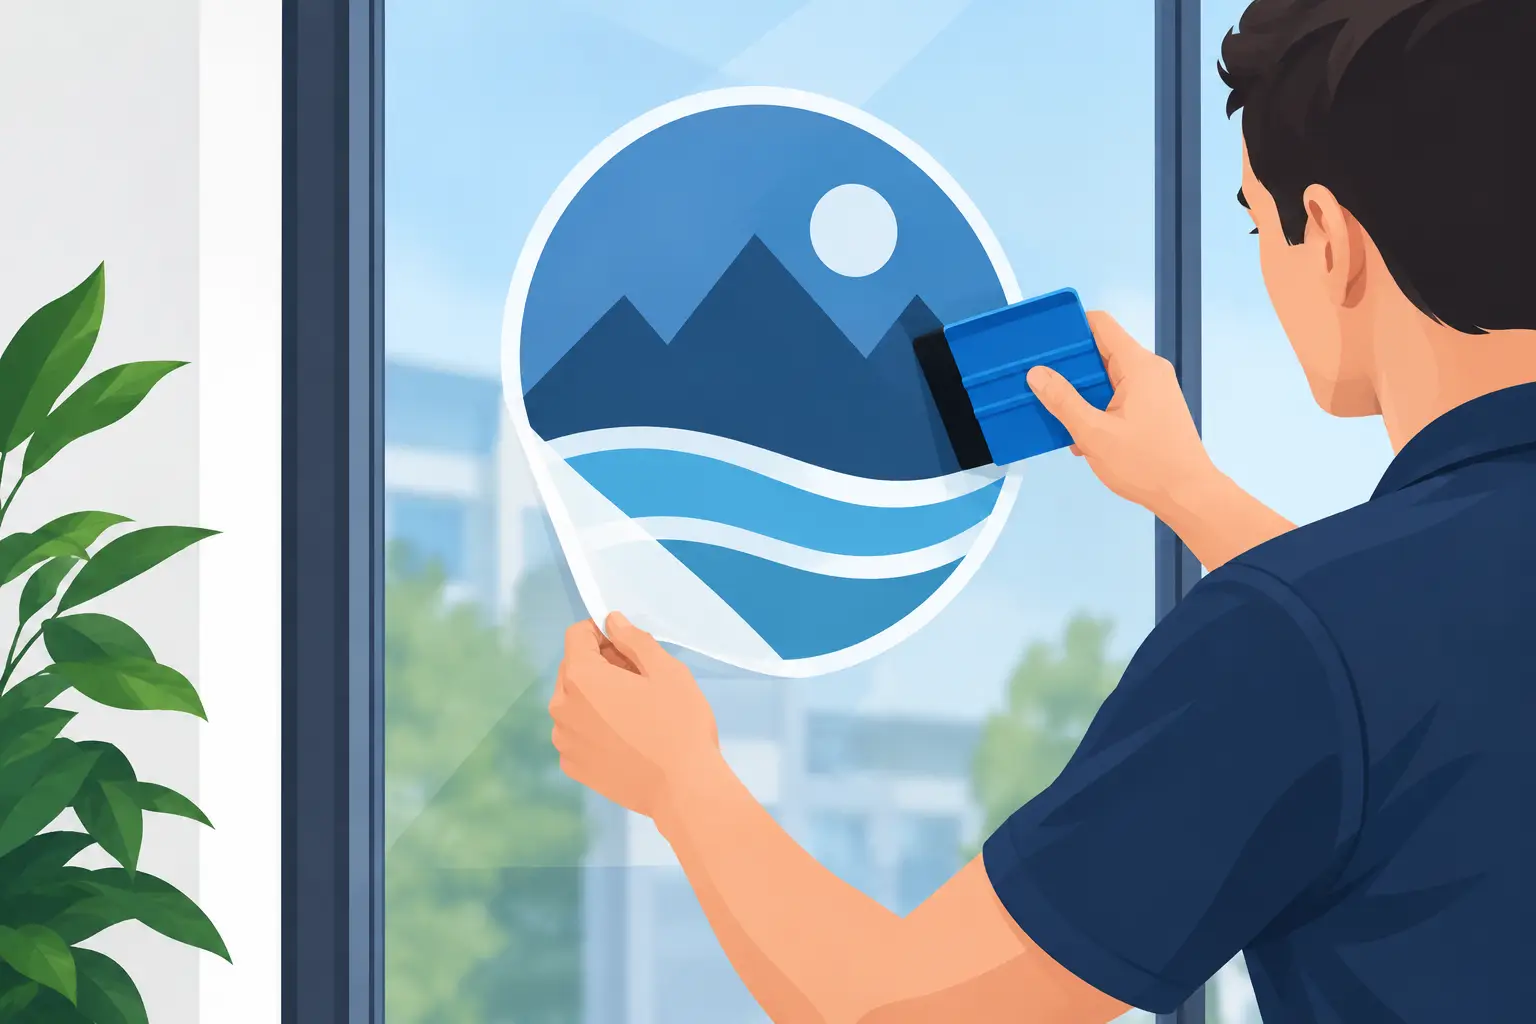
A window sticker that is even slightly crooked, trapped with dust or full of bubbles can make a well-designed shopfront look rushed. Knowing how to apply window stickers properly protects the impact of your artwork and gives customers the polished first impression your business needs.
Whether you are fitting a small opening-hours decal, a large promotional graphic or temporary sale messaging, the best result comes from preparation rather than force. Take a few extra minutes to clean, measure and position the sticker, and the application itself becomes straightforward.
Choose the right time and surface
Apply window stickers to clean, smooth glass wherever possible. Glass doors, shop windows, internal partitions and display cabinets are ideal because they give the adhesive a flat, stable surface to grip. Avoid applying stickers over cracked glass, flaking paint, textured film or residue from previous graphics.
Temperature matters too. Very cold glass can make adhesive less responsive, while direct sunshine can heat the window and cause the sticker to grab before you have finished positioning it. A dry, mild day or a shaded indoor area gives you the most control. If the glass has been exposed to rain or condensation, wait until it is fully dry.
Before starting, check which side of the glass your sticker is intended for. A standard adhesive window sticker is usually applied to the outside-facing surface. A reverse-printed design is fitted inside the glass so it can be read from outdoors. Getting this wrong is an easy and costly mistake, especially with text, logos and directional signs.
What you need before applying a window sticker
You do not need specialist equipment, but the right basics make a noticeable difference. Have a glass cleaner, lint-free cloths, masking tape, a tape measure, a pencil or removable marker, a clean squeegee and a sharp craft knife to hand. A credit card wrapped in a soft microfibre cloth can work for small stickers, but a proper application squeegee is better for larger designs.
Do not use household paper towels to dry the glass. They can leave fibres behind, and those tiny fibres often become visible once the vinyl is in place. Likewise, avoid strong cleaners that leave a waxy or silicone coating. The glass should feel completely clean, not slippery.
For a large graphic, it helps to have a second person. One person can hold the material steady while the other removes the backing and works the sticker down. This is particularly useful for retail window displays, event signage and long opening-hours panels.
How to apply window stickers using the dry method
The dry method is the most common way to fit small and medium vinyl stickers. It offers a firm bond straight away and works well for lettering, logos, individual decals and short-term promotional graphics.
1. Clean the glass thoroughly
Spray the surface with glass cleaner and wipe it with a lint-free cloth. Pay attention to the edges and corners, where old adhesive, dust and fingerprints often collect. Then dry the window completely.
Look at the glass from an angle before moving on. If you can see smears, fibres or dust, clean it again. The sticker will only look as good as the surface underneath it.
2. Measure and mark the position
Hold the sticker against the window with its backing still attached. Use a tape measure to find the centre point and make small guide marks with removable tape. For shopfront graphics, measure from the frame rather than guessing from the edge of the glass, as old windows are not always perfectly square.
Step back several metres and check the placement from the customer’s viewpoint. A logo may be technically centred but look too high, too low or hidden behind a display stand from the pavement. This quick check is worth doing before any adhesive touches the glass.
3. Create a tape hinge
Once you are happy with the position, run a strip of masking tape across the top edge of the sticker, half on the sticker and half on the glass. This creates a hinge that holds the graphic in the correct place while you work.
Lift the sticker from the bottom, keeping the top tape in place. Peel back a section of the backing paper, usually around 10 to 15 centimetres at a time. Do not remove all the backing at once unless the sticker is very small. Large exposed adhesive areas can fold over, attract dust or stick to the glass before you are ready.
4. Squeegee from the centre outwards
Holding the sticker taut but not stretched, press the exposed section onto the glass with overlapping squeegee strokes. Start at the centre and work out towards the edges. This pushes air away from the middle instead of trapping it underneath.
Continue peeling the backing gradually and squeegeeing each new section as you go. Keep your strokes firm and consistent. Rushing this stage is the main cause of creases and bubbles.
If your sticker includes application tape over the front, leave it in place until the vinyl has been pressed down fully. Then peel the application tape back slowly at a sharp angle, keeping it close to the glass rather than pulling it directly away. If part of the design lifts with the tape, lay it back down and squeegee that area again.
When the wet method is the better option
For larger solid vinyl panels, full-window graphics or designs that need precise repositioning, the wet method can give you more working time. It involves lightly misting the glass with a suitable application fluid before placing the sticker. The fluid stops the adhesive from bonding immediately, so you can slide the graphic into position.
This method is not suitable for every material. Paper stickers, some short-term adhesives and certain laminated products may not perform well when applied wet. Always follow the material guidance supplied with your printed stickers. If you are unsure, use the dry method or test a small area first.
To apply wet, clean the glass as usual, then mist it lightly. Place the sticker on the damp surface and position it using your guide marks. Starting at the centre, use firm overlapping squeegee strokes to force the liquid and air towards the edges. Work patiently – any moisture left beneath the vinyl can delay the bond.
After fitting, do not clean the window or expose it to heavy weather straight away. Depending on the size of the graphic and conditions, allow at least 24 hours for the adhesive to settle properly. Larger prints may take longer to dry out fully, particularly during colder UK weather.
Avoid the mistakes that spoil a professional finish
Most window sticker problems are preventable. Applying over dirt is the obvious one, but there are a few others worth watching for. Avoid stretching vinyl as you pull it from the backing, because it can shrink back later and lift at the edges. Do not press hard with a bare card or blade, as it can scratch the print or leave drag marks.
Small bubbles can sometimes be worked to the nearest edge with a squeegee or your thumb wrapped in a soft cloth. For a stubborn pinprick bubble, use a very fine pin to release the air, then press the area flat. Use this sparingly – a large puncture is more noticeable than a small bubble.
If the sticker lands badly, do not yank it off in frustration. Lift it slowly and evenly while it is still fresh, then clean the surface again before trying another application. Once adhesive has picked up dust or fibres, the finish is unlikely to improve by simply pressing it back down.
Looking after stickers once they are fitted
A quality vinyl window sticker is designed to cope with everyday use, but it still benefits from sensible care. Leave newly fitted graphics alone for the first day so the adhesive can establish a secure hold. Afterwards, clean the surrounding glass with a soft cloth and mild cleaner, avoiding abrasive pads and harsh solvents around the graphic’s edges.
For external shop windows, check the corners occasionally, especially after prolonged rain, frost or frequent cleaning. If an edge starts to lift, press it down early with a clean squeegee rather than allowing water and dirt to work underneath.
For seasonal campaigns, removal is usually simplest when the glass is slightly warm. Peel the sticker back slowly at a shallow angle. Any remaining adhesive can be removed with an appropriate glass-safe adhesive remover and a soft cloth.
A clear window message should look deliberate, not improvised. With clean glass, accurate positioning and steady squeegee work, your stickers can promote offers, guide visitors and strengthen your brand from the moment people reach the door.