
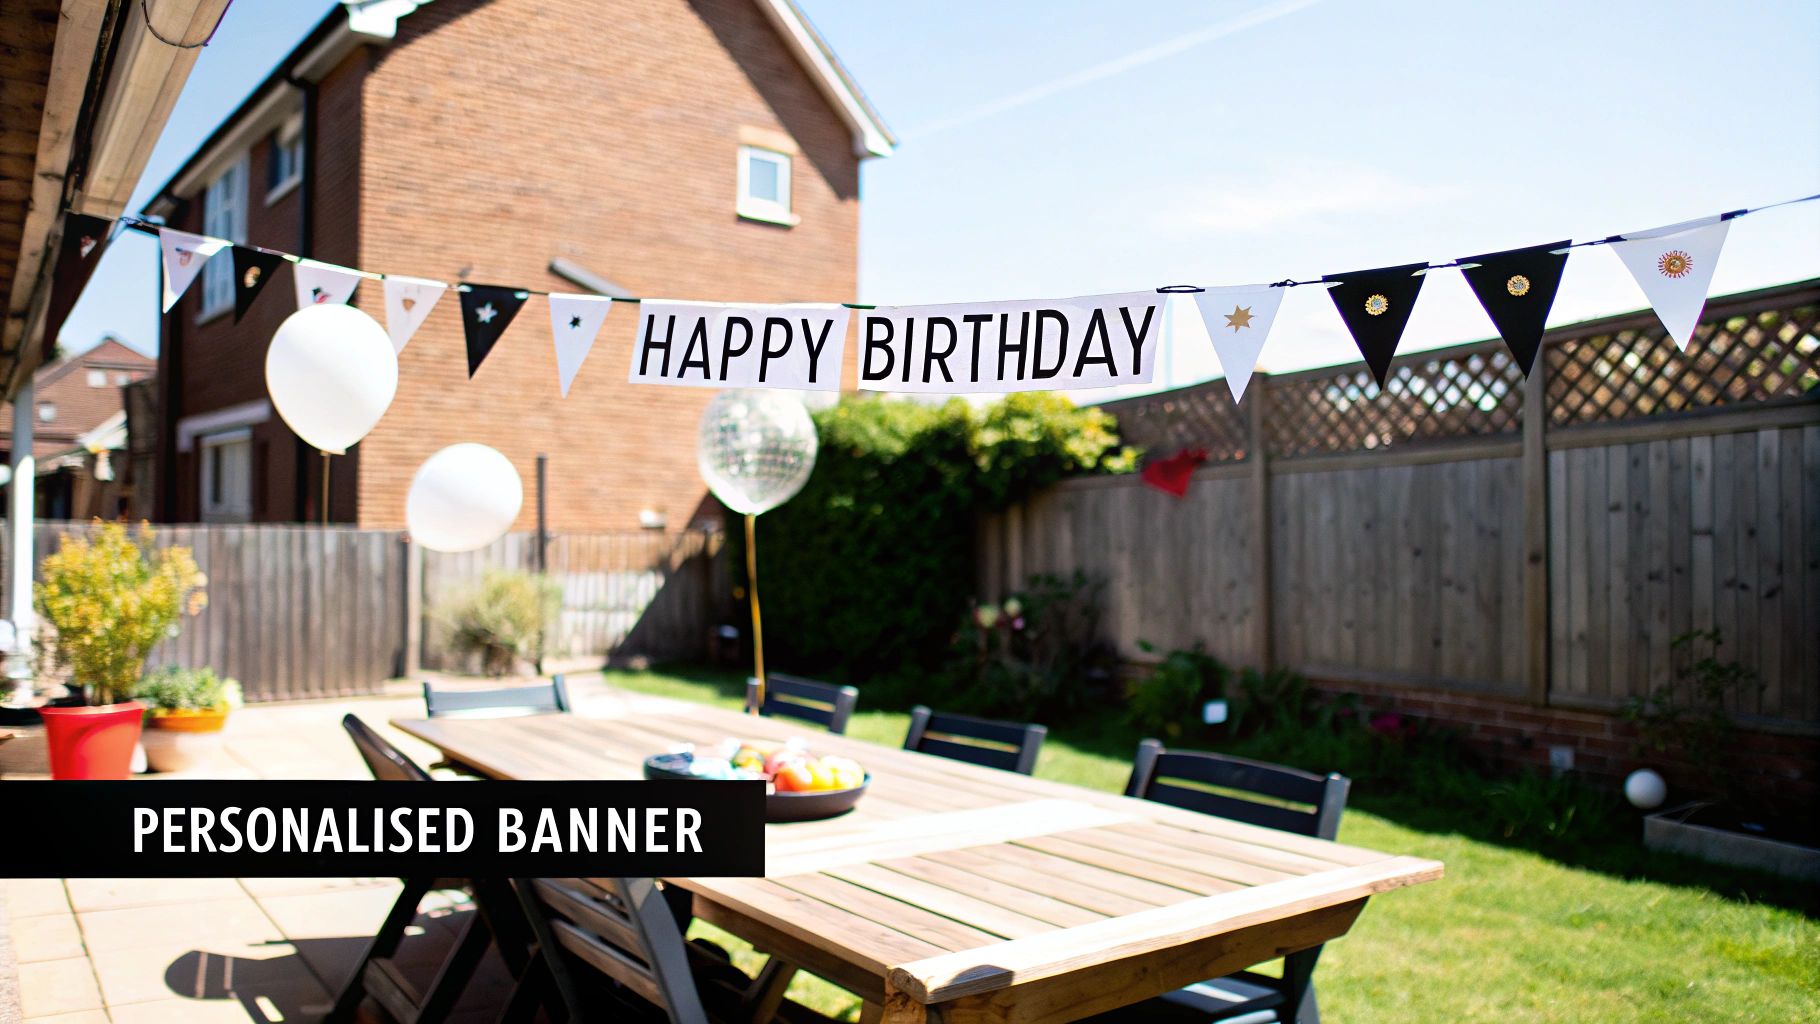
When you're planning a birthday party, it’s the little details that make it feel truly special. The right decorations can completely transform a space, and personalised birthday banners in the UK are a fantastic way to do just that. They offer a unique touch that generic, shop-bought decor simply can't match.
Why a Custom Banner Makes a Birthday Unforgettable
A custom birthday banner is so much more than a decoration; it’s a statement piece. It acts as a powerful centrepiece for the party, reflecting the personality of the guest of honour and making the whole event feel personal and thoughtfully planned.
Forget the standard "Happy Birthday." Imagine a banner featuring a favourite photo, an inside joke the whole family shares, or colours that tie your entire party theme together.
This move towards bespoke celebrations is a growing trend. In fact, the UK's personalised gifts market is projected to grow by an incredible USD 1.26 billion between 2025 and 2029. It just goes to show how much we all value gifts and decorations that have real personal meaning behind them. You can read more about this market growth and its drivers.
More Than Just a Decoration
A well-designed banner doesn't just fill an empty wall; it sets the tone for the entire celebration. It instantly creates a brilliant photo backdrop where guests will gather, capturing memories that will be shared and treasured long after the last piece of cake is gone.
Think about the lasting impact:
- A Cherished Keepsake: Unlike balloons or streamers, a durable banner can be kept as a memento. A child’s first birthday banner often becomes a treasured item, brought out for future milestone celebrations.
- Effortless Impact: One large, well-placed banner can have more visual punch than dozens of smaller, scattered decorations. It simplifies your setup while making a much bigger impression.
- Complete Creative Control: You call the shots. The message, the photos, the font, the colours—it’s all up to you. This freedom lets you create something that is genuinely one-of-a-kind.
The real value of a personalised banner is its ability to make the guest of honour feel truly seen and celebrated. It shows a level of care and attention to detail that elevates the entire experience from a simple party to a memorable event.
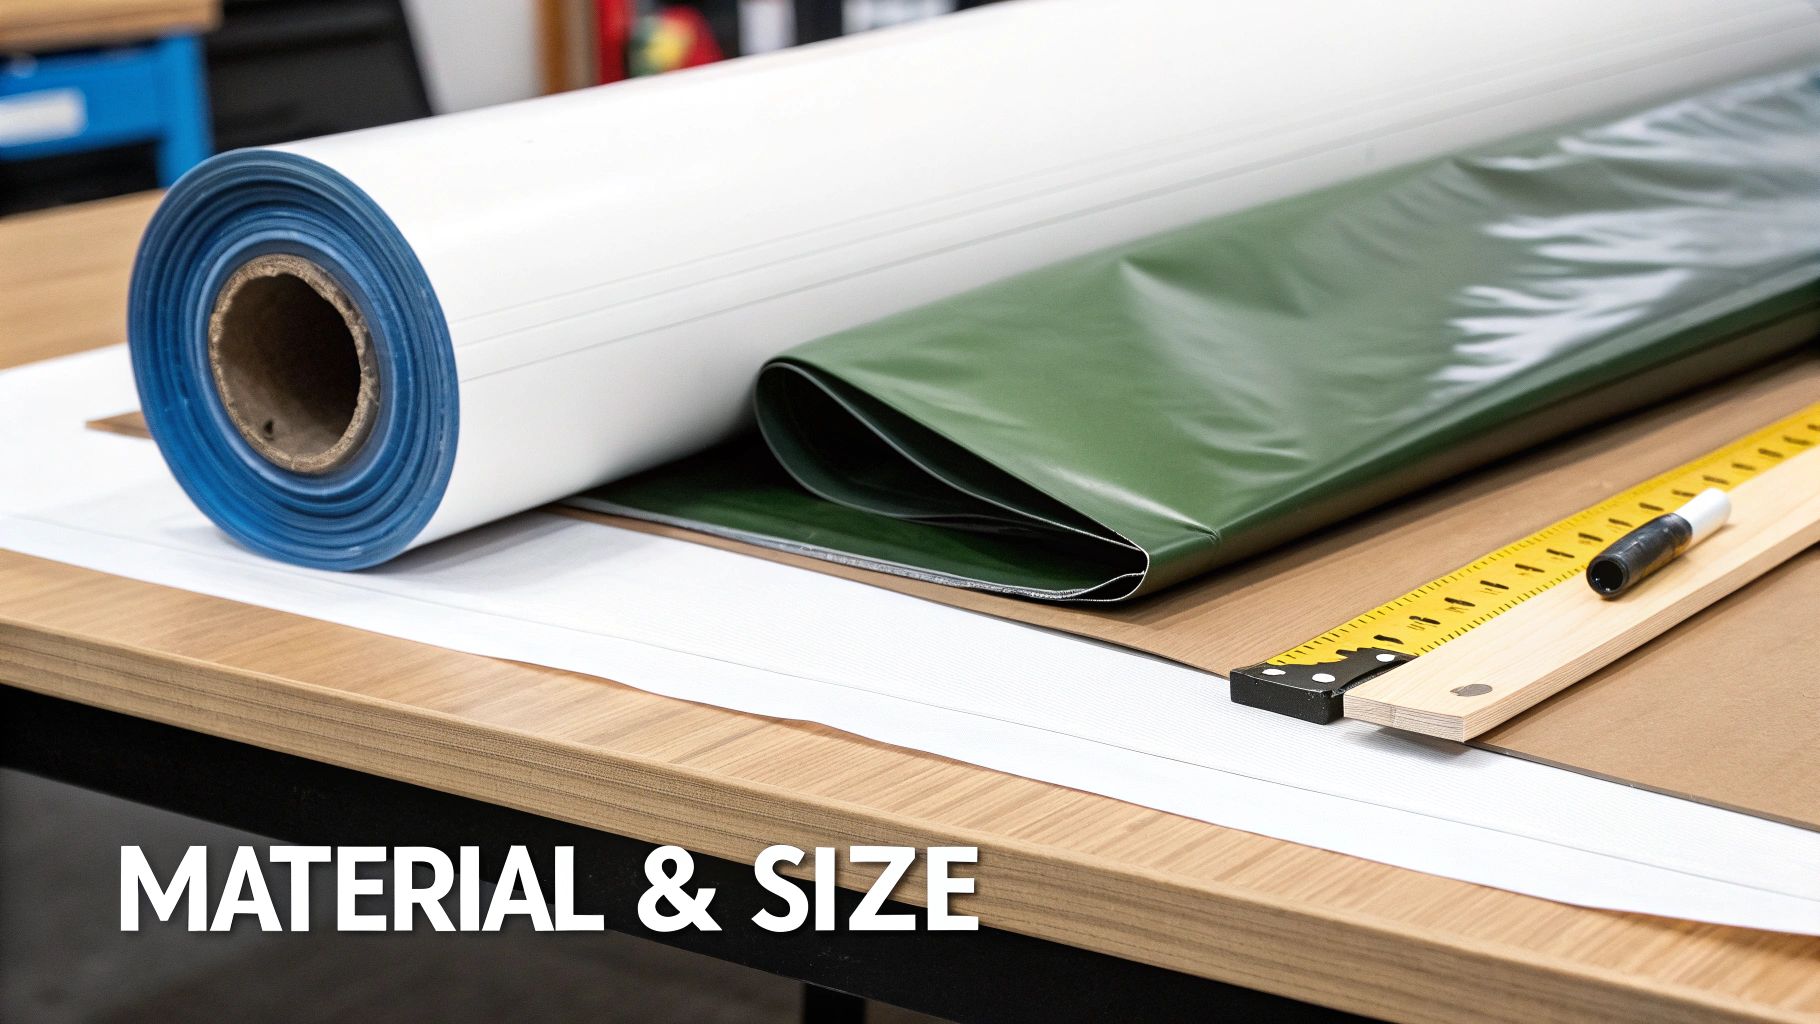
Selecting the Right Banner Material and Size
Before you get lost in the fun of designing, let's talk foundations. Choosing the right material and size for your banner is more than just a technical tick-box; it’s what ensures your creation looks amazing and lasts, whether it’s hanging indoors or braving the unpredictable UK weather.
Think about it – a banner for a garden party needs to be much tougher than one hung over the cake table in a village hall.
Let’s quickly break down the most common options so you can pick the perfect match for the big day.
Matching the Material to Your Party Venue
It all boils down to one simple question: will the banner be indoors or outdoors? Each material is built for a specific job.
-
Standard PVC Vinyl (440gsm): This is the workhorse of the banner world and our most popular choice for a good reason. It’s tough, waterproof, and printed with fade-resistant inks, making it perfect for outdoor birthday parties. Planning a summer BBQ? A surprise downpour won’t stand a chance.
-
Mesh PVC (340gsm): If you're hanging your banner somewhere exposed and windy—like a fence or between two trees—mesh is your best bet. It’s covered in thousands of tiny holes that let the wind pass right through, preventing that "sail effect" that can cause tearing.
-
Fabric and Eco-Friendly Options: For indoor celebrations, fabric gives you a softer, more premium feel. It's lightweight, easy to store, and adds a real touch of class, making it a great choice for milestone birthdays in restaurants or hired venues. We also offer PVC-free options for a more sustainable choice.
Pro Tip: A durable PVC banner can become a brilliant keepsake for a child’s birthday. Once the party’s over, just wipe it clean, roll it up, and store it away. We have customers who bring out the same special banner year after year – a lovely family tradition!
Choosing a Banner Size That Fits Your Space
Once you’ve nailed the material, it’s time to think about size. It’s easy to assume bigger is always better, but a banner looks best when it’s in proportion to its surroundings. Too big, and it can overwhelm a small room; too small, and it'll get lost.
The best way to get it right? Grab a tape measure. Seriously. Go and measure the actual space where you plan to hang it.
Here are a few real-world examples to get you started:
| Scenario | Recommended Size (Approx.) | Why It Works |
|---|---|---|
| Above a cake or gift table | 2ft x 4ft (61cm x 122cm) | Creates a perfect focal point for photos without dominating the whole area. |
| Garden fence for a BBQ | 3ft x 6ft (91cm x 183cm) | Big enough to make a statement and be seen clearly from across the garden. |
| Wall of a community hall | 4ft x 8ft (122cm x 244cm) | Fills a large blank wall and acts as a central piece of party decor. |
| Over a standard doorway | 2ft x 5ft (61cm x 152cm) | A fantastic way to welcome guests and set a festive mood from the moment they arrive. |
Whatever size you choose, try to leave some visual breathing room around it. A banner crammed into a space looks cluttered. Aim for at least a foot of clear wall on all sides to really let your design shine.
Designing a Banner That Becomes the Centrepiece
This is where the magic happens. Your vision for the perfect party starts to take shape right here, and you absolutely don’t need to be a graphic designer to create a stunning personalised birthday banner in the UK. With a few simple design tricks and the right tools, you can craft a banner that looks professionally made but feels completely personal.
Honestly, the whole process has become so much easier. Advances in digital printing mean that creating bespoke decorations is no longer a complicated, drawn-out affair. It’s accessible to anyone planning a special day.
Setting the Mood with Colour
Colour is your secret weapon. It’s the first thing people notice, and it instantly sets the tone for the whole celebration. Getting the colour palette right is the perfect place to begin.
For a kid’s first birthday, go for bright, cheerful colours like sunshine yellow, sky blue, or a playful green to build a fun, joyful atmosphere. But for a more sophisticated 40th or 50th birthday, you might lean towards something more elegant—think navy and gold, a deep burgundy, or a timeless black and white theme.
Pro Tip: Pull colours directly from another party element. Match your banner to the icing on the birthday cake, the colour scheme of the invitations, or even the guest of honour’s planned outfit. It’s a simple trick that creates a cohesive, polished look.
Thinking about the overall theme, much like when understanding brand identity design, ensures every piece of your design works together beautifully.
To help you get started, here's a quick guide to balancing the key design elements for your banner.
Design Elements for Maximum Impact
| Design Element | Best Practice for Birthday Banners | Common Mistake to Avoid |
|---|---|---|
| Colour Palette | Limit to 2-3 main colours for a clean, cohesive look. Use high contrast for readability. | Using too many clashing colours, which can look messy and make text hard to read. |
| Typography | Pair a bold, clear font for the main message with a decorative one for the name. | Choosing a font that's too thin or script-heavy, making it unreadable from a distance. |
| Imagery | Use one standout, high-resolution photo as the main focal point. | Cramming in multiple low-quality photos, leading to a blurry and cluttered design. |
| Message | Keep it short and sweet. "Happy 50th Birthday, Mark!" is more effective than a long paragraph. | Trying to fit too much text on the banner, which makes the whole design feel crowded. |
Getting these basics right will make a huge difference to the final product, ensuring your banner looks fantastic and delivers its message clearly.
Choosing Fonts for Style and Readability
The text on your banner needs to pull double duty: it has to look great, but it also has to be easy to read from across the room. A font that’s too fussy or too small will simply get lost in the excitement of a party.
A few pointers to keep in mind:
- Legibility First: For the main message, like "Happy 40th Birthday, Sarah!", choose clear, bold fonts. Sans-serif fonts like Arial or Helvetica are almost always a safe bet.
- Mix It Up: You can add a bit of personality by using two complementary fonts. Try a fun, decorative font for the name and a simple, clean one for everything else.
- Match the Vibe: The font should echo the party’s theme. A swirly, whimsical font is perfect for a fairy-tale party, while a bold, blocky font feels right at home for a superhero celebration.
The goal is simple: make sure the name and age are crystal clear, even from the other side of the garden.
The Power of a High-Quality Photo
A photo is the fastest way to make a banner truly personal. But the quality of that photo is everything. A low-resolution image will look pixelated and blurry when blown up to banner size, and it can really let the whole design down.
To avoid any disappointment, always use the original, high-resolution image file from your phone or camera. Don't pull photos from social media or WhatsApp—they are usually compressed and lose a ton of quality. As a rough guide, a file size of at least 2MB is a good starting point for a sharp, clear print.
If you’re new to all this, don't sweat it. We’ve put together a resource with even more practical tips. You can check out our guide on how to design a banner for some extra help.
Adding That Personal Touch
Beyond the colours and photos, it’s the words that make a banner special. This is your chance to say something that will really resonate with the guest of honour.
Think about including details like:
- Their name and the milestone age.
- A short, sweet message or even a funny inside joke.
- The date of the party.
These small touches are what transform a banner from a simple decoration into a cherished keepsake. It becomes the backdrop for all the photos and a talking point for guests, cementing its place as the true centrepiece of the day.
Preparing Your Artwork for a Flawless Print
A brilliant design deserves a perfect print. Once you've nailed the message and picked your photos, the final step is getting your artwork file ready. This might sound a bit technical, but a few simple checks are all it takes to make sure the banner that arrives at your door looks just as amazing as it does on your screen. No nasty surprises.
Think of it like laying the foundations for a house—get the groundwork right, and the final result will be impressive. Skipping these checks is often what leads to blurry images or colours that just look off.
Let's walk through the simple but crucial checks to prevent those common problems.
Choosing the Right File Format
When you save your design, you'll see a few different file formats. For printing large items like a personalised birthday banner in the UK, one format stands head and shoulders above the rest.
PDF (Portable Document Format) is almost always the best choice. PDFs are brilliant because they lock in all your design elements—fonts, images, colours—exactly as you intended. This means what you see on your screen is precisely what our printers see, getting rid of any risk of fonts being swapped out or images shifting around.
While we can accept other files like high-quality JPEGs or TIFFs, a PDF gives you the ultimate peace of mind that your design will print flawlessly.
Getting the Colours Right: CMYK vs. RGB
This is probably the most common pitfall we see, but it’s an easy one to fix. Your computer screen, phone, and digital camera all create colours using the RGB (Red, Green, Blue) model. It works by adding light together to create a huge spectrum of bright, vibrant colours.
Professional printers, however, use a completely different system called CMYK (Cyan, Magenta, Yellow, Key/Black). This is a subtractive process where inks are layered onto a white surface. Because these two systems work differently, a bright, glowing green on your RGB screen might look a bit flatter when printed with CMYK inks.
To get the most accurate colours, it's always best to set your design software's colour mode to CMYK right from the start. If you're using an online design tool, it probably handles this for you. This simple step helps manage expectations and ensures the final print is as close as possible to your vision.
The Importance of a Bleed Area
Ever seen a business card or flyer with a tiny, unprofessional white sliver along the edge? That’s usually because the design didn't include a 'bleed'. A bleed is just a small extra margin of your background colour or image that extends beyond the final trim line of your banner.
Printers can't print right to the very edge of the material. By extending your design by about 5mm on all sides, you create a safety zone. When we trim the banner to its final size, we cut into this bleed area, guaranteeing your design goes right to the edge for a clean, professional finish.
Without a bleed, even a minuscule shift during trimming could leave that dreaded white border.
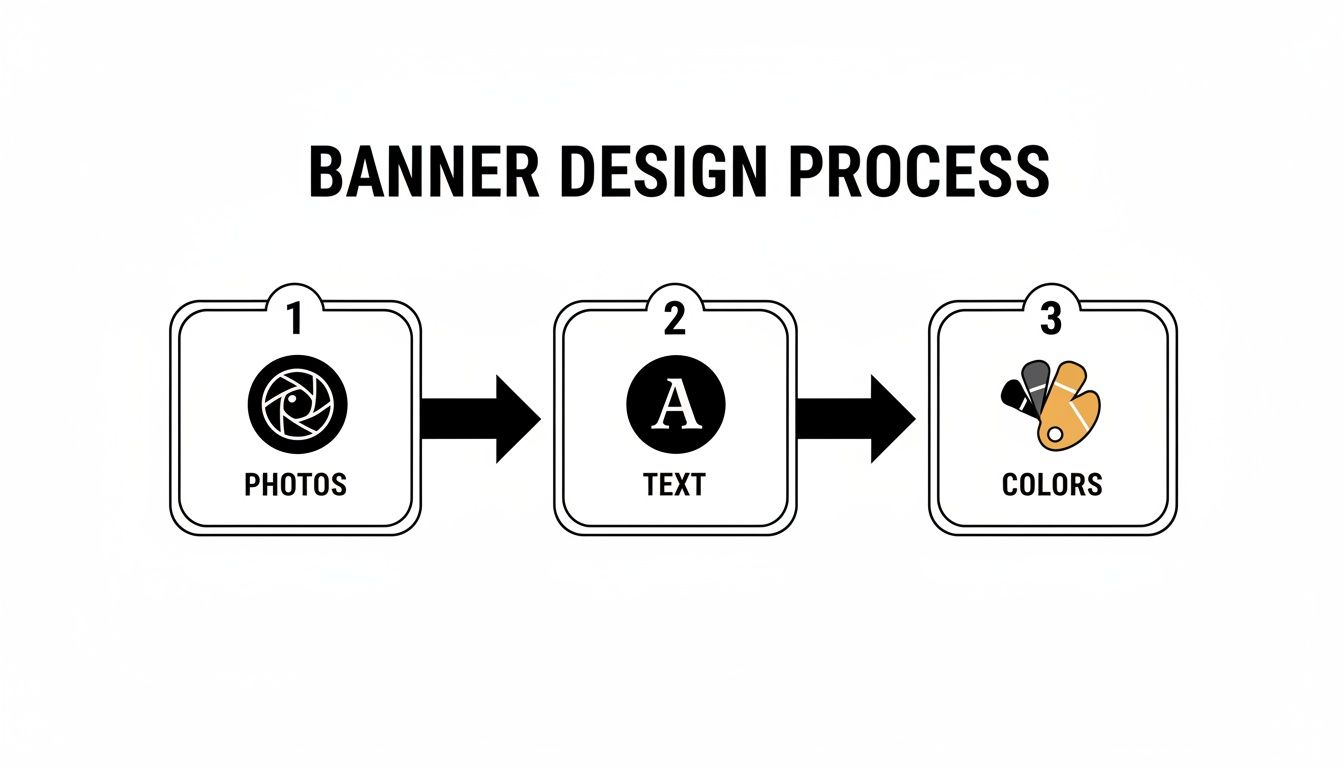
This quick visual guide shows how a great design comes down to balancing high-quality photos, clear text, and a well-chosen colour scheme.
Final Artwork Checklist
Before you hit 'upload', just run through this quick checklist. Taking a couple of minutes now can save you a whole lot of hassle later and ensure your banner is perfect.
- Correct Dimensions: Is your file set to the exact final size you're ordering (e.g., 6ft x 3ft)?
- High-Resolution Images: Are all your photos sharp and clear? As a rule of thumb, images need to be at least 150 DPI at their final print size.
- Bleed Included: Have you added that crucial 5mm bleed on all sides?
- Text Proofread: Have you had one last check of all names, dates, and messages for typos?
- File Format: Is your final design saved as a print-ready PDF?
Nailing these steps gives your banner a solid technical foundation for a fantastic print. For a deeper dive, feel free to check out our guide on uploading artwork for custom banners. Getting your artwork right is the final, crucial step to creating a beautiful, memorable banner.
Finishing Options, Turnaround and UK Delivery
You’ve uploaded the design and triple-checked every detail. So, what’s next? This is where your digital artwork becomes a real, party-ready banner and makes its way to you.
Getting a handle on the finishing touches, production times, and delivery logistics is the key to a stress-free experience. No last-minute panics, just a brilliant banner arriving right on schedule.
Choosing the Right Finishing Touches
Finishing options aren't just for show; they're what make your banner durable and easy to hang. For almost every birthday banner we produce, the combination of hemmed edges and eyelets is our go-to recommendation. It’s the gold standard for a reason.
- Hemmed Edges: We fold over the edges of the banner and heat-weld them shut. This creates a tough, double-thickness border that dramatically boosts tear resistance—essential if your banner is going up outside where the wind can get to it.
- Eyelets: These are the small metal rings we punch into the corners and edges. They give you strong, secure points to thread rope or zip ties through, making it simple to hang your banner without ripping the material.
Think of it this way: a banner without hems and eyelets is like a picture without a frame. It’ll do the job, but it won’t have the strength to be displayed properly or hold up against the elements. They’re a must for a professional look and total peace of mind.
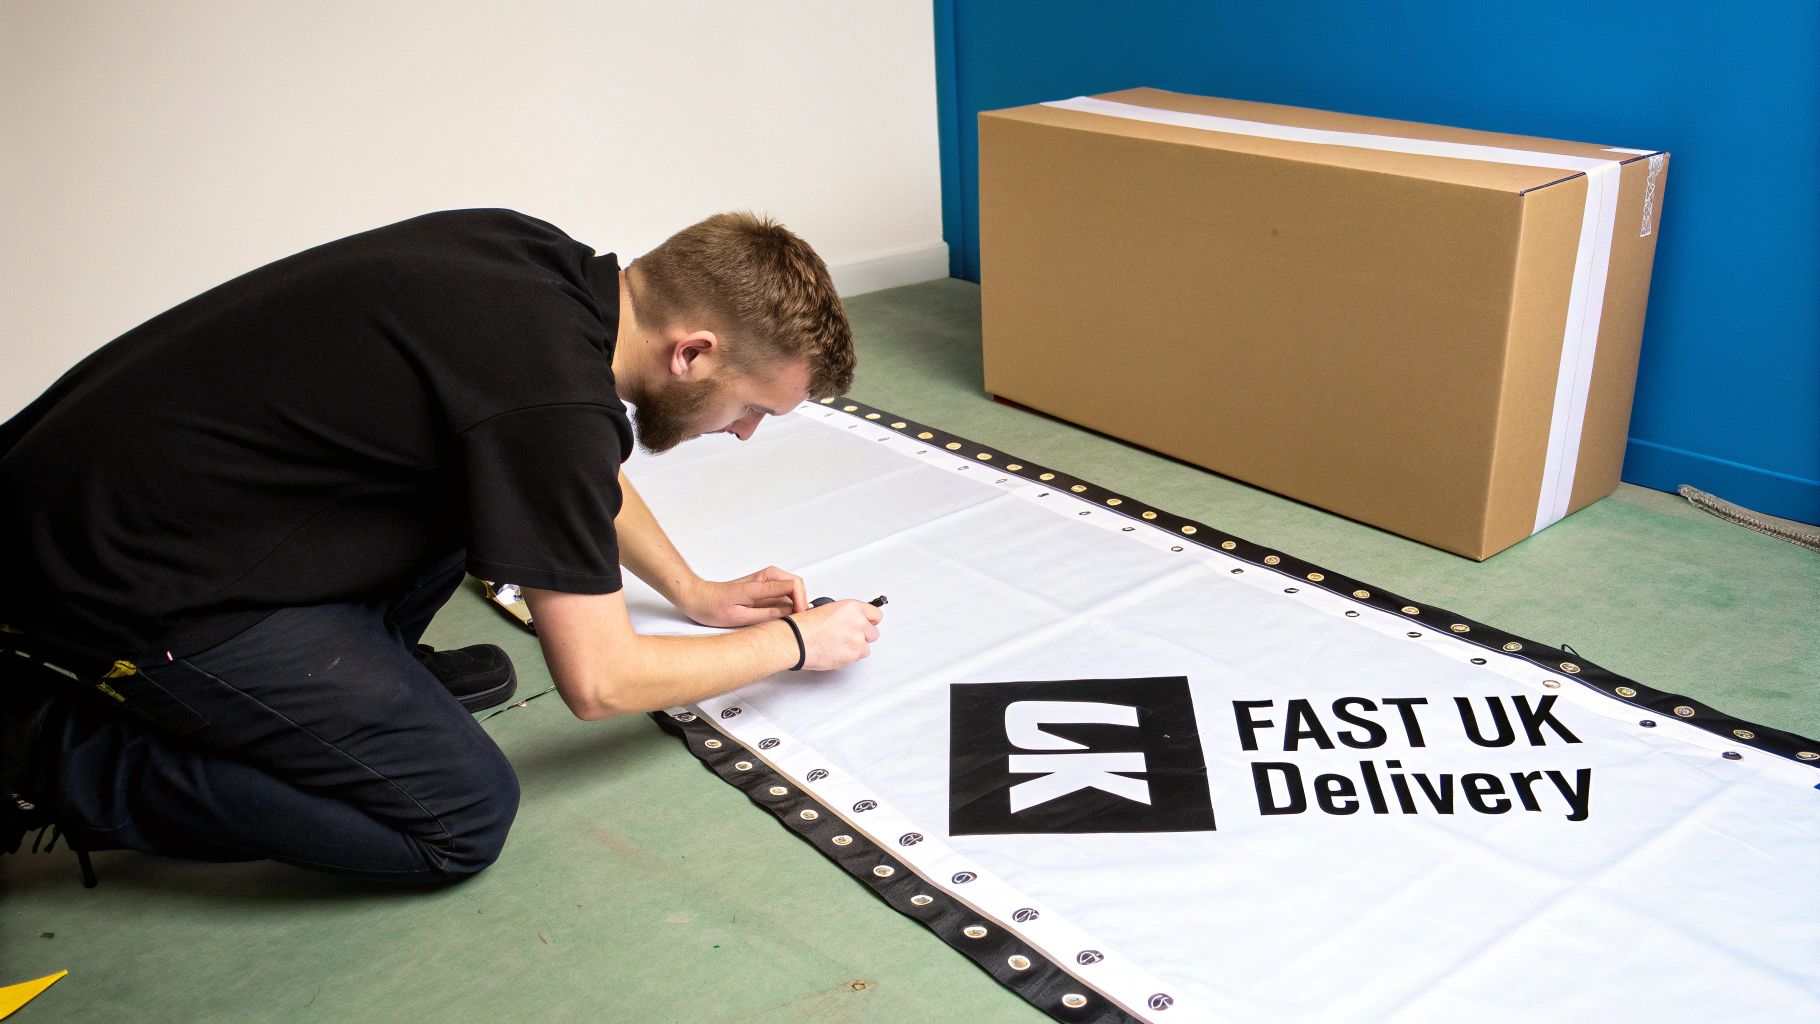
How Quickly Will My Banner Arrive?
Party planning often means you’re up against the clock. We get it. That's why we’ve built our service around a fast, reliable turnaround for all personalised birthday banners in the UK.
The moment you give the final thumbs-up on your artwork, our Manchester-based team gets straight to work. Most orders are printed, finished, and dispatched within just 24-48 hours. Because everything happens under one roof, we have complete control over quality and speed.
Once it's all packed up, it's out the door and on its way.
Understanding UK Delivery Logistics
After your banner leaves us, it's in the hands of our trusted UK courier partners. We’ll make sure it gets to you safely and on time.
Here’s what you can expect:
- Dispatch Confirmation: The second it’s dispatched, you’ll get an email from us.
- Tracked Shipping: This email will have a tracking number so you can follow your parcel’s journey.
- Delivery Window: Standard UK delivery usually takes just 1-2 working days after dispatch.
This means that from the moment you approve your artwork, you can expect your personalised birthday banner to be on your doorstep within 3-4 working days. If you're in a real hurry, it's always worth getting in touch to see if we can rush things through.
While we're based right here in the UK, understanding shipping is key for any business. For anyone looking at international options, it can be useful to research the cheapest shipping routes to the UK.
Want a full breakdown of the entire journey, from design ideas to delivery? Our comprehensive ordering banners in the UK guide has all the details you need. Getting these final steps right ensures your banner arrives with time to spare, ready to be the centrepiece of a brilliant birthday bash.
Your Personalised Banner Questions Answered
Ordering a custom banner for the first time? It's natural to have a few questions. From picking a material that can handle the unpredictable UK weather to making sure your favourite photos will print perfectly, you want to get it right.
This section tackles the most common queries we get, giving you clear, straightforward answers to help you order with total confidence.
What Is the Best Material for an Outdoor Birthday Banner in the UK?
This is probably the number one question we're asked, and for a good reason—we all know what British weather can be like! For any outdoor birthday bash, a weatherproof PVC vinyl banner is easily your most reliable choice.
Our standard 440gsm PVC vinyl is engineered specifically to handle the elements. It’s fully waterproof, incredibly tear-resistant, and we print with UV-stable inks. That means a classic British downpour won't hurt it, and if the sun does decide to show up, your design’s vibrant colours won’t fade.
However, if you're planning to hang the banner somewhere particularly windy—say, between two trees or along a fence in an open field—we strongly recommend upgrading to our Mesh PVC.
- Why Mesh PVC? This clever material has thousands of tiny holes that let the wind pass straight through it. This drastically reduces the 'sail effect,' which can put a lot of strain on a solid banner and cause it to tear. You get all the durability you need without sacrificing your design's impact.
Choosing either of these materials guarantees your banner will look fantastic from the moment the first guest arrives until the last piece of cake is gone.
Can I Use My Own Photos and Will They Print Clearly?
Of course! Using your own photos is the best way to create a truly personalised birthday banner in the UK. A cherished memory or a funny candid shot transforms a simple decoration into a heartfelt centrepiece for the celebration.
The secret to a sharp, professional print all comes down to the quality of your original photo file. To make sure your pictures look crisp when they're enlarged, you need to start with the highest-resolution version you have.
Crucial Tip: Never use photos you've downloaded from social media or that have been sent over messaging apps. These services automatically compress images to save space, which removes the vital detail needed for large-format printing. Always track down the original file from your camera or phone.
As a rough guide, an image file size of 2-4 MB is a great starting point for most banner sizes. Better still, our online system has a built-in preflight check. If it flags an image that might print blurry or pixelated, our team will get in touch with you to discuss options before we print anything.
How Quickly Can I Get My Personalised Birthday Banner?
We know that party planning can sometimes come down to the wire. That’s why our whole process, right from our Manchester facility, is geared for speed.
Most personalised banner orders are printed, finished with hems and eyelets, and dispatched within 24-48 hours of you signing off on the artwork. We then use a tracked UK delivery service, which usually takes another 1-2 working days to get to your door.
All in, you can expect your banner to arrive within 3-4 working days of placing your final order. If you're on an even tighter schedule, just give our customer service team a call. We can often arrange express options to make sure the celebration goes off without a hitch.
What Are Eyelets and Do I Really Need Them?
Eyelets are the small metal rings punched along the banner's edges. Their job is simple but absolutely essential: they give you a strong, tear-proof way to hang your banner securely.
So, do you need them? In almost every situation, the answer is a definite yes.
- Strength: Trying to hang a banner by tying a rope through a simple hole in the vinyl is a recipe for disaster—it would rip almost instantly. Eyelets spread the tension evenly to prevent any tearing.
- Versatility: They let you hang your banner with anything from rope and bungee cords to zip ties and hooks. Whether it's going on a garden fence, a brick wall, or between two posts, eyelets provide reliable anchor points.
- A Professional Finish: When combined with hemmed edges (where we fold and weld the banner's edges for extra strength), eyelets give your banner a clean, polished look.
For these reasons, we always recommend hems and eyelets as the standard finish for birthday banners. It’s a small detail that makes a huge difference to how your banner looks and lasts.
Ready to create a banner that will be the talk of the party? At Banner Printing Ltd, our easy-to-use online tools and fast, free UK delivery make it simple. Start designing your perfect personalised birthday banner today!


