Let's get right to it. If you've ever seen a roller banner at a UK event, chances are it was 850mm x 2000mm. This size is the undisputed champion of the banner world—think of it as the industry standard, offering the perfect mix of visibility, portability, and value for money.
Decoding Standard UK Roller Banner Dimensions
When you're planning for an event, getting the banner size right is one of the first hurdles. Thankfully, the industry has settled on a handful of standard dimensions that cover most situations, making life easier for designers, marketers, and event organisers alike.
The 850mm x 2000mm banner didn't become the UK's favourite by accident. It’s a masterclass in practical design for a few key reasons:
- Great Visibility: It's tall enough to stand out in a crowd and wide enough for your message and graphics to make a real impact without looking cluttered.
- Small Footprint: It takes up minimal floor space, which is a lifesaver in a cramped trade show booth, a busy shop entrance, or a compact reception area.
- Easy to Carry: Weighing under 8kg, this size rolls down into a small carry case that one person can easily transport and set up in minutes.
A Look at the Full Range of Sizes
While the 850mm width is the most common, it’s not your only option. For those really tight spots, a narrower 600mm banner can be a smart choice, perfect for tucking into a corner or placing next to a doorway. On the other hand, if you want to make a bigger splash, wider options at 1000mm or 1200mm give your brand a much larger canvas to work with.
This quick guide shows the typical sizes you'll come across, grouped into narrow, standard, and wide formats.
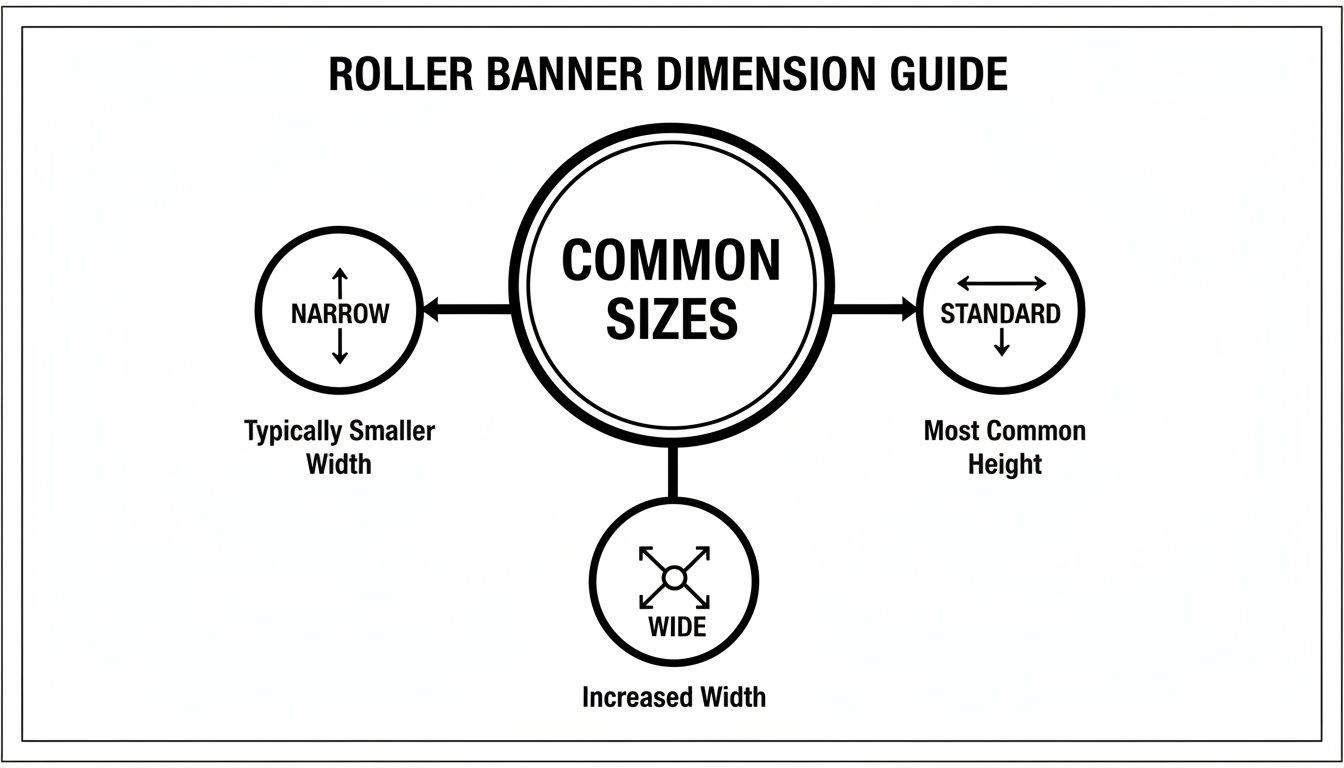
It helps you visualise which category best suits your space and how much impact you want to create.
The demand for these portable displays is stronger than ever. A recent industry survey revealed that 68% of UK printers saw a rise in roller banner orders after the pandemic, with their portability being a massive plus for businesses attending a mix of physical and hybrid events. If you're interested, you can read more about the latest print industry trends and how they’re shaping modern marketing.
Preparing Your Artwork for a Flawless Print
Once you've settled on the perfect roller banner dimensions, it's time to get your design file ready for the press. This is the crucial step that turns your digital vision into a sharp, professional physical banner. Don't worry if terms like 'bleed' or 'CMYK' sound a bit technical; they're actually simple concepts that guarantee your final print looks exactly how you imagined it.

Think of it like a colouring-in book. You have the main picture, but you always colour slightly over the lines to make sure there are no messy white gaps left behind. In printing, these "lines" are where the banner gets trimmed, and understanding bleed and the safe area ensures you get a perfect finish every single time.
Understanding Bleed and the Safe Area
The two most important ideas to get right are bleed and the safe area. They work together, acting as a buffer to protect your design during the mechanical trimming process after printing.
-
Bleed is your safety net. It’s a small, extra margin of your background colour or image that extends beyond the final trim line. A standard bleed is 3mm on all sides. This simple addition ensures that even if the cutting blade is a tiny fraction of a millimetre off, you won’t see any unsightly white slivers on your banner’s edge.
-
The safe area is your main stage. This is an inner margin, usually around 50mm in from the edge, where all your critical information must live. Keep your logos, contact details, and key text well within this zone to guarantee nothing important gets accidentally cropped.
Think of it like this: your main message is the star of the show, performing safely in the middle of the stage (the safe area). The bleed is the stage curtain, extending just beyond sight to create a seamless, professional backdrop.
Getting the Resolution and Colours Right
With your layout safely framed, let's talk about quality. Two key settings determine how sharp your images will look and how accurate your colours will be. For something as large as a roller banner, getting these right is non-negotiable for a professional result.
First up is resolution, which we measure in DPI (Dots Per Inch). For a large printed banner that's viewed from a distance, a resolution of 150 DPI at the final print size is the sweet spot. This keeps your file size manageable while ensuring all your images look crisp and clear, not pixelated or blurry.
Next, you must set your file’s colour mode to CMYK (Cyan, Magenta, Yellow, Key/Black). This is the four-colour ink model that all commercial printers use. Your computer screen, on the other hand, uses an RGB (Red, Green, Blue) light-based model, which can display colours that are physically impossible to create with ink. Designing in CMYK from the start ensures the vibrant colours you see on screen are what you get on the final banner, avoiding any disappointing surprises when you unbox it.
How to Choose the Right Banner for Your Space
Picking the right roller banner isn't just about grabbing the biggest one you can find. It’s about matching the tool to the job. Think of it this way: a massive banner in a tiny reception area is just as ineffective as a small one lost in a huge exhibition hall. The secret is to sync the banner's size with its surroundings to make a real, lasting impression.
What looks great on a design proof can feel completely different in a physical space. By thinking about your goal and your location first, you can choose a size that actively helps you, rather than getting in the way.
High Traffic Events and Trade Shows
In the organised chaos of a trade show or a bustling exhibition, your number one enemy is invisibility. You’re surrounded by competitors all vying for attention, so you need to cut through the noise. This is where wider banners are worth their weight in gold.
- 1000mm or 1200mm Banners: These larger sizes give you a much stronger visual footprint. That extra width is prime real estate for big, bold graphics and unmissable headlines that can be spotted from across a crowded hall.
- 1500mm Banners: If you really want to dominate your space, the 1500mm banner acts as a mini-backdrop. It creates a powerful focal point for your booth, pulling visitors in from a distance.
When you're planning your stand, think about the bigger picture. For key moments like a product reveal, effective visual aids for product launch production are essential to getting your message across professionally and with impact.
Retail Spaces and Narrow Corridors
In retail, the game is different. You need to grab a customer's eye without tripping them up. With floor space at a premium, blocking aisles or creating bottlenecks is a definite no-go.
The standard 850mm x 2000mm banner is the undisputed champion here. It strikes the perfect balance between being impactful and having a small, convenient footprint. It sells your message without getting in the shopper's way.
This size is tall enough to peer over clothing racks and displays, but slim enough to slot in neatly at the end of an aisle, next to a till, or right by the entrance. It’s all about capturing attention at the point of decision.
Smaller Venues and Reception Areas
Not every situation demands a floor-to-ceiling giant. For more intimate settings—a reception desk, a small meeting room, or a local community fayre—a more personal touch works best. This is where desktop roller banners truly shine.
- A4 Desktop Banners: These are perfect for placing on a registration table to display a QR code, share Wi-Fi details, or just offer a simple welcome message.
- A3 Desktop Banners: With a bit more room to breathe, these are great for showing a menu, a list of event speakers, or key product features without cluttering the table.
These compact powerhouses deliver key information right at eye level, making them an incredibly sharp and professional tool for any close-quarters setting. To see the full range of options, check out our complete guide to pull-up banner sizes, where we break down every single dimension.
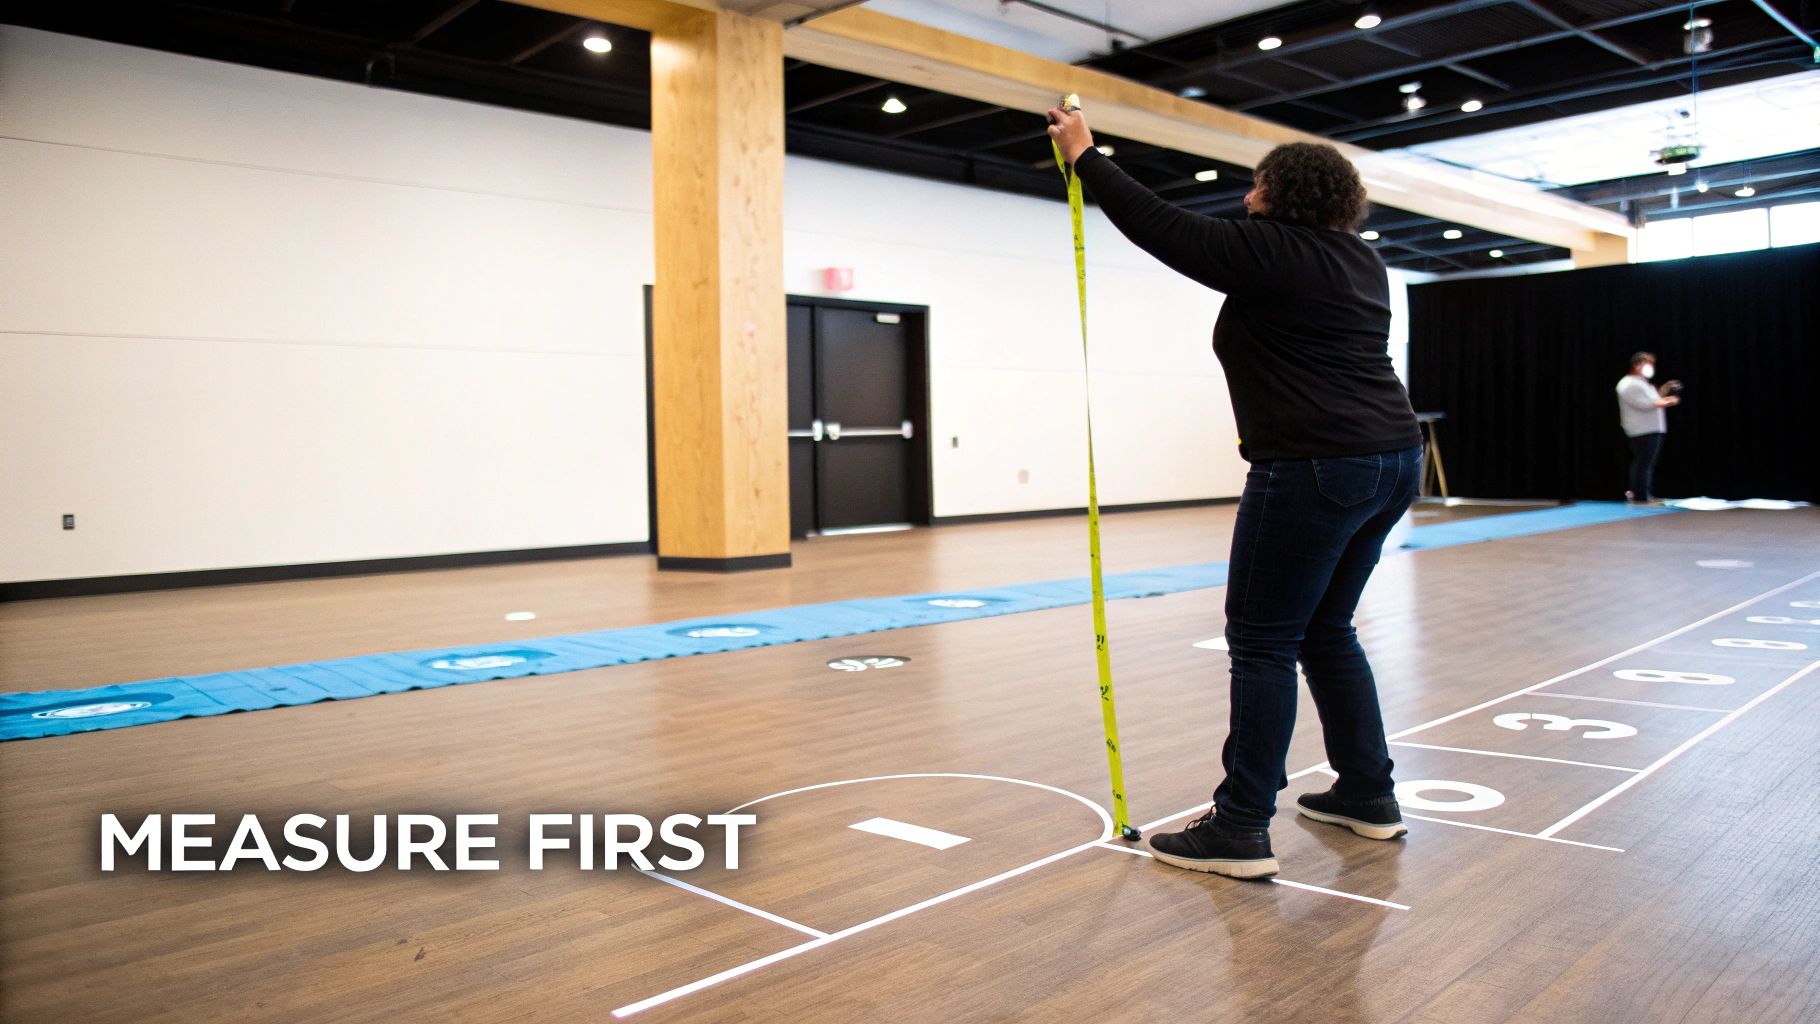
Measuring Your Venue for a Perfect Fit
Choosing the right roller banner isn't just about picking a size off a list. It’s about understanding how that banner will actually live in its intended space. Think of it like buying a new sofa—you wouldn't just measure the sofa itself, would you? You'd measure the room, the doorways, and figure out exactly where it’s going to sit. The same logic applies here, ensuring your display looks professional and intentional, not like a last-minute addition.
Ordering a banner without first measuring your space is one of the most common—and easily avoidable—mistakes we see. A banner that's too tall could get crammed under low ceilings or light fixtures, while one that's too wide might block a crucial walkway. A quick five-minute check on-site can save you a world of trouble later on.
Your Venue Measurement Checklist
Before you hit that 'order' button, grab a tape measure and run through this simple checklist. It’s the best way to guarantee your chosen banner dimensions are a perfect match for the physical realities of your venue.
-
Measure Ceiling Height: This is your number one priority. Note the height from the floor to the lowest overhead obstruction, whether it's a lighting rig, a dangling sign, or a decorative beam. Standard 2000mm tall banners fit comfortably under most ceilings, but it's always better to be certain.
-
Assess Available Floor Width: Pinpoint exactly where the banner will stand and measure the horizontal space you have to play with. Is it tucked between two display stands, or standing proud in a wide-open area? This measurement will tell you whether a slim 850mm banner or a broader 1200mm option is the right call.
-
Check the Total Footprint: Don't forget the banner's base and stabilising feet need floor space, too. Measure the depth from the wall to where the front of the base will sit, making sure it won’t create a trip hazard or obstruct the natural flow of foot traffic.
By considering the full footprint, you move from just placing a banner to designing an experience. It’s the difference between an afterthought and a display that feels seamlessly integrated into the space.
Getting a feel for the specific dimensions of your event space, such as common exhibition stand sizes, provides fantastic context. For anyone gearing up for a trade show, exploring some creative 10×10 trade show booth ideas can help you visualise how to maximise your impact within a set area.
Finally, take a step back and think about sightlines. Walk the path a visitor would take. Is your banner clearly visible from the main entrance? Does a pillar or another piece of furniture block the view? Answering these simple questions ensures your message is not only present, but perfectly positioned to be seen.
Understanding Your Banner Hardware and Portability
A jaw-dropping graphic is only half the battle. What really holds it all together—literally—is the hardware. The physical stand gives your roller banner its stability, durability, and that all-important ease of use. The dimensions you pick have a direct knock-on effect on the hardware, influencing everything from how it stands to how you’ll get it to the venue.
You’ve got to think about the banner's entire journey: from your car boot, across the car park, onto the exhibition floor, and all the way back again. The base, often called the cassette, is the heart of the unit. It’s where the graphic lives, neatly rolled up and protected. Cheaper, standard-sized models often get by with simple twist-out feet for support, which do the job perfectly well.
But once you start going for wider roller banner dimensions, the hardware has to get beefier to stop it from looking like it’s had one too many.
Comparing Base Mechanisms
Premium banners tend to have a sleeker, heavier cassette base that doesn't need separate feet. This integrated design creates a wider, more solid footprint, making it a much better choice for banners of 1000mm width or more. These chunkier bases are built to handle the extra tension and weight of a larger graphic, ensuring your display stays put and looks the business, even in busy areas.
Here’s a quick rundown of the two main types:
- Twist-Out Feet: Perfect for standard sizes like 850mm. They’re lightweight, easy on the wallet, and ideal for indoor spots with light foot traffic.
- Integrated Cassette Base: Heavier and far more stable. This is a must-have for wider banners (1000mm+) and gives a more premium finish, built for frequent, heavy use.
The link between size and stability is critical. A wide banner on a flimsy base is just asking for trouble, so spending a bit more on the right hardware isn't just an upgrade—it's an investment in safety and your brand’s reputation.
Portability and Transport Considerations
Let's be honest, one of the biggest draws of a roller banner is how easy it is to lug around. A standard 850mm x 2000mm banner rolls back into its cassette and zips up into a padded carry case that’s usually just under a metre long. It’s a breeze to lay across the back seat of a car, making it a dream for solo entrepreneurs or small teams dashing between events.
But as you go bigger, that breezy portability starts to change. An extra-wide 1500mm banner looks fantastic, but it comes in a much longer and heavier case. You might need a bigger car or have to do some careful planning if you’re relying on public transport.
Thinking through these practicalities from the start is a game-changer. For anyone doing the trade show circuit, the convenience of a standard-sized banner is a massive win. If you're weighing up your options, our guide to portable display stands for exhibitions has loads more tips on picking a system that delivers on both impact and convenience.
At the end of the day, the best roller banner dimensions are the ones that not only look great in your space but also don't give you a headache getting them there.
Your Pre-Flight Checklist and Artwork Templates
To make sure your design comes out perfectly, we’ve put together the essential tools and a final checklist to get you over the finish line. Honestly, starting with the right specifications is the single best way to guarantee a flawless print. That’s why we provide downloadable artwork templates for all the most popular roller banner sizes.
These templates aren’t just blank pages. Think of them as a foolproof map for your design. They come pre-loaded with guides marking out those vital bleed, trim, and safe areas we talked about earlier. It completely removes the guesswork, so you can design with confidence, knowing your crucial logos and text are well away from the trimming blade.
Artwork Templates for Popular Roller Banner Sizes
To get started, just find your banner size in the table below and download the template in your preferred format. Each one includes all the guides you need for bleed, trim, and the safe area, making your setup a breeze.
| Banner Dimension (Width x Height) | Download Link (PDF) | Download Link (AI) | Download Link (ID) |
|---|---|---|---|
| 600mm x 1700mm | Download PDF | Download AI | Download ID |
| 800mm x 2000mm | Download PDF | Download AI | Download ID |
| 850mm x 2000mm | Download PDF | Download AI | Download ID |
| 1000mm x 2000mm | Download PDF | Download AI | Download ID |
| 1200mm x 2000mm | Download PDF | Download AI | Download ID |
| 1500mm x 2000mm | Download PDF | Download AI | Download ID |
| 2000mm x 2000mm | Download PDF | Download AI | Download ID |
Once your design is placed in the template, you’re almost ready to go. Just run through our final checklist to be absolutely sure.
Your Final Checks Before Sending to Print
Think of this as the final once-over before your banner goes to the press. Running through these quick checks helps you catch the most common errors that can delay printing or ruin the final look. A few minutes here can save hours of frustration later.
Before you save that file, ask yourself:
- Is the file format correct? A print-ready PDF is the gold standard for a reason.
- Is the resolution high enough? You need at least 150 DPI at the banner’s full, actual size.
- Are all my fonts outlined or embedded? This tiny step prevents your text from being replaced by a default font at the printer’s end.
- Is the colour mode set to CMYK? This ensures the colours you see on screen are what you get in print.
This simple 'pre-flight' review is your final quality control gate. It’s the last chance to ensure every technical detail is spot-on, guaranteeing a smooth journey from your design file to a stunning physical banner.
Getting these details right is the secret to a professional result. For a deeper dive, check out our expert advice on uploading artwork for custom banners, which covers absolutely everything you need to know about prepping your files.
Your Roller Banner Questions, Answered
Even after getting the details right, a few questions might pop up. It's completely normal. We’ve put together the most common queries we get from customers to give you clear, no-nonsense answers, so you can order with total confidence.
What Is the Most Popular Roller Banner Size?
The go-to choice for most people in the UK is the 850mm x 2000mm roller banner. It’s hit the sweet spot for a reason. This size is large enough to make a real visual impact without dominating your floor space, offering the perfect blend of visibility, portability, and value. It’s the undisputed industry standard.
Can I Get a Custom-Sized Roller Banner?
While our standard sizes cover almost every scenario, custom sizes for retractable banners are tricky. The roller mechanism and base are manufactured to very specific widths. If you have your heart set on a unique dimension, a custom-printed vinyl or fabric banner is usually a better (and more cost-effective) way to go.
How Much of the Banner Is Hidden in the Base?
This is one of the most important things to get right in your design. A small section of the graphic always stays tucked inside the base unit—it’s what keeps the banner securely attached to the roller mechanism.
As a rule of thumb, leave a 'quiet zone' of at least 70mm to 100mm at the very bottom of your artwork. Think of this as a no-go area for critical information. Fill it with your background colour or image, but keep logos, text, and contact details well away from it, as it will almost certainly be hidden from view.
The easiest way to avoid any drama is to use one of our artwork templates. They have the safe area clearly marked out for you.
Can I Replace the Graphic in My Existing Stand?
Absolutely! In most cases, you can. If your stand is still in good shape, ordering a replacement graphic is a brilliant, budget-friendly, and sustainable way to update your marketing or switch up your promotions. Just be aware that some older or very basic budget stands aren't really designed to be reloaded. It's always a good idea to check what kind of model you have first.
Ready to create a professional display that turns heads? At Banner Printing Ltd, we make choosing the perfect roller banner simple. Explore our full range of high-quality roller banners and get started today!


