A fence banner only works while it stays visible, taut and readable. One loose corner can quickly turn a sharp promotional display into a flapping, creased sign that is hard to read from the road. Knowing how to secure fence banners properly protects your print, improves its impact and helps it stand up to the British weather.
The right method depends on the fence, banner material, installation period and how exposed the location is to wind. A temporary event banner on a sheltered school fence needs a different approach from site signage fixed to open perimeter fencing for several months. Start with the banner and the fixing points, then build in enough tension without pulling the material beyond its limits.
Choose a banner made for the location
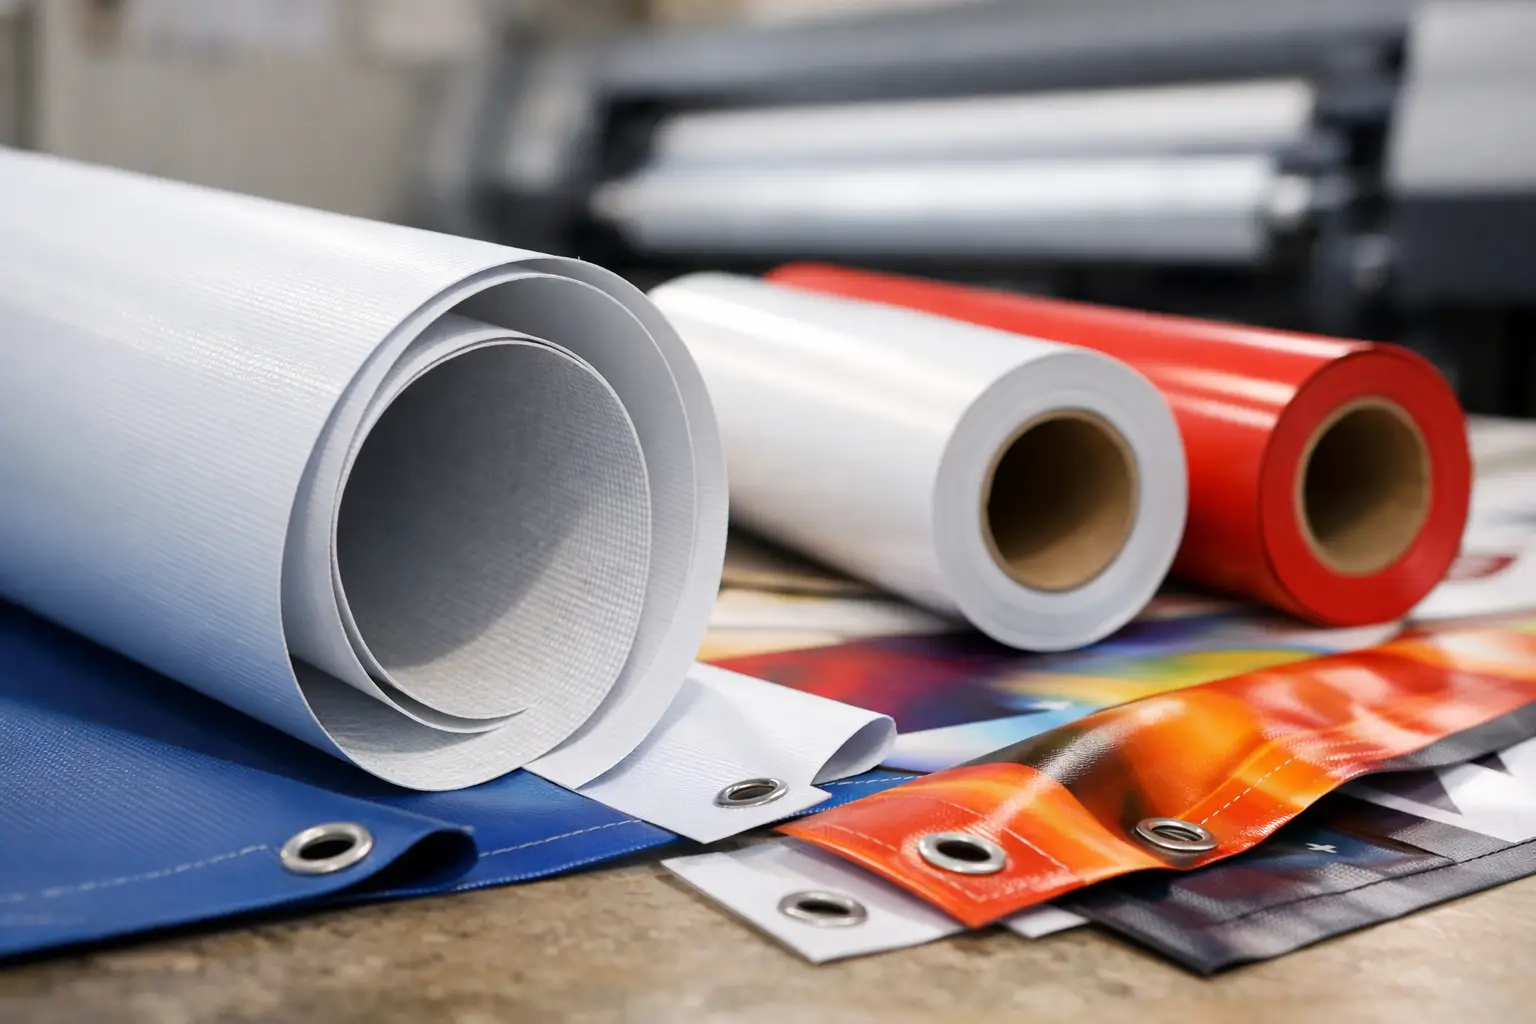
Before fitting anything, make sure the banner material suits the job. Standard PVC vinyl is a strong, vivid option for sheltered outdoor fencing, shopfront promotions and short-term event displays. Its solid face delivers excellent colour and sharp graphics, but it catches wind like a sail. On exposed fencing, this can place significant strain on the banner, eyelets and fence itself.
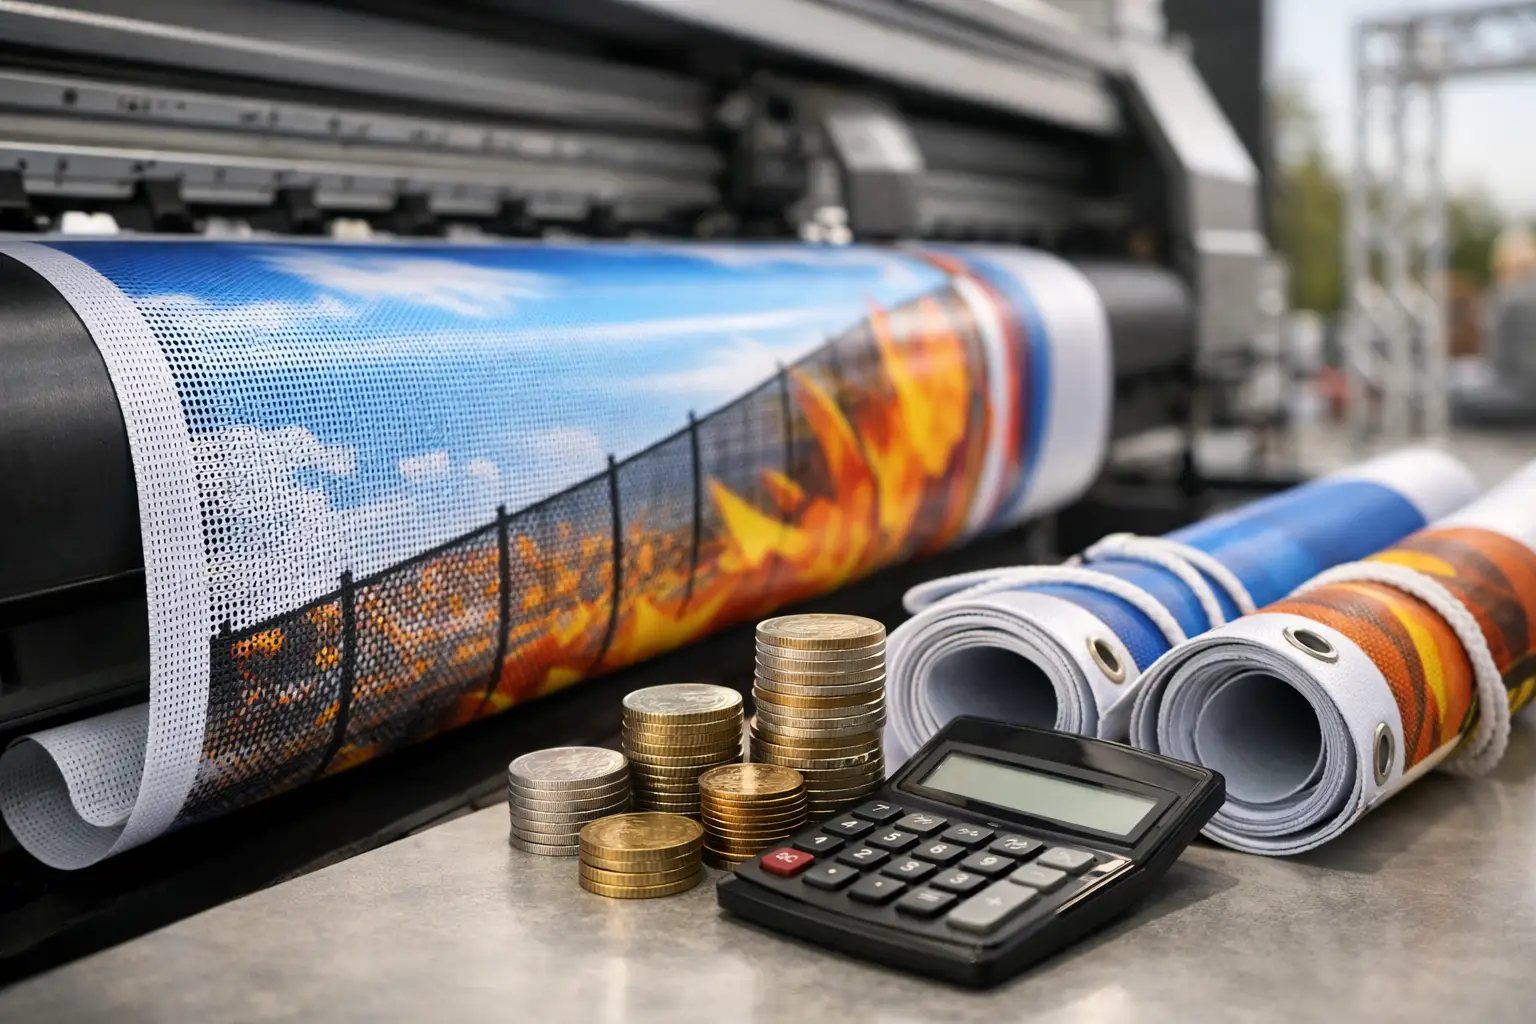
Mesh banner is usually the more practical choice for construction sites, sports grounds, railings and open areas. Its tiny perforations allow some wind to pass through while retaining clear printed branding from a distance. That reduced wind load makes it easier to keep the banner looking neat over time and lowers the chance of torn eyelets or stretched material.
For either material, ask for reinforced hems and eyelets. Hemmed edges add strength where the banner is under tension, while eyelets provide clean, purpose-made points for fixing. A banner with eyelets around the perimeter is much easier to tension evenly than one fixed only at the corners.
How to secure fence banners with the right fixings
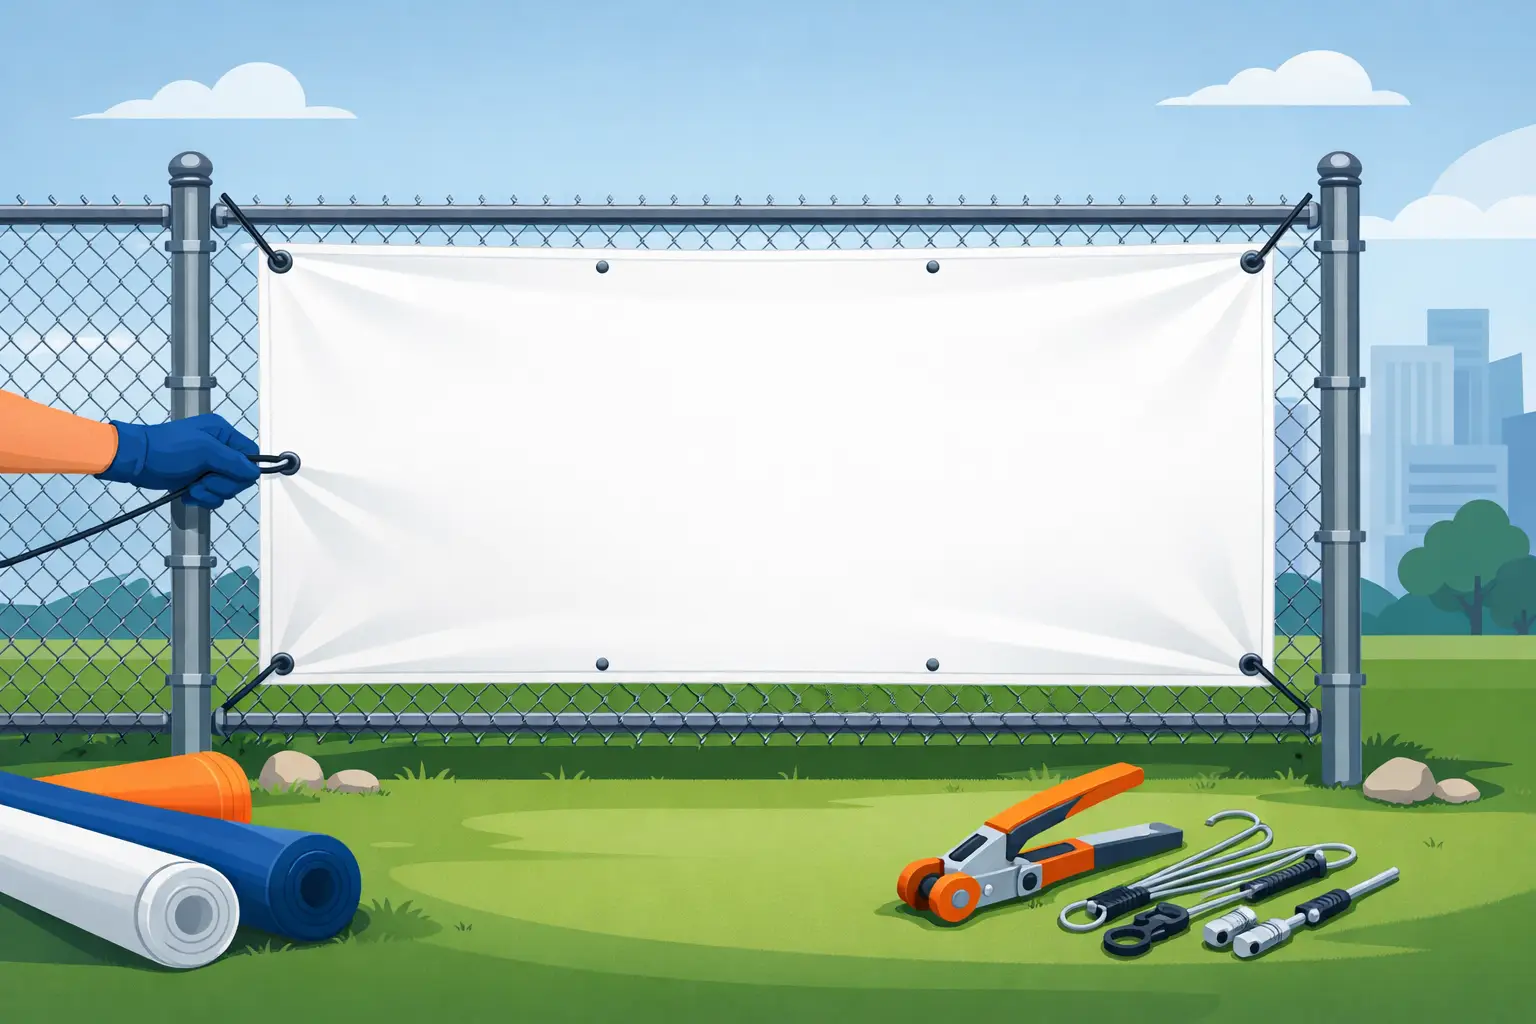
For most temporary and medium-term displays, heavy-duty cable ties are the simplest answer. Use UV-resistant ties rather than standard indoor versions, which can become brittle after prolonged sunlight and weather exposure. Thread each tie through an eyelet and around a secure fence wire, rail or vertical upright, then pull it firm without over-tightening.
Cable ties work best where the fence has frequent contact points, such as welded mesh panels or railings. Fix every eyelet where possible, particularly along the top edge. If the banner is large, fastening only the four corners may look acceptable at first, but wind will soon cause the middle to bow, flap and crease.
Bungee cords or elastic ties are a better option on windy sites. Their small amount of give absorbs sudden gusts instead of transferring all the force directly to the eyelets. This can make a major difference on temporary fencing around building works, outdoor events and sports venues. The trade-off is that elastic fixings need checking periodically, as they can relax slightly over time.
For more permanent installations, consider banner tensioning straps, stainless steel cable systems or purpose-built sign fixings. These are particularly useful when attaching a banner to timber frames, solid hoardings or bespoke perimeter structures. They take longer to install, but provide a cleaner and more controlled finish for long-running campaigns.
Avoid ordinary string, thin wire and low-grade cable ties. String retains water and loosens, while wire can cut into the eyelets and damage the fence or banner edge. The small saving is rarely worth the cost of replacing a damaged display.
Fit from the top first, then tension evenly
A professional-looking installation is less about brute force and more about the fitting order. Begin by positioning the banner at the correct height and securing the two top corners. Check that the artwork is level before adding further fixings. It is much easier to correct alignment at this stage than when the full perimeter is tied down.
Next, attach the top edge from the centre outwards or from one corner across, using every available eyelet. This supports the banner’s weight and stops it dropping between fixing points. Once the top is secure, fasten the bottom corners, applying gentle downward tension to remove slack.
Complete the sides and bottom edge after that, working evenly rather than pulling one area tight at a time. The aim is a smooth, firm face with no large ripples. A banner should be tensioned enough to remain readable, but not so tightly that the eyelets are under constant strain or the printed material starts to distort.
If you are installing a very wide banner, it helps to have two people. One person can hold the banner flat and correctly positioned while the other attaches the ties. This is faster, safer and far less likely to result in a crooked finish.
Match the fixing pattern to the fence type
Heras-style temporary fencing is common on UK construction sites and event perimeters. Secure banners directly to the mesh using cable ties or bungee ties, making sure there is a fixing at each eyelet. Where panels join, avoid relying on the joint as the only support point. The banner should remain supported across each panel.
For metal railings, fix to vertical bars and horizontal rails where possible. Vertical ties prevent the banner moving sideways, while horizontal ties help maintain tension along the top and bottom. If railings have sharp edges or decorative points, keep the banner clear of them to prevent abrasion in windy conditions.
Timber fencing can be more complicated because it may not offer regular open spaces for ties. Screw-in banner fixings or washers with suitable screws can provide a more secure solution, but take care not to overtighten. Place fixings through reinforced eyelets only, not through the printed face of the banner. If the fence is rented, listed or belongs to a landlord, always obtain permission before making holes.
Chain-link fencing gives plenty of fixing options, but it can also be uneven. Attach the top edge first and use frequent ties to prevent the banner following the fence’s dips and twists. Mesh banners are often the strongest choice here, especially on exposed boundaries.
Plan for wind, rain and everyday wear
Wind is the main reason fence banners fail. It is not just high winds that cause problems – repeated movement from lighter gusts can gradually enlarge eyelets, loosen ties and wear through edges. On exposed sites, use mesh material, reinforced hems and elasticated fixings where appropriate. Reducing wind pressure is more effective than simply tightening every tie as hard as possible.
Leave a small clearance between the banner and the ground. A banner dragging on wet grass, paving or soil will become dirty quickly and is more likely to tear. Keeping the lower edge raised also makes it easier to clean around the display and prevents puddles from splashing the printed surface.
Check the installation after the first day, particularly after rain or strong wind. Look for loose ties, bowed edges, damaged eyelets and contact with sharp fence sections. For longer-term signage, a quick weekly inspection can prevent a minor issue from becoming a replacement order.
If a tie breaks, replace it rather than simply adding another tie beside it. A broken fixing can indicate too much tension, wind pressure concentrated in one area or a weak point in the fence. Adjusting the whole fixing pattern may give a better result than patching the problem repeatedly.
Keep the message readable from day one
A securely fitted banner also needs to be easy to see. Position it where passing traffic or pedestrians have a clear line of sight, without parked vehicles, site equipment or foliage blocking the message. Keep the key wording, logo and contact details away from the very edge of the artwork, as fence rails and fixings can obscure them.
For site and event use, choose a size that fills the available fence run without forcing the banner around corners or across gaps. Several correctly sized banners often look smarter and last better than one oversized banner pulled across an awkward perimeter.
At Banner Printing UK, we produce weather-ready vinyl and mesh banners with practical finishing options for real-world displays. If you know where the banner will be fitted, how long it needs to stay up and how exposed the site is, choosing the right material and eyelet layout becomes straightforward.
A few extra minutes spent levelling the top edge, using every fixing point and checking tension after installation will keep your banner working hard for your business long after the launch day.