A banner can have sharp artwork, vivid colour and a strong message, but it will not perform properly if the fixing points are wrong. Knowing how to choose banner eyelets means looking beyond the banner itself: where it will hang, how long it will be displayed and how much wind it is likely to face all affect the right setup.
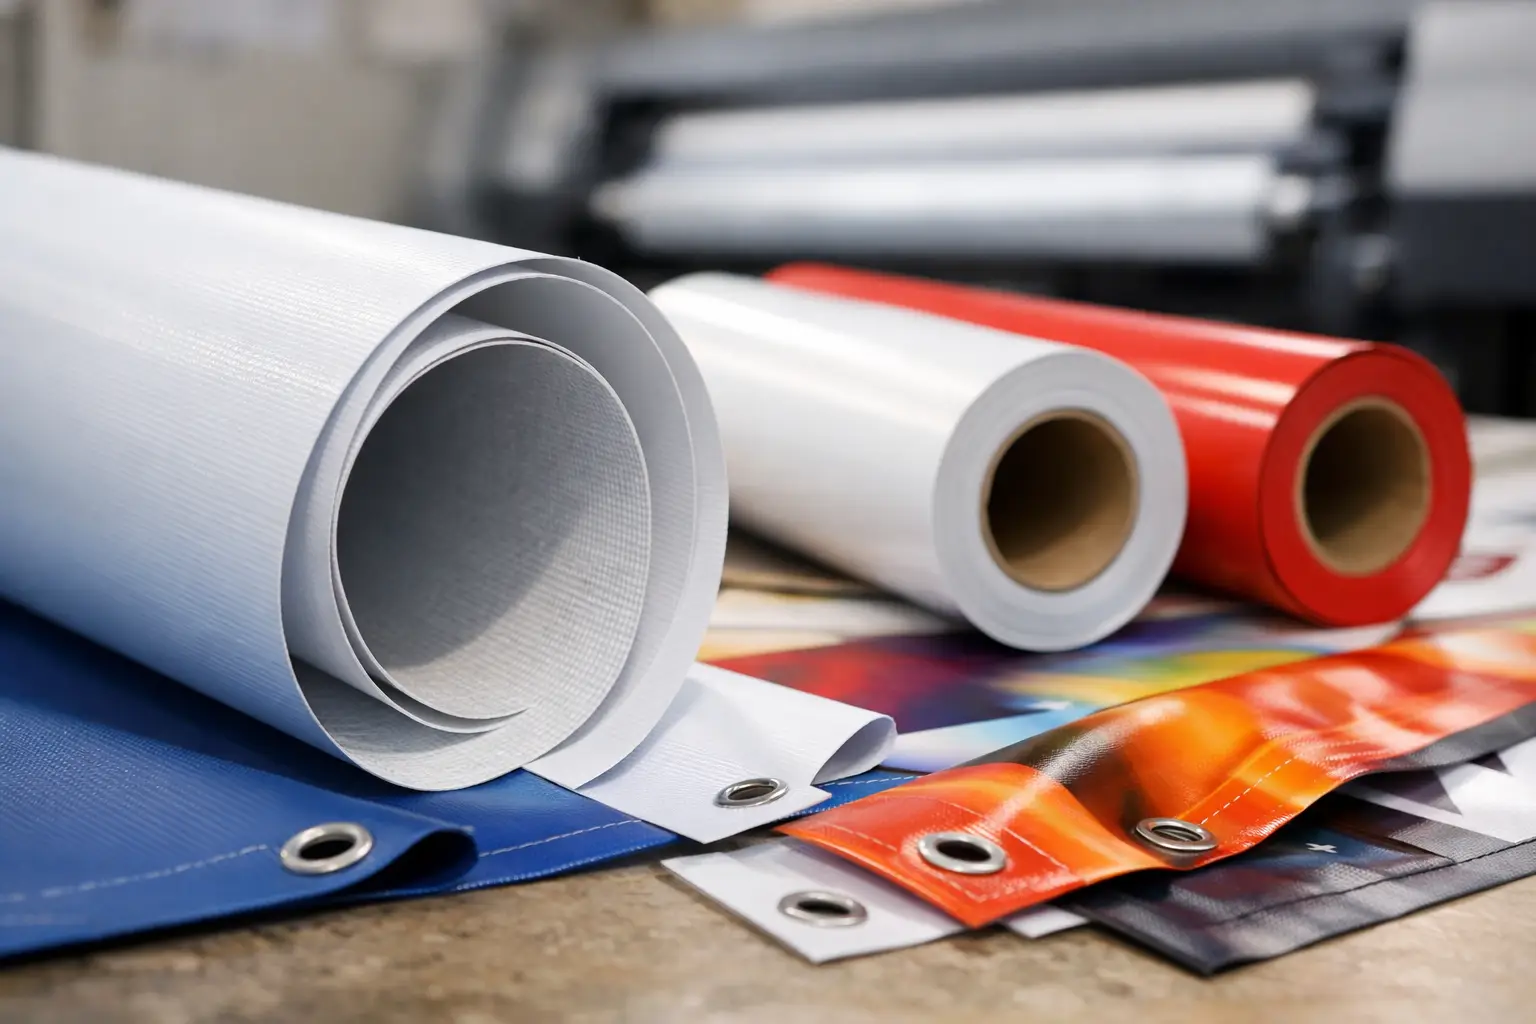
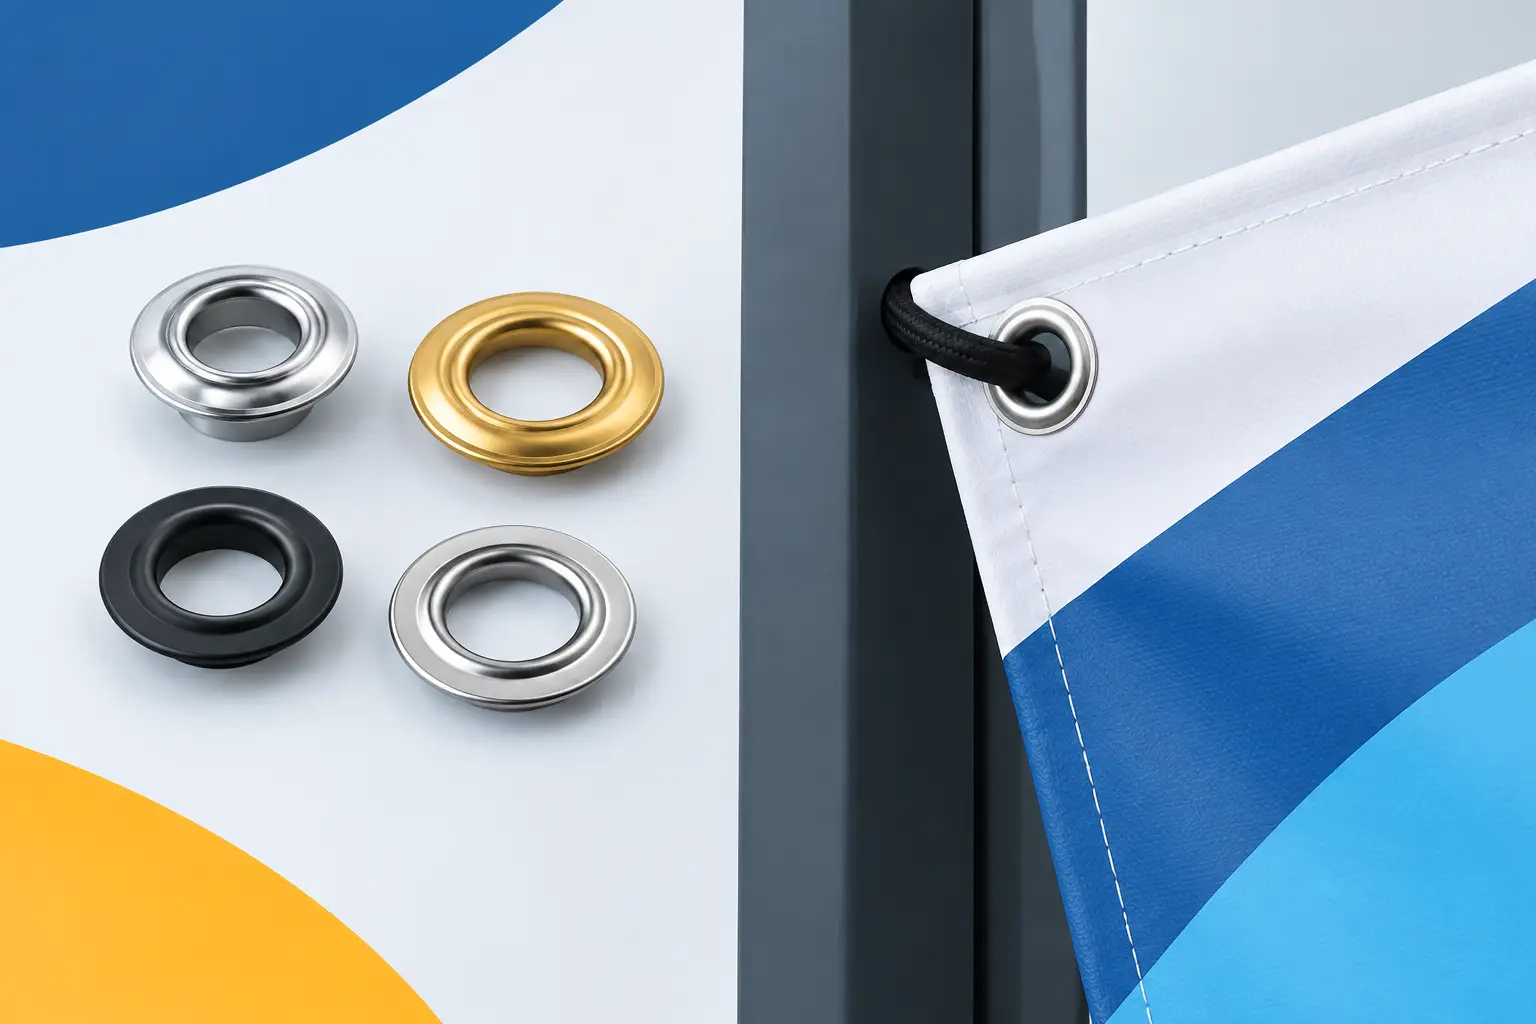
Eyelets are the reinforced metal rings fitted around a banner’s edge. They give cable ties, rope, hooks or bungee cords a clean, secure place to pass through without tearing the printed material. They are a small production detail, but they make a major difference to how professional, safe and long-lasting your display looks.
Start with where the banner will be used
The first question is not which eyelet looks best. It is where the banner will be fixed.
For indoor displays, such as retail promotions, school events, exhibition stands or reception areas, standard eyelets at the corners are often enough. There is little wind pressure, and the banner is usually mounted to a wall, frame or railing for a short period. A tidy, tensioned finish matters more than heavy-duty fixing.
Outdoor banners need more thought. A banner fitted to fencing, scaffolding, railings or a shopfront will move in the wind. The larger the banner, the more force is placed on each eyelet. In these settings, choose eyelets around the full perimeter rather than relying on corner eyelets alone. This spreads the load across the banner edge and reduces the chance of sagging, flapping or ripped fixing points.
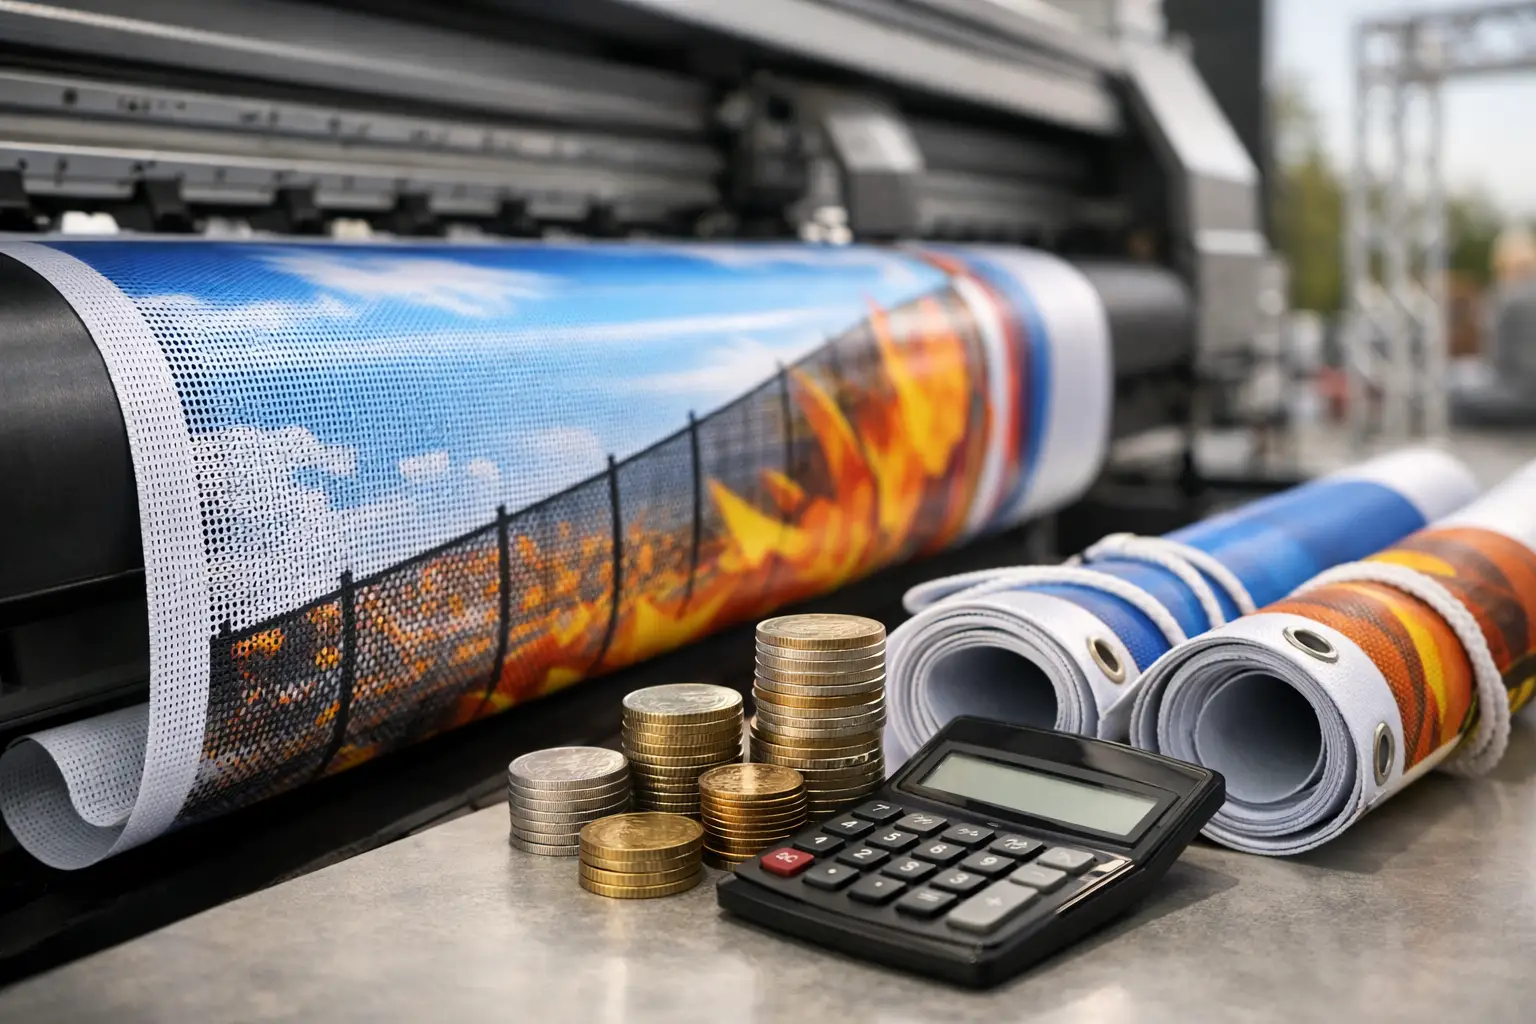
If the site is particularly exposed – for example, an open building plot, roadside fencing or a coastal venue – the material choice matters just as much as the eyelet layout. A mesh banner allows wind to pass through, reducing pressure on the eyelets and the surface it is attached to. A solid vinyl banner can still work well, but it needs secure, evenly spaced fixing points and a suitably sheltered position.
Choose eyelet spacing to match the banner size
There is no one eyelet arrangement that suits every job. Small banners used indoors may only need eyelets in each corner. Larger banners, particularly those used outdoors, benefit from eyelets at regular intervals along every edge.
As a practical rule, the bigger the banner and the tougher the conditions, the closer the eyelet spacing should be. Regular spacing keeps the banner flat and supports the entire edge rather than allowing the middle sections to pull away from the fixing surface.
For example, a small promotional banner on a market stall can often be secured at the corners and perhaps along the top edge. A long banner stretched across railings needs multiple fixing points across the top and bottom, with additional support down the sides. This prevents the centre from bowing forward and keeps the message easy to read from a distance.
Too few eyelets can create several problems at once. The banner may wrinkle, the printed design can become distorted and wind movement puts strain on the corners. Too many eyelets are rarely a concern for a large outdoor banner, but they can be unnecessary on a compact indoor display where a cleaner finish is preferred.
Consider the shape, not only the area
A wide, shallow banner and a tall, narrow banner may cover similar square footage, yet need different fixing plans. A long horizontal banner often needs more support along its top and bottom edges. A portrait banner needs reliable side fixing to stop it twisting or curling.
Think about the unsupported sections between each fixing point. If there is a large gap, the banner will move more. Shorter gaps produce a neater, more stable display.
Match the eyelets to your fixing method
Your choice of cable ties, rope, hooks or bungee cords affects how the eyelets will perform. The eyelets need to be large enough for the chosen fixing to pass through easily, without forcing or damaging the banner edge.
Cable ties are a popular choice for railings, temporary fencing and event barriers. They are quick to fit, economical and give a firm hold. They should be pulled tight enough to secure the banner, but not so tight that the edge is under constant strain. For outdoor installations, trim the ends neatly for a more professional finish.
Rope suits banners being tied to posts, trees, frames or irregular structures. It gives flexibility where fixing points do not line up perfectly, although it can allow more movement than cable ties if it is not tensioned well. For a large banner, run rope through several eyelets rather than relying on a single corner loop.
Bungee cords are especially useful outdoors because they provide controlled give. Instead of transferring every gust of wind directly to the eyelet, the elastic cord absorbs some movement. They are a practical option for fencing and frames where wind exposure is unavoidable. The trade-off is that the banner may sit slightly less rigidly than one fixed with tightly fitted cable ties.
Hooks and screw fixings work well for permanent or semi-permanent wall displays. Check that the wall fixings are appropriate for the surface, whether that is brick, timber, cladding or a display frame. The eyelet only performs as well as the structure it is attached to.
Do not overlook reinforced banner edges
Eyelets work best when fitted into a strengthened edge. On vinyl banners, this is commonly achieved with a hemmed edge, where the material is folded over and bonded to create extra thickness. The eyelet passes through this reinforced section rather than a single layer of vinyl.
This matters most on larger banners and outdoor signage. A reinforced edge helps distribute pressure around each eyelet, providing a more dependable fixing over time. It also gives the banner a smarter, more substantial finish.
For a short indoor promotion, a lightweight option may be perfectly suitable. For a banner that will spend weeks on site, promoting a development, business opening or seasonal event, reinforced hems and perimeter eyelets are a sensible investment. The difference is not just durability. It is fewer maintenance visits, fewer loose corners and less risk of a banner looking tired before the campaign has finished.
Plan eyelets around the artwork
Eyelets sit at the edge of the banner, but they still need consideration during artwork setup. Keep essential text, logos, phone numbers and QR codes well clear of the trim and fixing area. A key detail placed too close to an eyelet can be obscured by a cable tie, folded around a railing or made difficult to read.
Leave a comfortable safety margin around the outer edge, particularly if your banner will be tensioned tightly. This protects the important parts of the design and gives the production team room to finish the banner cleanly.
It is also worth considering what will sit behind the banner. On open railings, a white background may allow the bars to show through slightly in certain light. On a solid wall, the same design may look completely different. If visibility is critical, choose a banner material and fixing position that support the artwork rather than competing with it.
Outdoor banners need checks after installation
Even the right eyelets cannot compensate for poor fitting. Before leaving an outdoor banner in place, check that every fixing is secure, the banner is evenly tensioned and no sharp edge is rubbing against the material.
Avoid stretching a banner so tightly that there is no flexibility at all. Vinyl expands and contracts slightly with temperature changes, while wind creates sudden pressure. A firm, even fit is the goal, not maximum tension.
For longer campaigns, inspect the banner periodically. Replace damaged cable ties, re-tension loose sections and remove any debris caught behind the material. This is particularly worthwhile after high winds. A two-minute check can prevent a torn corner or a loose banner becoming a safety issue.
When standard eyelets are the right choice
Most business banners do not need a complicated specification. Standard metal eyelets with a reinforced perimeter are a dependable choice for many applications, from estate agent boards and retail sales banners to construction signage and event promotions.
The right specification depends on the real job, not the biggest possible setup. An indoor banner for a one-day fundraiser should be quick to hang, neat and easy to remove. A large mesh banner on temporary fencing needs regular perimeter eyelets, suitable bungee fixing and enough support to stay visible in changing weather.
When ordering from Banner Printing UK, provide the intended size, location and fixing surface if you are unsure. That simple information makes it easier to match the banner material, finishing and eyelet placement to the way it will actually be used.
A well-finished banner should look effortless once it is up: flat enough to read, secure enough to stay put and strong enough to keep promoting your business for as long as you need it to.