A welcome back banner isn't just a piece of signage; it's a powerful tool for creating an immediate sense of belonging and excitement. Think of it as a vibrant, visual handshake setting a positive tone from the moment someone walks through the door, whether they're students returning to school or employees coming back to the office. It's far more than just decoration—it's a direct message of appreciation and community.
The Real Impact of Welcome Back Banners
A welcome back banner is one of the quickest ways to make a powerful first impression. It can genuinely boost morale and foster a sense of community. When someone returns to a familiar place after being away—be it a school, office, or event space—a thoughtful visual greeting makes them feel seen, valued, and genuinely wanted. That one piece of print can instantly transform a routine entrance into a memorable moment.
It’s all about the atmosphere it creates. For a primary school, a bright, cheerful banner can calm first-day jitters for young pupils and reassure anxious parents. In a corporate setting, it signals that returning team members are an integral part of the company’s success, helping to reinforce a positive and collaborative workplace culture.
Boosting Morale and Community Spirit
You can't underestimate the psychological effect of a warm welcome. It validates an individual's importance within the group and strengthens their connection to the community. We saw this play out in a big way after the COVID-19 lockdowns here in the UK.
The educational resource provider Twinkl reported over 500,000 downloads of their KS2 "Welcome Back" banner by September 2021. This shows the massive demand from schools desperate to ease the transition for returning students. In fact, data showed that 92% of UK state-funded primary schools used visual displays like these, which correlated with a 15% improvement in reported student well-being. You can see the resource yourself on Twinkl's website.
A well-placed banner does more than just decorate a space; it communicates a clear message: "You were missed, and we are thrilled you're here." This simple act of recognition can set the stage for a productive and positive start.
For businesses reopening their doors or welcoming staff back after a long stretch of remote work, these banners serve a similar function. They help bridge the gap between working from home and being back in the office, making the space feel like a hub of collaboration once more.
Of course, to truly understand the effectiveness of your efforts, it's crucial to consider how to measure marketing ROI. This helps ensure your investment, even something as simple as a banner, yields tangible results in morale and engagement. Think of it as a tangible investment in your community.
Strategic Planning for Your Banner
A truly effective welcome back banner doesn't just appear out of thin air. Its success is hammered out long before anyone even thinks about colours or fonts. It all begins with a bit of thoughtful planning to pin down its real purpose and who you're trying to reach. I've seen it time and again: people rush this stage and end up with a banner that, no matter how nice it looks, just doesn't do the job.
The very first question you need to ask is: where is this banner going to live? Indoors or outdoors? The answer to that one question changes everything, from the material you choose to the finishing touches. A banner facing the unpredictable British weather needs to be tough – think durable, weatherproof PVC vinyl. An indoor banner, on the other hand, can be a bit more refined, using lighter fabrics for a more elegant feel.
Defining Your Audience and Goals
Alright, let's get specific. Who needs to see this banner, and what do you want them to feel or do when they see it? A university welcoming thousands of students back after summer has a completely different mission to a local shop reopening after a refurb. The uni wants to build a buzz and a sense of community. The shop just needs to shout, "We're open for business!" and get people through the door.
This kind of thinking shapes your message and design. For that huge university banner slung across a building, the text needs to be massive, bold, and minimal – readable from half a campus away. But for a series of smaller banners at a corporate event, you have the freedom to get a bit more detailed with your messaging.
This simple decision tree can help you visualise how the path changes based on your needs.
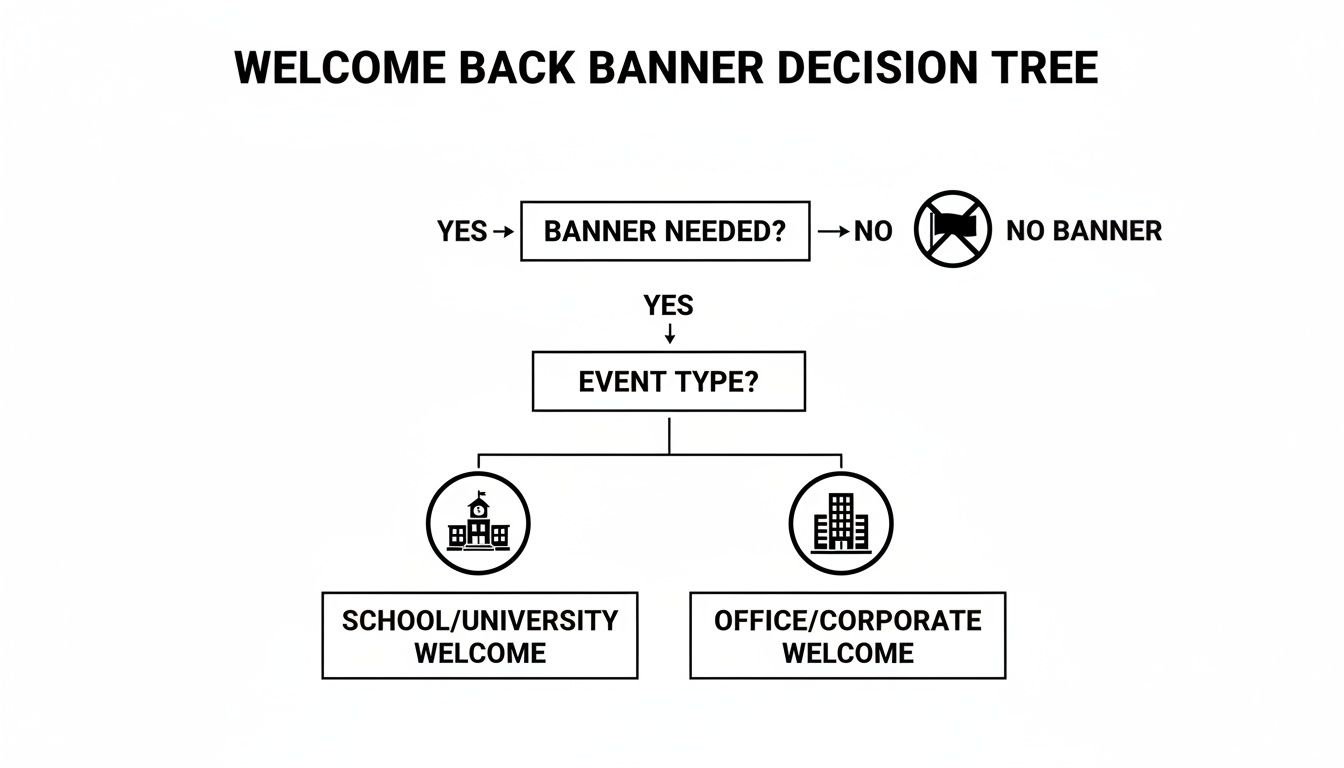
As you can see, the route you take for a school banner versus an office one splits early on, and that initial choice influences everything that follows.
Sizing and Viewing Distance
Next up is viewing distance. It sounds technical, but it's simple: how far away will people be when they see your banner? The further away they are, the bigger your banner and its text need to be. A good rule of thumb we work with is that your lettering should be at least one inch tall for every 10 feet of viewing distance.
A banner stretched across a school entrance, meant to be seen by parents in cars 50 feet away, needs much larger text than one hung in a narrow office hallway. Ignoring this simple calculation is one of the quickest ways to render your investment ineffective.
To make this part of the process a breeze, you can check out our comprehensive ordering banners UK design materials delivery guide which dives into these technical specs in much more detail.
Ultimately, this planning is all about making sure your message isn't just displayed, but that it's actually seen, read, and understood. Your goal is crystal-clear communication, and that always starts with a solid plan.
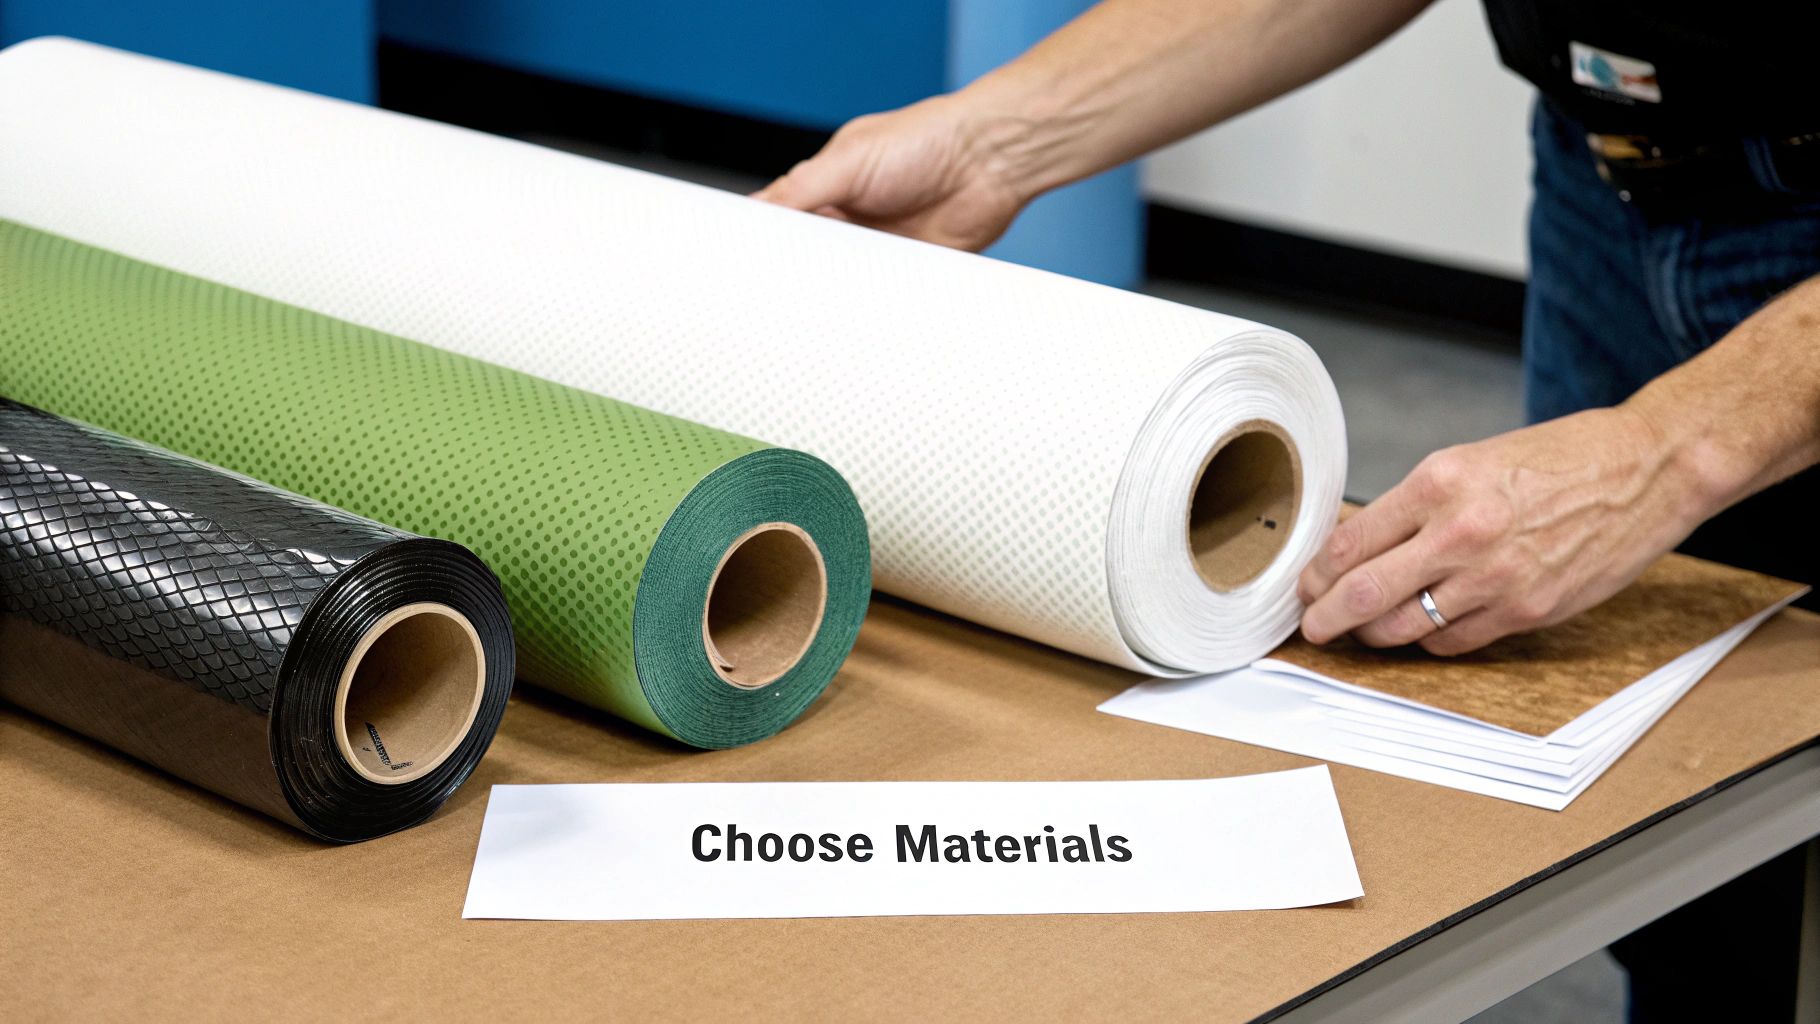
Choosing the Right Banner Materials
When it comes to your welcome back banners, the material you pick is probably the single biggest decision you’ll make. It directly impacts durability, how good the banner looks, and ultimately, whether it does its job. A banner destined for the school gates, braving the elements for weeks, needs a completely different constitution to one hanging in a quiet corporate lobby.
Getting this right means your investment not only looks professional but also lasts as long as you need it to.
For almost any outdoor job, standard PVC vinyl is the undisputed champion. It’s tough, totally waterproof, and holds colour brilliantly, which is exactly what you need for a banner facing down the unpredictable British weather. Think of it as the reliable workhorse of the banner world – it just gets the job done.
But bring that same heavy vinyl banner indoors for a retail display, and it can feel a bit… industrial. This is where fabric banners really shine. They offer a much softer, more premium look with a matte finish. This is a huge plus under bright shop or event lighting, as it diffuses the light and kills the distracting glare you often get from glossy vinyl.
Comparing Key Banner Materials
To make the choice a bit clearer, let's walk through the most common materials we work with. Each has its own strengths, making it the perfect fit for certain jobs.
To help you weigh up the options, here’s a quick comparison of the main materials you'll be choosing from.
Banner Material and Finish Comparison
| Material Type | Best For | Durability | Cost | Key Feature |
|---|---|---|---|---|
| PVC Vinyl | Long-term outdoor use, construction sites, school fences | High | £ | Weatherproof and excellent print vibrancy. |
| Mesh Vinyl | Windy locations, large building wraps, fence banners | High | ££ | Perforated to allow wind to pass through, reducing strain. |
| Fabric (Polyester) | Indoor events, retail displays, exhibition backdrops | Medium | £££ | Elegant, glare-free matte finish and machine washable. |
As you can see, the environment really dictates the material. A mesh vinyl banner, for instance, is a non-negotiable for large banners on fences, scaffolding, or exposed buildings. Those tiny holes let the wind pass straight through, stopping the banner from turning into a giant sail that could tear or damage whatever it’s fixed to.
I've seen countless standard vinyl banners shredded to pieces in windy spots. Opting for mesh in an exposed location isn't just a recommendation; it's essential for safety and longevity.
Essential Finishing Touches
Beyond the base material, the finishing touches are what make your banner practical and a breeze to install. These are the details that ensure it hangs securely, looking taut and professional rather than saggy and amateur.
Here are the two must-haves:
- Reinforced Hems: This is where we fold the edges of the banner over and heat-weld them shut. It dramatically strengthens the perimeter, preventing any fraying or tearing, especially around the eyelets where all the tension is.
- Metal Eyelets (Grommets): These are the metal rings we punch along the hemmed edges. They give you solid anchor points for rope, bungee cords, or zip ties, letting you secure the banner properly without any risk of ripping the material itself.
This combination of reinforced hems and evenly spaced eyelets is the go-to for pretty much all outdoor welcome back banners. It’s simply the most versatile and secure way to get them installed. If you want to get into the real nitty-gritty of material science, you can explore this ultimate guide to vinyl banner printing in the UK for some deeper expert insights.
Designing a Banner That Gets Noticed
Let's be honest, a banner's design is what makes it either a memorable welcome or just part of the background noise. Getting the design right for a large-format print isn't rocket science, but a few key details can make a world of difference. When your design is blown up to a massive size, every little mistake gets magnified right along with it.
So, where do we start? Image quality. Nothing screams 'amateur job' faster than a blurry, pixelated image. If you’re using photos or any detailed graphics, they need to be high-resolution. We're talking 300 DPI (dots per inch) at the actual, final print size. For logos, text, or any simple shapes, vector graphics are your best friend. Unlike a standard JPEG, a vector file can be scaled from the size of a postage stamp to the side of a bus without losing an ounce of sharpness.
Getting Your Colours and Fonts Right
Colour is another area where things can easily go wrong. The screen you’re designing on shows colours in RGB (Red, Green, Blue), which is great for websites and digital media. But professional printers work in CMYK (Cyan, Magenta, Yellow, Black). If you design in RGB, you're in for a nasty surprise when you see the final print, as the colours will almost certainly shift. Always, always set up your design file in CMYK mode right from the get-go.
Next up, let's talk about text. Your main goal here is simple: can people read it from a distance?
- Go for Bold Fonts: Stick to clean, strong, sans-serif fonts. Think Helvetica, Arial, or Montserrat. They’re easy to read in a split second, unlike fancy script fonts which can become an illegible mess from afar.
- Pump Up the Contrast: This is a big one. Put light text on a dark background, or dark text on a light one. High contrast is what makes your message stand out, whether it’s in bright sunshine or across a crowded car park.
- Keep it Simple: Don't go crazy with fonts. Pick one or two font families and stick with them. Too many different styles just looks cluttered and dilutes the impact of your message.
The most effective welcome back banners have a clear visual hierarchy. Your main message—the "Welcome Back!" bit—should be the biggest, boldest thing on there. It’s the first thing people should see.
Your Pre-Flight Artwork Checklist
Before you hit 'send' on that email to your printer, take five minutes to run through a quick pre-flight check. It’s a habit that every professional designer has, and it can save you a world of pain, time, and money.
- Spelling and Grammar: It sounds so basic, but you’d be amazed how often a typo slips through. Get a second person to give it a quick once-over.
- Outline Your Fonts: This is a crucial step. Convert all your text to outlines (or 'curves'). This essentially turns the text into a shape, meaning it will print perfectly even if the printer doesn’t have your specific font installed.
- Add a Bleed: If your design has colour or images that go right to the very edge, you need to add a bleed. This is an extra border (usually 3-5mm) that extends beyond the final trim line, guaranteeing no ugly white slivers on the finished banner.
- Save it Right: The industry standard for a reason is a print-ready PDF. It bundles everything—images, outlined fonts, colours—into one tidy, reliable file that any printer can work with.
For a bit of creative inspiration, look at how people design stunning backdrops for photo booths; they're masters of creating a strong visual theme that grabs your attention. And if you want to dive deeper into the nitty-gritty of getting your files perfect, our full guide on how to design a banner has all the details you’ll need.
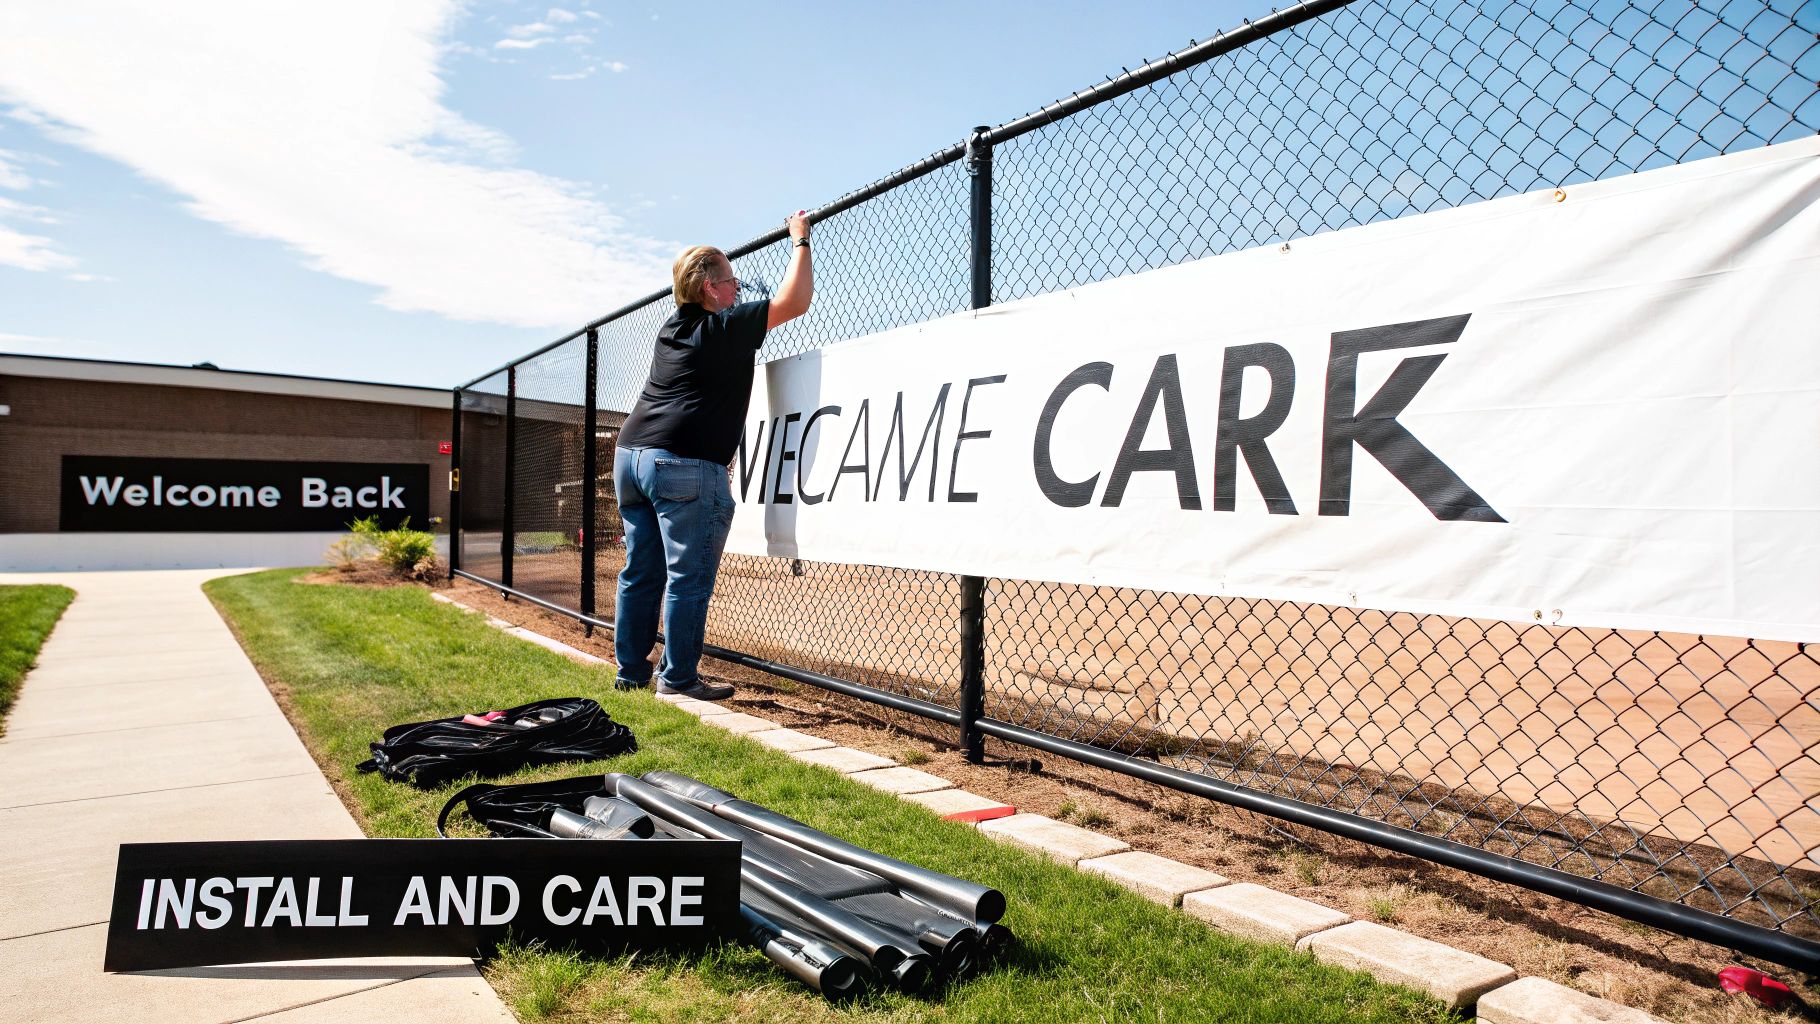
Getting Your Banner Up and Looking After It
You’ve got your hands on a fantastic-looking banner, so the final step is getting it displayed properly. A good installation doesn't just make your banner look professional; it also protects it from the elements, meaning you can use it time and time again. Nobody wants to see a saggy, sad-looking banner, and taking a few minutes to hang it right makes all the difference.
Attaching your welcome back banner to a fence or set of railings is actually pretty straightforward. You’ve got two brilliant, reliable options here: heavy-duty zip ties or bungee cords. Just thread either of them through the metal eyelets and you're good to go.
Personally, I'm a big fan of using bungees for larger banners, especially if they're going up in a windy spot. That little bit of stretch allows the banner to give and flex with the wind instead of fighting it, which takes a massive amount of strain off the eyelets and stops them from tearing.
For that perfectly taut, crisp finish, always start by securing the top corners first. Pull the banner tight as you fasten the bottom corners, then just work your way around, adding ties or bungees to the rest of the eyelets. This little trick helps you avoid any wrinkles and keeps the whole thing lying flat and looking sharp.
Long-Term Care and Storage
When it's time to take the banner down, resist the urge to just fold it up and shove it in a cupboard. Folding creates nasty creases, especially in PVC vinyl, and these can become permanent weak points or even cause the print to crack over time. The only way to store your banner is to roll it.
A pro tip: always roll the banner with the printed side facing outwards. It feels a bit wrong, I know, but it protects the ink and stops the graphic from being compressed and potentially sticking to itself while it's stored away.
Before rolling, give it a quick once-over. A wipe-down with a soft, damp cloth and some mild, soapy water is all it needs to get rid of any dirt. Just be sure to avoid harsh chemicals or anything abrasive, as they can easily ruin the print finish.
Here's the quick checklist for packing it away:
- Clean it: A gentle wipe with a damp cloth will do. Let it air dry completely before the next step.
- Roll it: On a clean, flat surface, roll the banner up smoothly. Using a cardboard tube as a core is ideal. Remember, printed side out!
- Store it: Pop the rolled banner somewhere cool and dry, and keep it out of direct sunlight to prevent the colours from fading.
It's only a few extra minutes of effort, but proper care will dramatically extend the life of your banner. It'll look just as vibrant and welcoming for your next event, and your future self will definitely thank you for it.
Your Welcome Back Banner Questions Answered
Even with the best plan in the world, a few questions always pop up when you're ordering banners. Getting a straight answer can make all the difference, turning a stressful job into a smooth one and ensuring you get exactly what you envisioned. We’ve pulled together the most common queries we get day in, day out to help you order with total confidence.
Let's clear up some of the key details, from production speeds to getting your colours spot on. A little bit of insider knowledge goes a long way.
How Quickly Can I Get My Banner?
"How fast can you print it?" – it's the number one question, and for good reason! Typically, you should allow for a production time of 3-5 working days once you’ve signed off on the final artwork. It's always a smart move to add another day or two for UK delivery, just to be on the safe side.
My personal advice? To avoid any last-minute headaches, aim to place your order at least one to two weeks before you absolutely need the banner. While most printers can offer an express service for those heart-pounding deadlines, nothing beats having a bit of breathing room. A little forward planning always pays off.
How Do I Make Sure My Colours Print Perfectly?
Getting your brand or school colours just right is non-negotiable for a professional look. The single best way to guarantee colour accuracy is to supply specific colour codes within your design file.
Here's the professional approach:
- Use Pantone (PMS) References: This is the universal language of colour in the print world. If you have official Pantone codes for your brand, use them. It's the gold standard.
- Provide CMYK Values: If Pantone codes aren't available, CMYK (Cyan, Magenta, Yellow, Black) values are your next best bet for consistency.
- Never Use RGB: Steer clear of RGB (Red, Green, Blue) values. They're designed for screens, not for ink, and the printed result will almost certainly be a surprise—and not a good one.
For absolute peace of mind, especially on a large or crucial order, ask your printer if they can run a small printed proof. Holding a physical sample in your hands is the only way to be 100% certain before the full run goes ahead.
Are There Any Eco-Friendly Banner Options?
Yes, absolutely! The demand for sustainable print has grown, and thankfully, the options are better than ever. If you're looking for a greener alternative for your welcome back banner, you're in luck.
Many printers now stock materials like PVC-free vinyl or even fabrics woven from recycled polyester. Some of these can even be recycled themselves once you're done. Another fantastic eco-conscious move is to choose a printer that uses water-based latex inks, which release far fewer volatile organic compounds (VOCs) than old-school solvent inks. Don't be shy—always ask your supplier what green printing solutions they have available.
Ready to create a vibrant, professional welcome that gets everyone excited? At Banner Printing Ltd, we make ordering high-quality, custom welcome back banners simple and fast. Explore our options and get a free quote today!


