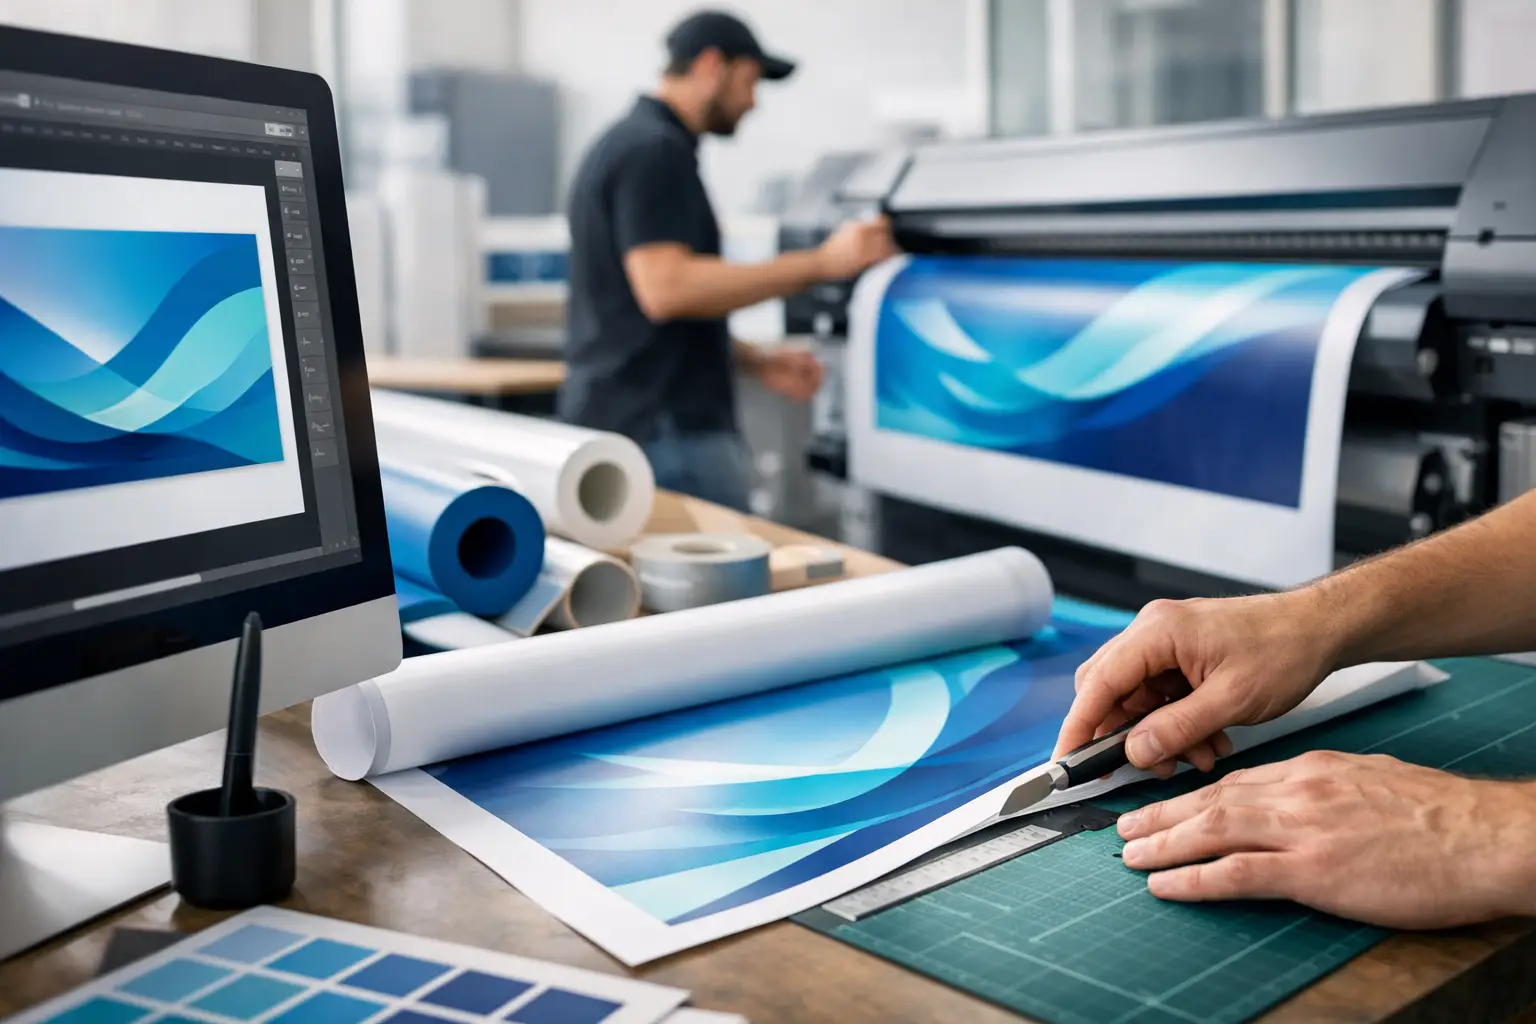
A banner can be finished, weatherproof and delivered quickly, but it will only work as well as the artwork supplied. Knowing how to prepare banner artwork means fewer delays at proof stage, sharper print, clearer messaging and a display that still looks professional when viewed from across a shop floor, roadside or exhibition hall.
Banner artwork is not simply a social post or A4 flyer enlarged to a bigger size. It has to account for viewing distance, material, finishing and the way large-format print handles colour and detail. A few practical checks before upload can protect a tight deadline and make every square metre of your banner work harder.
Start with the finished banner size
Build your artwork to the exact dimensions of the banner you are ordering. If the finished vinyl banner is 2 metres by 1 metre, your document should reflect that proportion. This avoids unexpected cropping, stretched logos or design elements sitting too close to an edge.
For very large banners, working at full size can make design files unnecessarily heavy. It is normally practical to create the file at half or quarter scale, provided the proportion remains exact and the resolution is increased accordingly. For example, artwork produced at 50% scale should generally be set to 300 dpi so it outputs at an effective 150 dpi at final size.
Before setting up the document, think about where the banner will be seen. A fence banner may be read from several metres away, while a roller banner is often viewed at closer range. That affects the size of your headline, logo and contact details far more than the dimensions alone.
How to prepare banner artwork with safe margins
Allow for bleed and a safe area from the outset. Bleed is extra artwork that runs beyond the finished edge, giving the printer room to trim accurately without leaving a fine unprinted line. A 3 mm bleed can suit many print products, but banners often need more consideration because of hems, eyelets and finishing.
Keep important text, logos, phone numbers and QR codes comfortably inside the edge of the design. As a practical rule, leave at least 50 mm clear of banner edges where hems or eyelets may be used. If a message sits directly behind an eyelet, it can become difficult to read once the banner is installed.
Background colours, photographs and patterns can extend into the bleed area. Do not place a border too close to the edge unless you are happy for small variations in trimming or finishing to be visible. Borders tend to make even minor alignment differences stand out.
Plan for hems, eyelets and fixing points
The way a banner is fitted matters as much as its artwork. Eyelets are commonly positioned around the perimeter, while hems strengthen the edges for hanging outdoors. If you are attaching a banner to fencing, scaffolding or railings, avoid placing key visuals in the outer margin.
For a banner intended for repeated outdoor use, leave room for bungee cords or cable ties without obscuring the call to action. A well-positioned logo and bold headline will still perform when the banner is pulled taut or viewed at an angle.
Use images that will stay sharp at large scale
A small image from a website may look acceptable on screen but become soft, pixelated or blocky when printed as a 3 metre banner. For most large-format applications, aim for a final output resolution of around 150 dpi at the banner’s finished size. Higher resolution is useful, but it will not improve an image that was low quality to begin with.
Use original photographs where possible. If an image is supplied by a photographer or purchased for marketing use, check that it is licensed for print at the size required. Avoid screenshots, images copied from social media and logos saved from search results. They rarely have enough detail for a crisp banner.
Vector artwork is the best choice for logos, icons, line drawings and text. Vector files can scale without losing sharpness, making them particularly useful for large branding graphics. Common vector formats include PDF, AI, EPS and SVG, although a print-ready PDF is usually the most straightforward file to supply.
Make the message readable from the right distance
A banner is a quick-read format. Someone passing a retail frontage, trade stand or building site may only give it a few seconds. Lead with one strong message, then support it with only the information needed to prompt the next action.
Use a large headline, clear contrast and a simple hierarchy. Your business name, offer or event message should be the first thing a viewer sees. A phone number, web address or QR code can follow, but do not let smaller details compete with the main point.
Thin typefaces, tightly spaced text and pale colours on light backgrounds can disappear at distance. Choose solid, legible fonts and keep the contrast high. Black type on a pale background, or white type on a dark solid colour, is generally more dependable than text placed over a busy photograph.
If you use a QR code, test it from a realistic scanning distance before sending the file. Leave a clean, clear area around it and do not make it so small that it only works when someone is standing directly in front of the banner.
Set colours for predictable print results
Screens produce colour with light, while printers use inks on a physical material. That is why an especially bright blue, green or fluorescent shade on screen may print with a more restrained appearance. Set your file in CMYK colour mode where possible, particularly when using Adobe Illustrator, InDesign or Photoshop.
Brand colours deserve extra care. If consistency across banners, flyers, posters and business cards matters, use the correct CMYK values supplied in your brand guidelines rather than selecting a colour by eye. A print proof or colour reference can be worthwhile for high-profile campaigns where a precise match is essential.
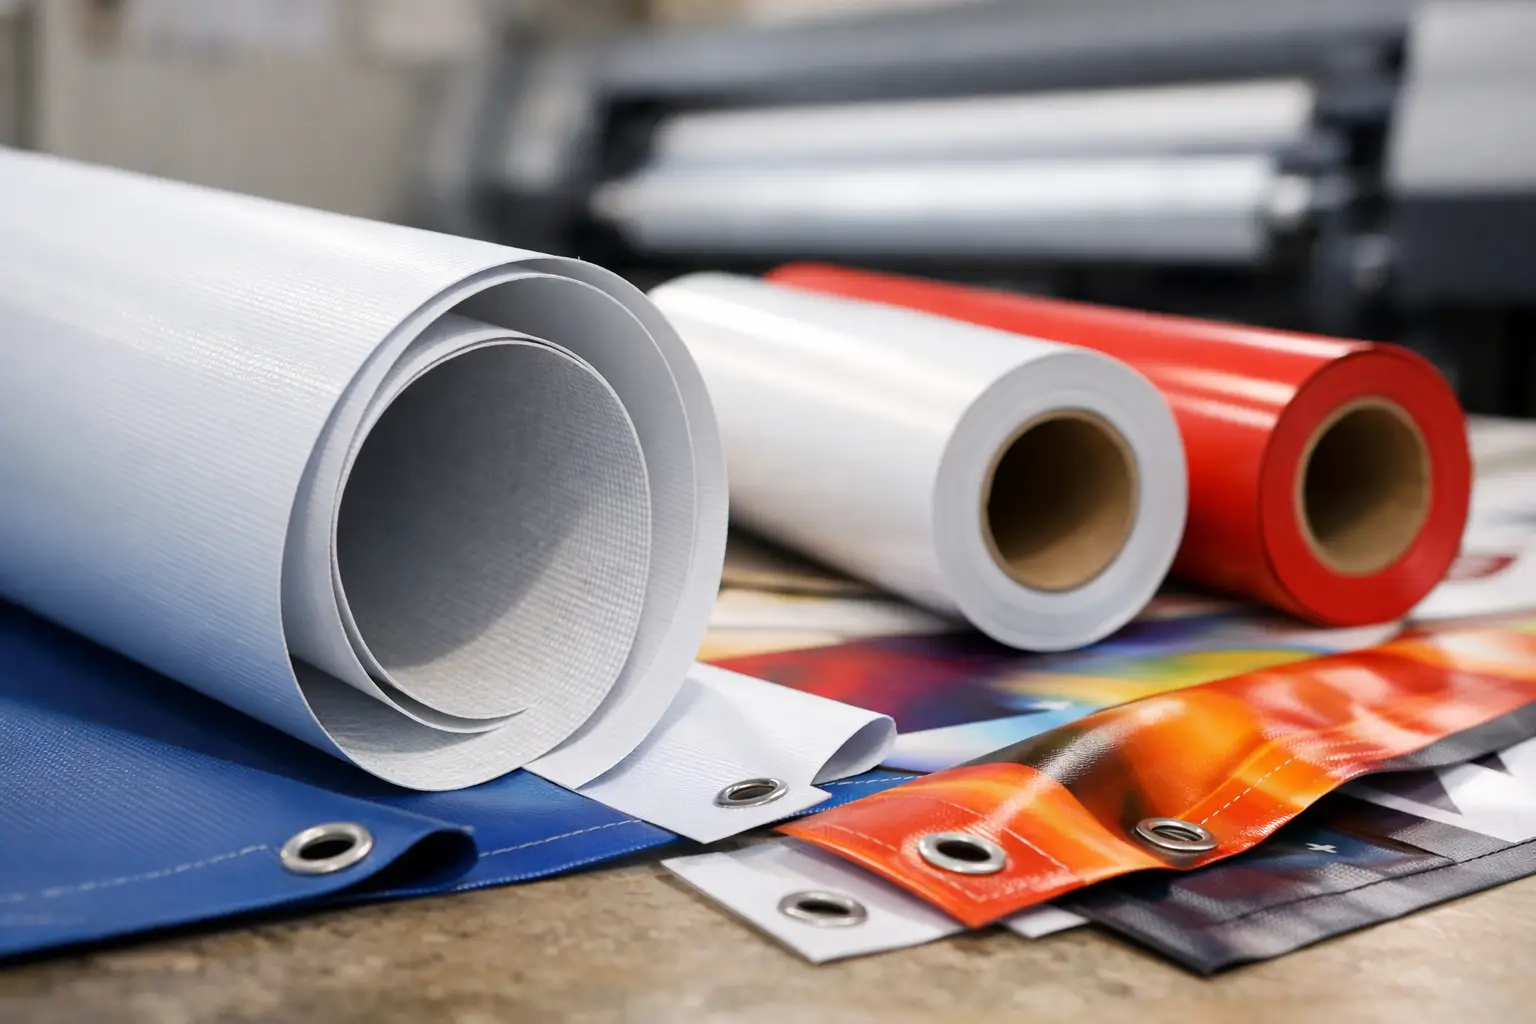
Consider the banner material as well. Standard vinyl gives a bold, solid finish for promotions, events and shopfronts. Mesh banner material allows wind to pass through, which is useful on exposed fencing and scaffolding, but its perforated surface can make fine details less effective. Keep mesh designs bolder, with larger text and simpler images.
Supply a print-ready file
A high-resolution PDF is the preferred format for most banner orders because it preserves layout, fonts and vector graphics. When exporting, choose print-quality settings and include bleed where it has been added. If your software offers a choice, PDF/X settings can help keep the file suitable for commercial printing.
Outline fonts or embed them in the PDF so text does not change if the printer does not have the same typeface installed. Check every page and layer before export, especially if your design contains clipping masks, transparency effects or linked images.
Avoid supplying editable office documents, such as Word or PowerPoint, as final artwork where possible. They can be useful for an initial idea, but they are not built for reliable large-format output. A flattened, print-ready PDF gives the production team a clearer route from file to finished banner.
Run a final pre-flight check
Take two minutes to review the file at 100% on screen and at a zoomed-out view. The first reveals image quality and spelling errors; the second shows whether the banner works as a piece of advertising.
Before uploading, check these essentials:
- The document matches the ordered banner size and orientation.
- Important content sits within the safe area, away from hems and eyelets.
- Images are high enough resolution at final print size.
- Logos and text are sharp vector artwork where possible.
- Colours are set to CMYK and the contrast is strong.
- Fonts are outlined or embedded, and spelling, phone numbers and dates are correct.
It is also worth asking someone unfamiliar with the design to look at it for five seconds. If they cannot tell you the offer, event or next step straight away, simplify the artwork before print.
Get the file right, then move quickly
Fast turnaround is most useful when artwork arrives ready to produce. A correctly sized, high-resolution PDF lets the production process move from upload to print without avoidable amendments, which matters when you need banners for an opening, exhibition, promotion or site deadline.
Banner Printing UK can help turn a clear, correctly prepared design into durable large-format print with fast UK dispatch. Give the artwork enough space to breathe, make the message impossible to miss and let the finished banner do its job where it counts – in front of your customers.