
A busy exhibition hall gives you only a few seconds to earn attention. Your stand may be competing with bright screens, free samples, live demonstrations and dozens of nearby businesses. This exhibition stand planning guide focuses on the decisions that help UK exhibitors look professional, arrive prepared and give visitors a clear reason to stop.
The best stands are not necessarily the biggest or most expensive. They are easy to understand from a distance, straightforward for staff to use and built around one commercial goal – whether that is collecting leads, launching a product, booking appointments or selling directly at the event.
Start with one clear outcome
Before choosing banners, furniture or graphics, decide what a successful day looks like. A service business may need qualified conversations with decision-makers. A retailer may be launching a new range and want visitors to buy on the spot. A tradesperson may be looking for local work, while a charity may be building awareness and collecting sign-ups.
That goal should shape the message on your stand. If you want enquiries, make the offer and next step obvious: “Book a free site survey”, “Ask for a trade price” or “Request a sample”. If you are selling products, show the price, the key benefit and how customers can pay. Trying to promote every service you provide usually makes the display harder to read.
Keep your main message short enough to absorb while someone is walking past. Your business name and logo build recognition, but the headline should answer the visitor’s unspoken question: what is this for me?
Plan your exhibition stand space before ordering print
Stand dimensions, open sides and venue rules affect every display choice. Ask the organiser for the floor plan, exact measurements, height restrictions, power details and build-up times as early as possible. A 3m x 2m shell scheme needs a different approach from an open island pitch or a compact table-top space.
Sketch the area to scale. Mark where visitors will enter, where staff will stand and where you need room for product samples, a counter or a small meeting area. Avoid putting a tall roller banner directly behind someone who will be seated all day, and do not block your own storage or access to sockets.
A practical small stand often works best with a strong branded backdrop, one or two roller banners and a counter or table. The backdrop creates instant presence, while portable banners can direct attention to a particular product, offer or contact method. For larger pitches, repeat key brand elements across several zones instead of filling every surface with different messages.
There is a trade-off between carrying more display equipment and keeping set-up simple. If your team is travelling by car, carrying stock and building the stand themselves, lightweight portable displays can save considerable time and stress. If the event is outdoors, choose weather-resistant materials and secure every item properly. Wind, rain and uneven ground can quickly expose poor planning.
Choose display products that match the job
Printed products need to work together, but they do not all have the same role. A large backdrop is for visibility. A roller banner is ideal for a focused message, directional signage or a product feature. Posters are useful close-up, where visitors can read details such as specifications, offers and prices. Flyers and business cards give people something to take away after a conversation.
For a stand near an entrance or along a wide aisle, use large, high-contrast graphics that can be understood from several metres away. For a stand where visitors queue or sit down, add supporting print that rewards a closer look. This could include customer testimonials, a simple three-step service process or examples of completed work.
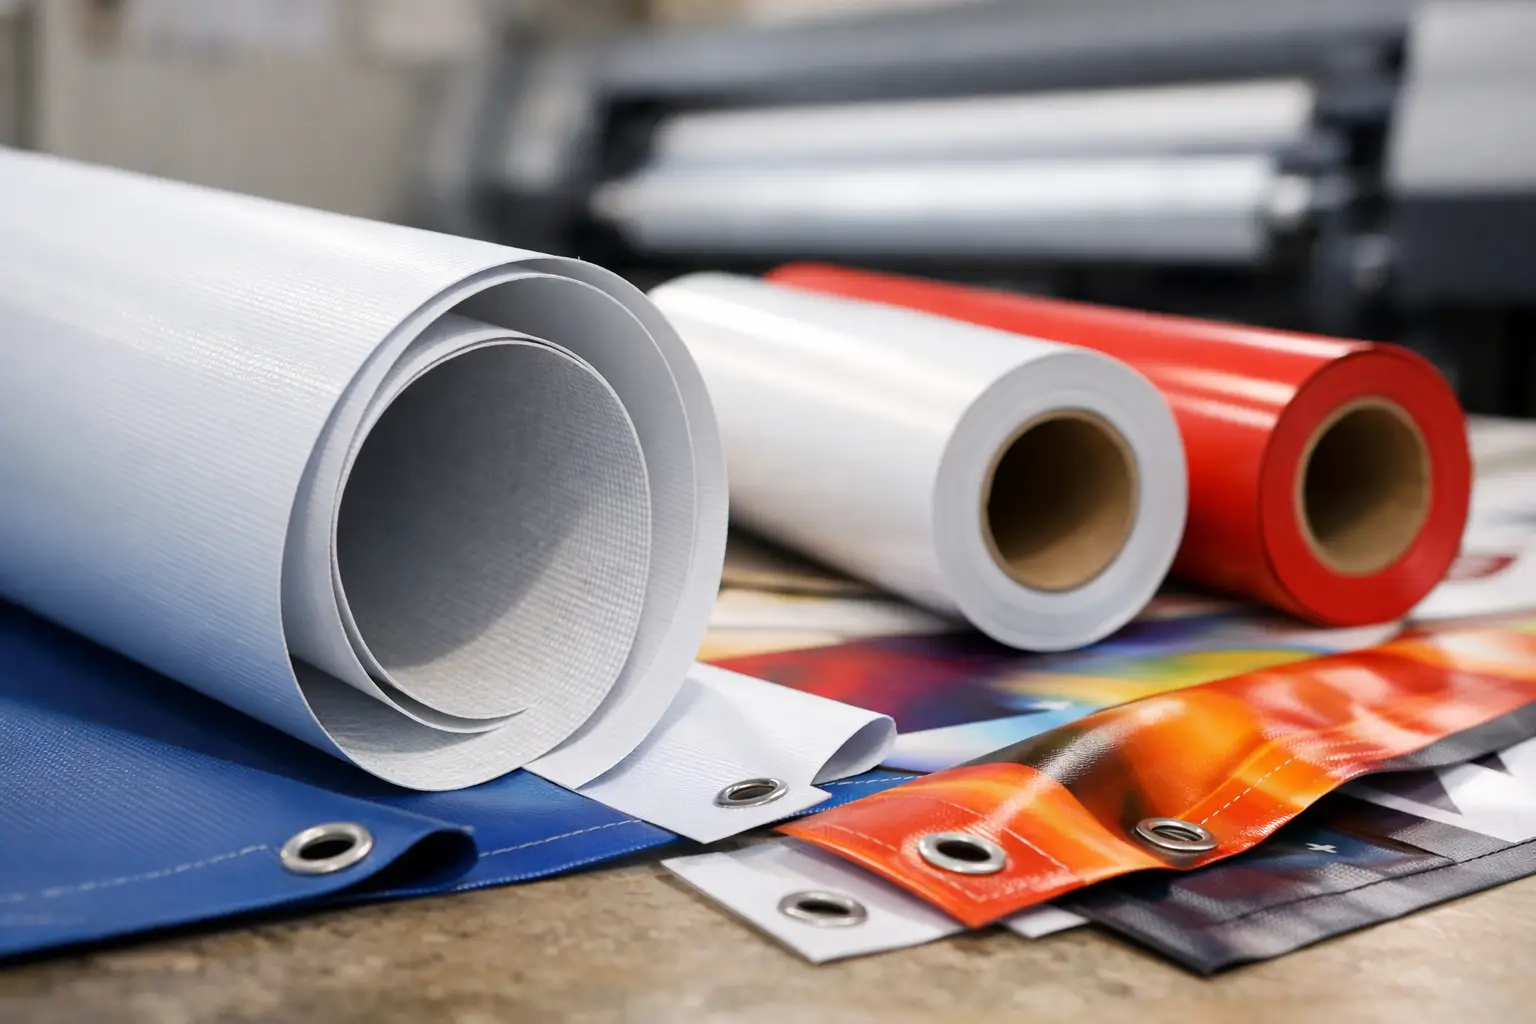
Consider the event environment as well. A clean fabric or printed backdrop can suit indoor exhibitions where presentation matters most. Vinyl banners are a strong option for practical promotional messaging and can be particularly useful at trade days, community events and outdoor displays. Mesh banner material may be more suitable for breezy fencing or open-air sites because it allows air to pass through.
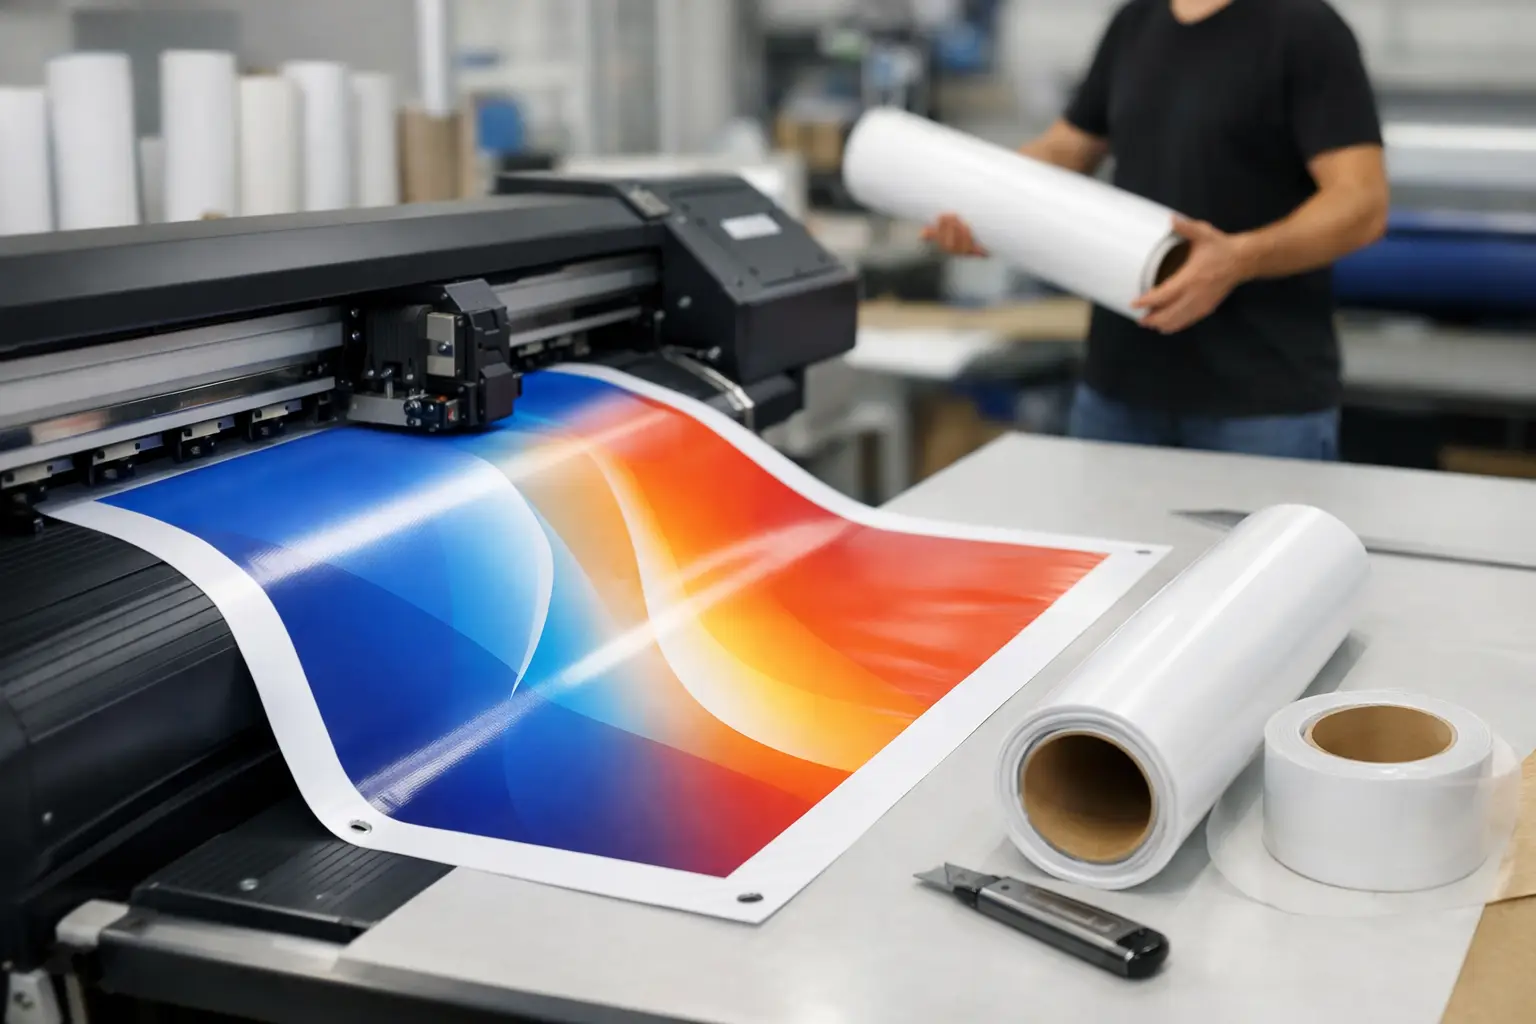
At Banner Printing UK, fast UK production can be particularly useful when an event date changes or you need to replace an outdated display. Even so, avoid leaving artwork until the final day. Fast turnaround helps with urgent jobs, but it cannot improve a rushed message or fix missing brand files without time for checks.
Build artwork for the exhibition floor
A design that looks good on a laptop can fail at full size. Small text, fine lines and low-resolution images are common problems, especially on large-format print. Start with the viewing distance. The further away the audience will be, the bigger and simpler the message needs to be.
Use your logo, main headline and contact route as the visual priority. One supporting image or product photograph can work well, but only if it is sharp and relevant. Avoid using a busy collage of small images unless visitors will be standing close enough to study it.
Keep colours consistent with your existing brand materials, but make sure there is enough contrast between text and background. Pale lettering on a pale photograph may look subtle on screen and become unreadable under exhibition lighting. Dark text on a light background, or light text on a solid dark block, is usually the safer choice.
For print-ready artwork, use high-resolution files and allow for bleed where required. Check that important text and logos sit away from trim edges, banner hems, eyelets and roller banner mechanisms. If you are unsure, request an artwork check before production. Correcting a file before print is quicker and less costly than discovering an issue while setting up at the venue.
Give visitors an easy next step
Attention is useful only if it leads somewhere. Staff should be able to explain the offer in one or two sentences, then guide the visitor towards a clear action. That might be scanning a QR code, taking a flyer, booking a demonstration, entering a competition or giving permission to be contacted.
Use a QR code only when it has a purpose. Send visitors to a specific offer, booking form or downloadable catalogue rather than a general homepage. Test it with several phones before the event, and include a short printed web address or email address as a backup. Venue Wi-Fi can be unreliable, and some visitors prefer a direct contact method.
Printed takeaways still matter. A well-designed flyer can include more detail than a banner without making your stand cluttered. Business cards remain useful for quick introductions, particularly at trade exhibitions where visitors may be collecting contacts for later. Make sure every item uses the same headline, colours and contact details so the experience feels joined up.
Plan staffing, stock and set-up time
A polished stand can lose momentum if nobody is free to speak to visitors. Plan breaks, decide who handles demonstrations and make sure every team member knows the core message, pricing position and lead process. If only one person knows the technical answers, avoid leaving them alone for long periods.
Pack a basic event kit: tape approved by the venue, cable ties where permitted, scissors, cleaning cloths, extension leads if allowed, chargers, pens, a marker, spare paper and a way to store coats or packaging out of sight. Take photographs of the finished stand on the first morning. They are useful for social content, future planning and recreating a successful layout.
If you are taking physical products, calculate stock based on realistic demand and available storage. Bringing too little can mean missed sales; bringing too much can turn a compact pitch into a storeroom. For larger items, consider display samples and arrange follow-up delivery rather than trying to carry everything to the venue.
Use a practical countdown
Four to six weeks before the exhibition, confirm your pitch size, objective, key offer and product list. Finalise the layout and order major display items early enough to allow for artwork checks and delivery. Two weeks before, print flyers, posters, business cards and any updated pricing. In the final few days, test QR codes, charge devices, brief staff and pack by installation order.
Do a trial set-up if the stand includes several elements. It reveals whether a banner is too wide, a table blocks a walkway or the main message disappears behind stock. A twenty-minute rehearsal at your premises is far better than solving those problems when the doors open in an hour.
A stand should make your business easier to remember and easier to contact. Keep the message focused, choose print that suits the space and give yourself enough time to check the details. When visitors can see what you offer at a glance, your team can spend more time having the conversations that move business forward.