A banner can be printed perfectly and still fail to do its job if it sags, twists or tears loose in the first strong gust. Knowing how to hang outdoor banners properly means choosing the right material, fixing method and position before you reach for the cable ties. For shopfront promotions, building sites, school events and roadside displays, a secure installation protects your message and helps it stay visible for longer.
Start with the banner material and location
The best way to hang a banner depends on where it will be displayed. A banner fixed flat against a brick wall faces very different pressure from one stretched across open fencing or between two posts. Wind is the main factor outdoors, particularly on exposed sites, high streets, sports grounds and construction hoardings.
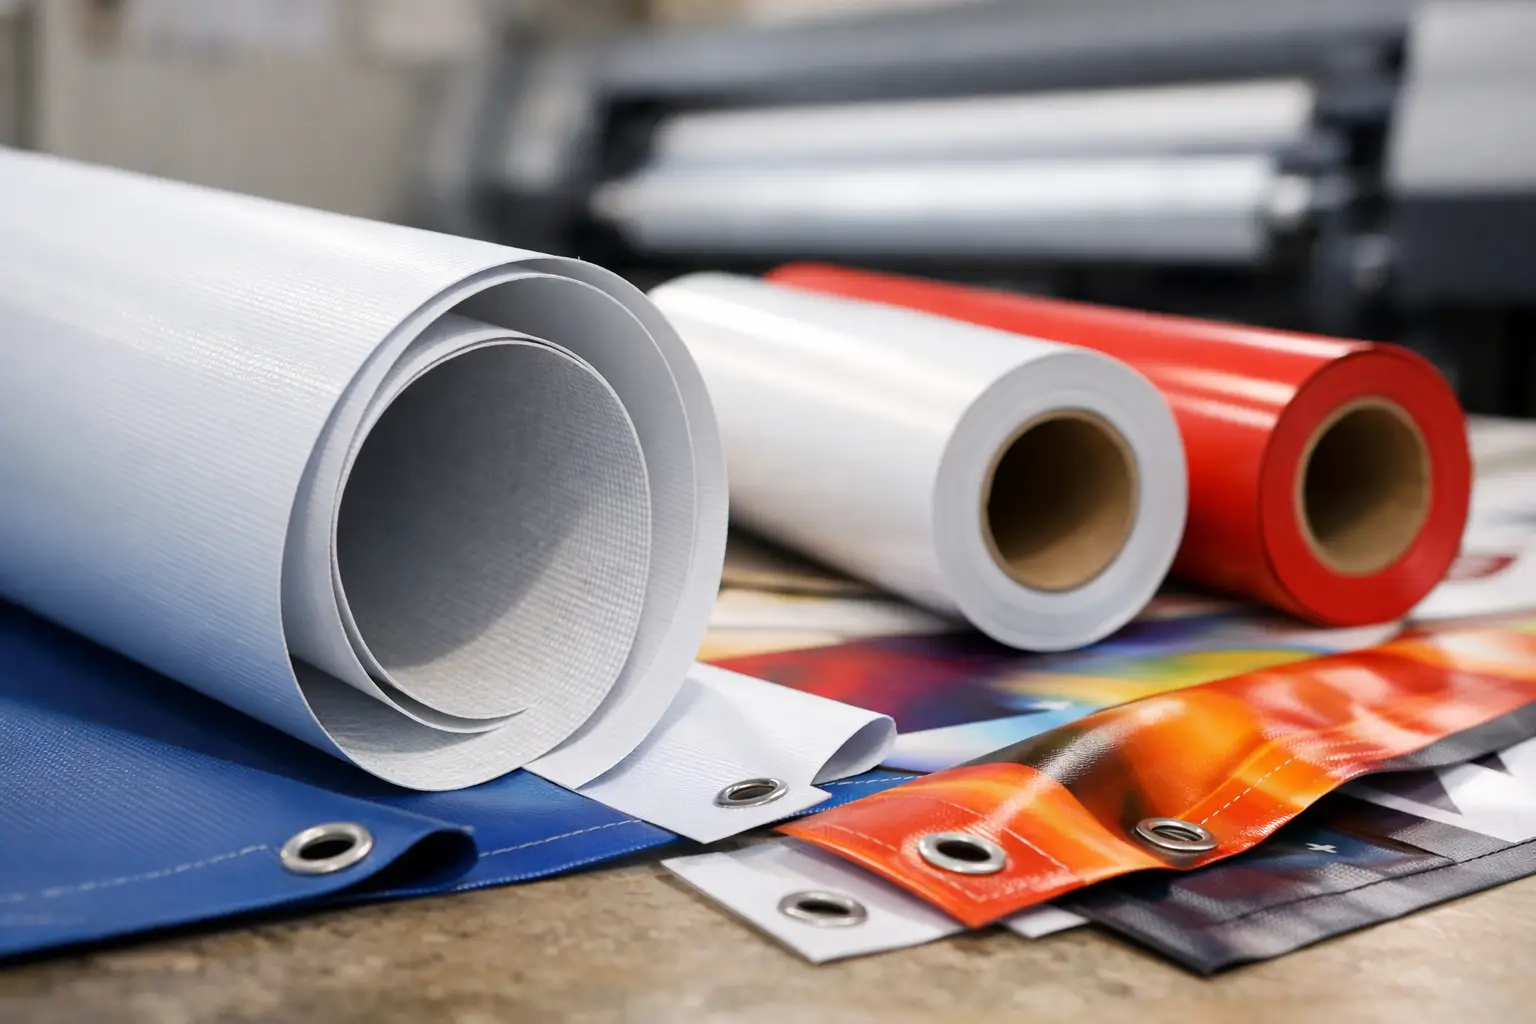
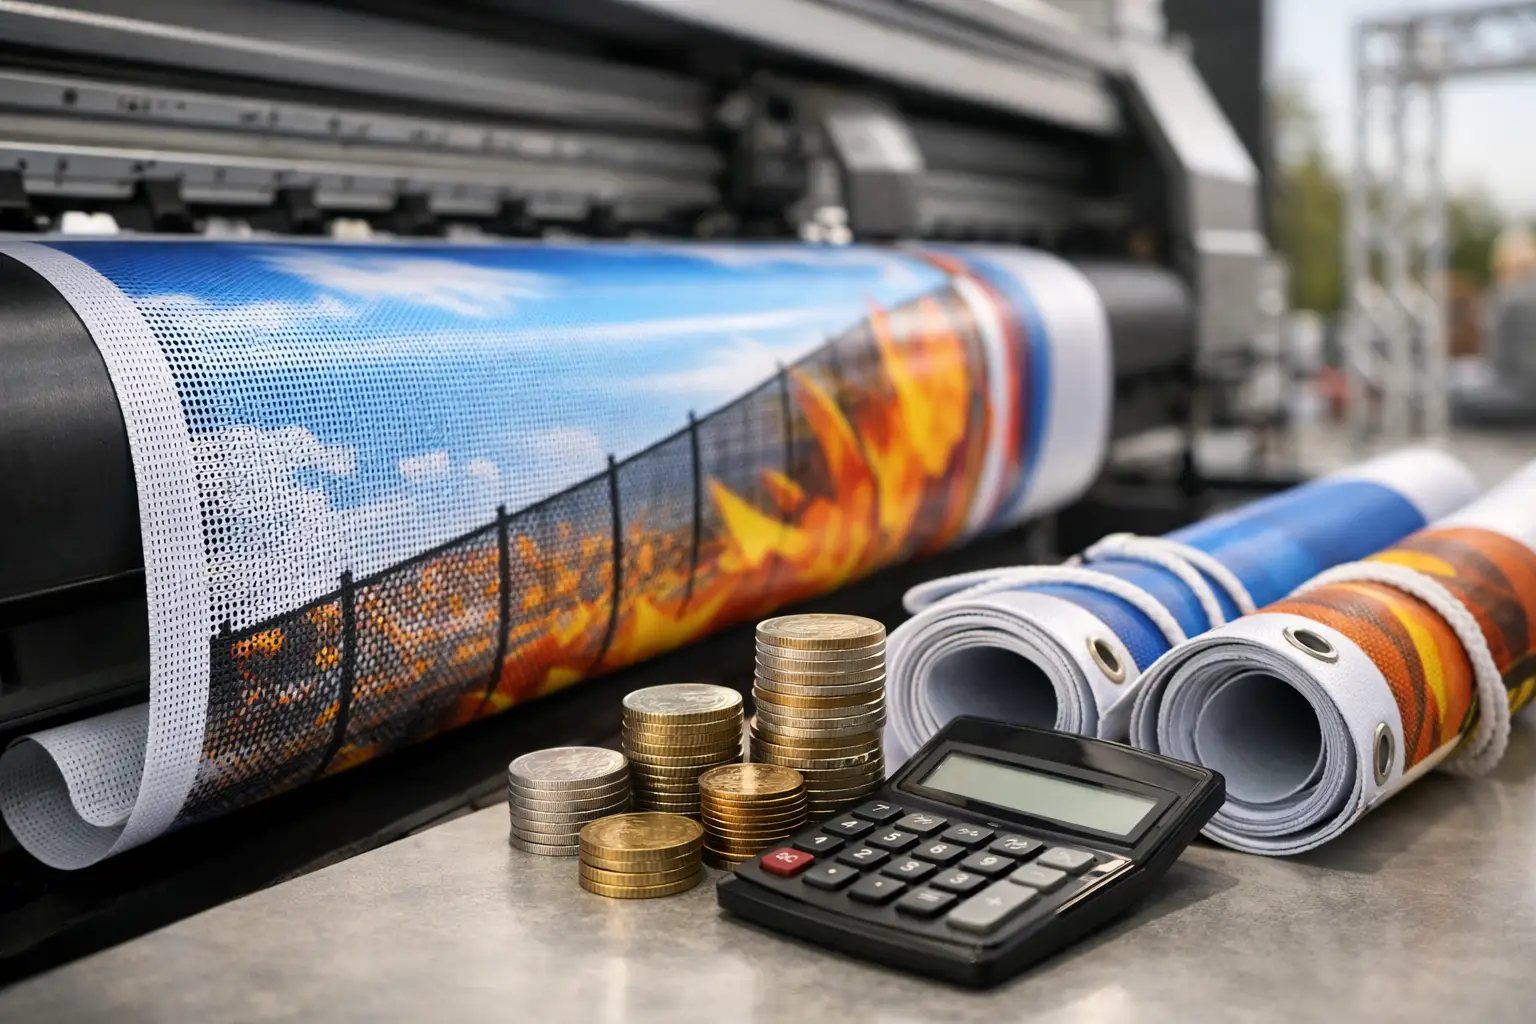
Standard PVC vinyl banners are a strong all-round choice for short- to medium-term promotions. They offer a clean, solid print surface and work well on walls, railings, fencing and shopfronts where airflow is limited. If the banner will be in a particularly windy position, mesh banner material is usually the better option. Its small perforations allow air to pass through, reducing wind load on the banner and its fixings.
Before ordering, measure the available space and check where the fixing points will go. Allow room around every edge for eyelets, ropes or bungee cords. Avoid planning a banner that is wider than the rails, fence panels or wall section supporting it. A little margin makes installation neater and reduces strain at the corners.
Choose fixings that suit the surface
Eyelets are the starting point for most outdoor banners. They are reinforced metal rings fitted around the edge, giving you a reliable point for attaching the banner. For larger banners or exposed locations, ask for eyelets at regular intervals rather than only at the corners. This spreads the load and helps prevent the edge from flapping.
Hanging banners on fencing and railings
Cable ties are quick, affordable and ideal for temporary displays on metal fencing, railings and crowd-control barriers. Use heavy-duty, UV-resistant cable ties rather than lightweight indoor versions, which can become brittle in sunlight. Thread each tie through an eyelet and around a secure horizontal or vertical bar, then pull it tight without crushing the banner edge.
For a banner longer than around two metres, fix it at every eyelet where possible. Corner-only fixing may look fine when first installed, but unsupported edges can bow in the wind and eventually tear. Trim the tails from cable ties for a cleaner finish and to prevent sharp ends catching passers-by.
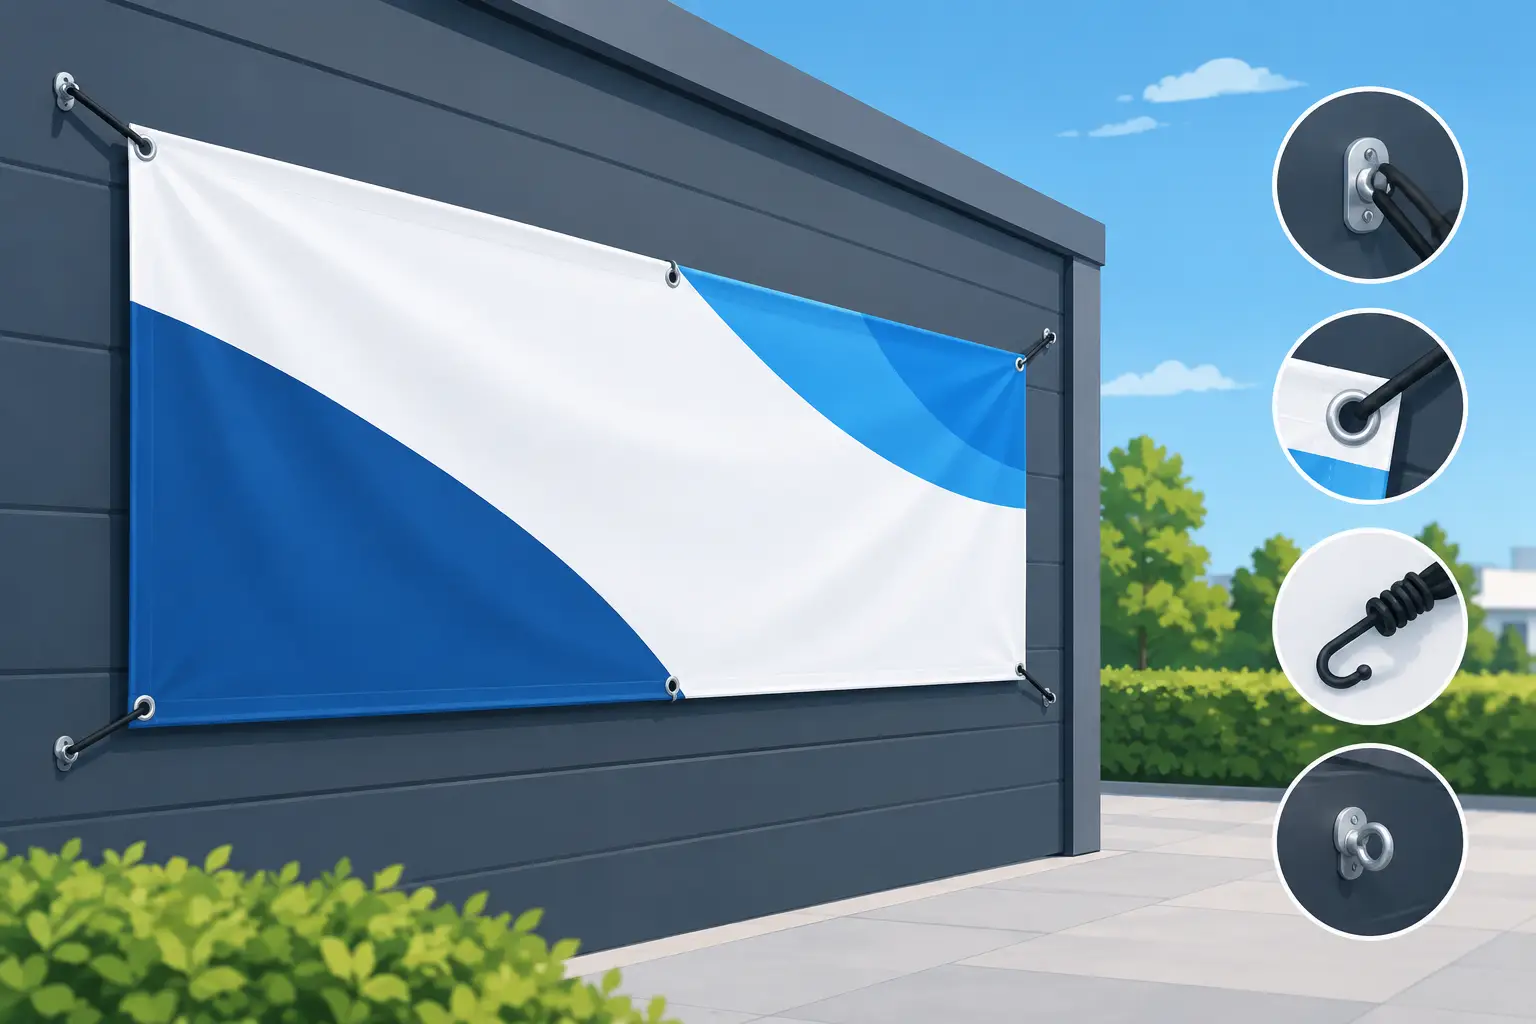
Elastic bungee cords are often better than cable ties for windy fencing. Their stretch absorbs movement instead of forcing all the pressure into the eyelets. They cost more, but they are reusable and can extend the life of a banner in challenging conditions.
Fixing banners to walls and shopfronts
For masonry, use appropriate wall plugs, screws and banner washers. A washer creates a wider surface against the banner edge, helping stop the eyelet pulling over the screw head. This is especially useful for larger PVC banners mounted to brick, blockwork or rendered walls.
Do not fix a banner directly into weak mortar, damaged brickwork or loose cladding. Find a stable fixing point first. If you are mounting onto timber, use exterior-grade screws and washers, checking that the timber is sound and thick enough to hold the load.
Shopfronts need a little more care. Make sure your banner does not cover mandatory signs, obstruct entrances, interfere with shutters or breach landlord requirements. If you are fixing to a listed building or a shared commercial property, check permissions before drilling.
Hanging a banner between posts or across a road
Banners spanning between posts, gates or frames need tension from all sides. Rope can work for a light, temporary banner, but it must be tied securely and checked regularly. For commercial displays, bungee cords or purpose-made banner tensioners provide a tidier, more forgiving result.
Never rely on the banner itself to bridge an unsupported gap. If the span is wide, use a strong support cable, rail or frame behind the top edge. The banner can then be attached along that support rather than carrying its full weight from two corner eyelets.
For banners near roads, public pavements or vehicle entrances, safety comes first. Keep the display clear of sightlines, access routes and overhead hazards. Local authority rules, landlord conditions and site regulations may apply, particularly for pavement-facing signage or banners on public land.
How to hang outdoor banners with even tension
A banner should be firm and flat, not stretched to its limit. Over-tightening can distort the printed surface, pull on eyelets and make the material more likely to tear. Under-tightening leaves loose areas that catch wind, collect rainwater and make text harder to read.
Start by loosely securing all four corners. Stand back and check the banner is level before fully tightening anything. Then work from the centre of each edge outwards, attaching the remaining eyelets in stages. This method distributes tension evenly and avoids the common problem of a banner that is tight on one side but rippled on the other.
If you are fixing a large banner to a fence, recruit a second person. One person can hold the banner straight while the other secures the top edge. It is faster than repeatedly undoing and repositioning ties, and the final display will look far more professional.
Plan for wind, rain and seasonal weather
British weather changes quickly, so treat every outdoor banner as a working sign rather than a fit-and-forget item. Inspect the fixings after strong winds, heavy rain or a period of freezing conditions. Look for stretched eyelets, frayed rope, cracked cable ties and corners beginning to lift.
Water should not be allowed to pool against a banner. When attaching a banner to a solid wall, keep it taut and ensure there are no folds where rain can sit. Where possible, leave a small gap behind the banner for drainage and airflow, particularly on timber fencing or painted surfaces that can retain moisture.
Mesh is not always necessary. On a sheltered shop wall, standard vinyl often provides stronger colour and a more solid visual impact. On an exposed perimeter fence, however, mesh can be the practical choice even if its finish is slightly less opaque. Matching the material to the site is what delivers a display that lasts.
Avoid the installation mistakes that shorten banner life
The most common failure is using too few fixing points. A wide banner secured only at its corners becomes a sail, and even a durable material has limits. Add fixings along the edges, especially at the top, where wind pressure is usually greatest.
Another issue is mixing unsuitable components. Thin string, indoor adhesive hooks and cheap cable ties may save a few pounds at installation, but they can lead to a damaged banner, a rushed replacement and an untidy customer-facing display. Use outdoor-rated fixings that match the banner size and expected duration.
Finally, do not position the banner where branches, gates, delivery vehicles or pedestrian traffic will repeatedly rub against it. Friction causes wear long before weather does. A small change in height or location can make a major difference to its lifespan.
Check the display before you leave site
Once fitted, walk several metres away and view the banner from the direction customers will approach. Check that it is level, readable and free from wrinkles. Make sure every fixing is secure, no sharp cable-tie ends are exposed, and no part of the banner blocks a doorway, fire exit or safety notice.
For time-sensitive promotions, install the banner a day or two before the event rather than on the morning itself. That gives you time to spot issues and replace a fixing if needed. With weatherproof print, suitable material and a properly tensioned installation, your message can keep working through the British weather – exactly where customers need to see it.