A banner can be printed perfectly and still fail to do its job if it sags, twists in the wind or is fixed where nobody can see it. Knowing how to install banners properly means choosing the right material, fixing points and tension for the location – whether that is a shopfront, building site, exhibition stand or event fence.
A secure installation protects your banner, keeps your message readable and presents your business professionally. The best method depends on the surface, the banner size and whether it will be used indoors or outdoors. Here is how to get it right first time.
Start with the right banner and fixing method
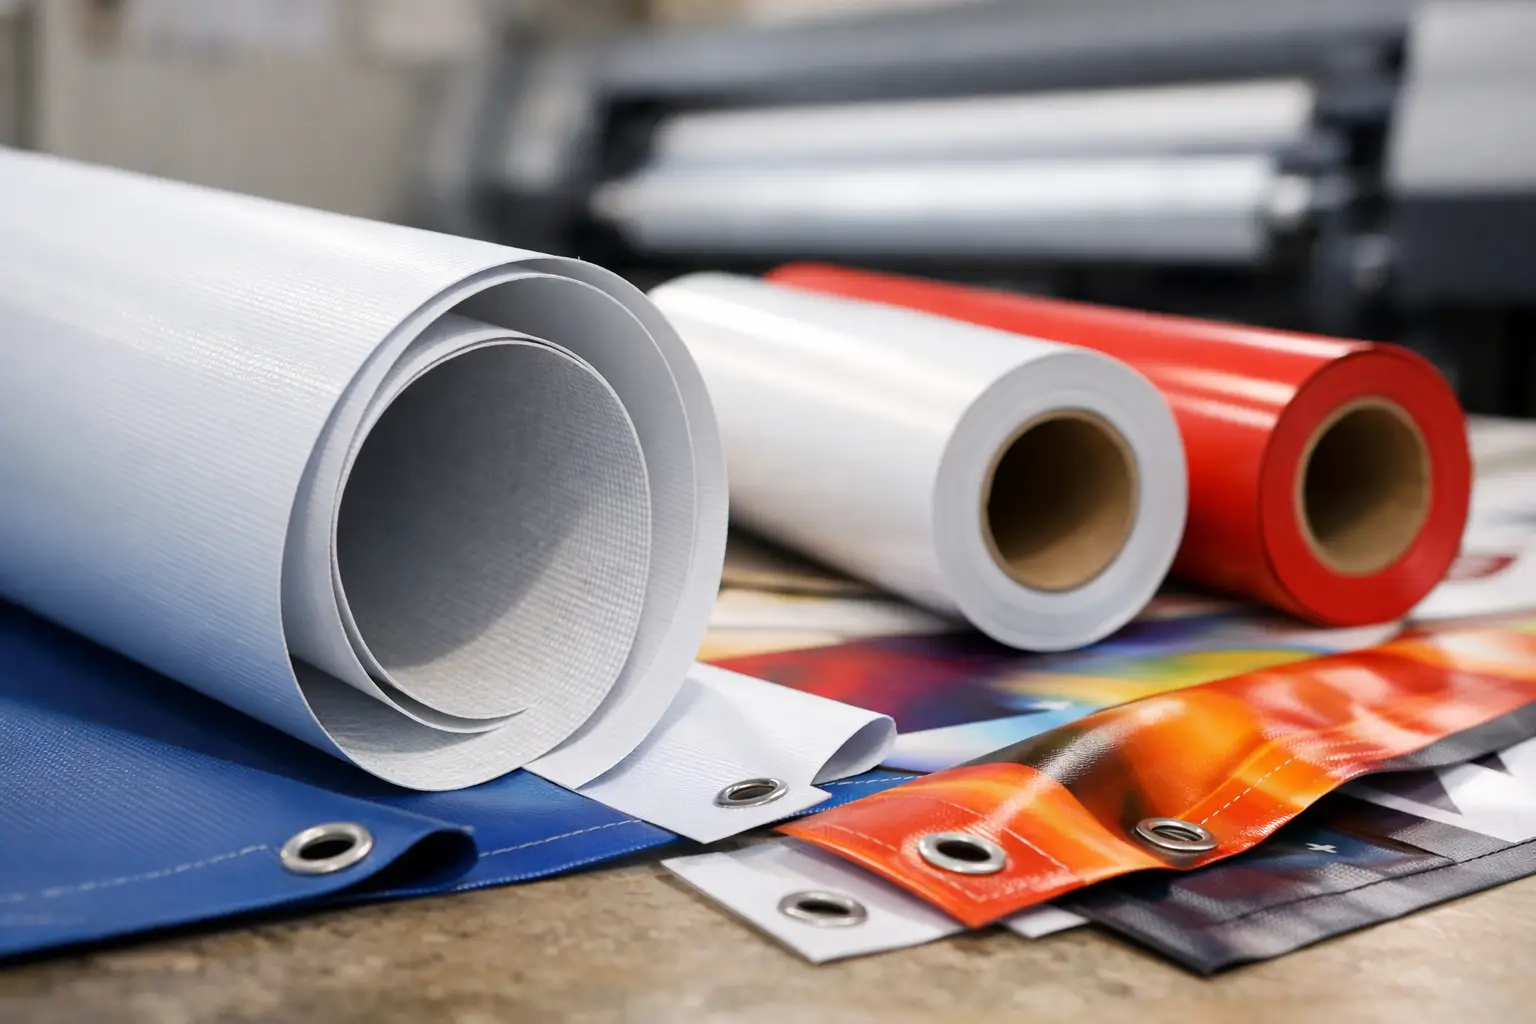
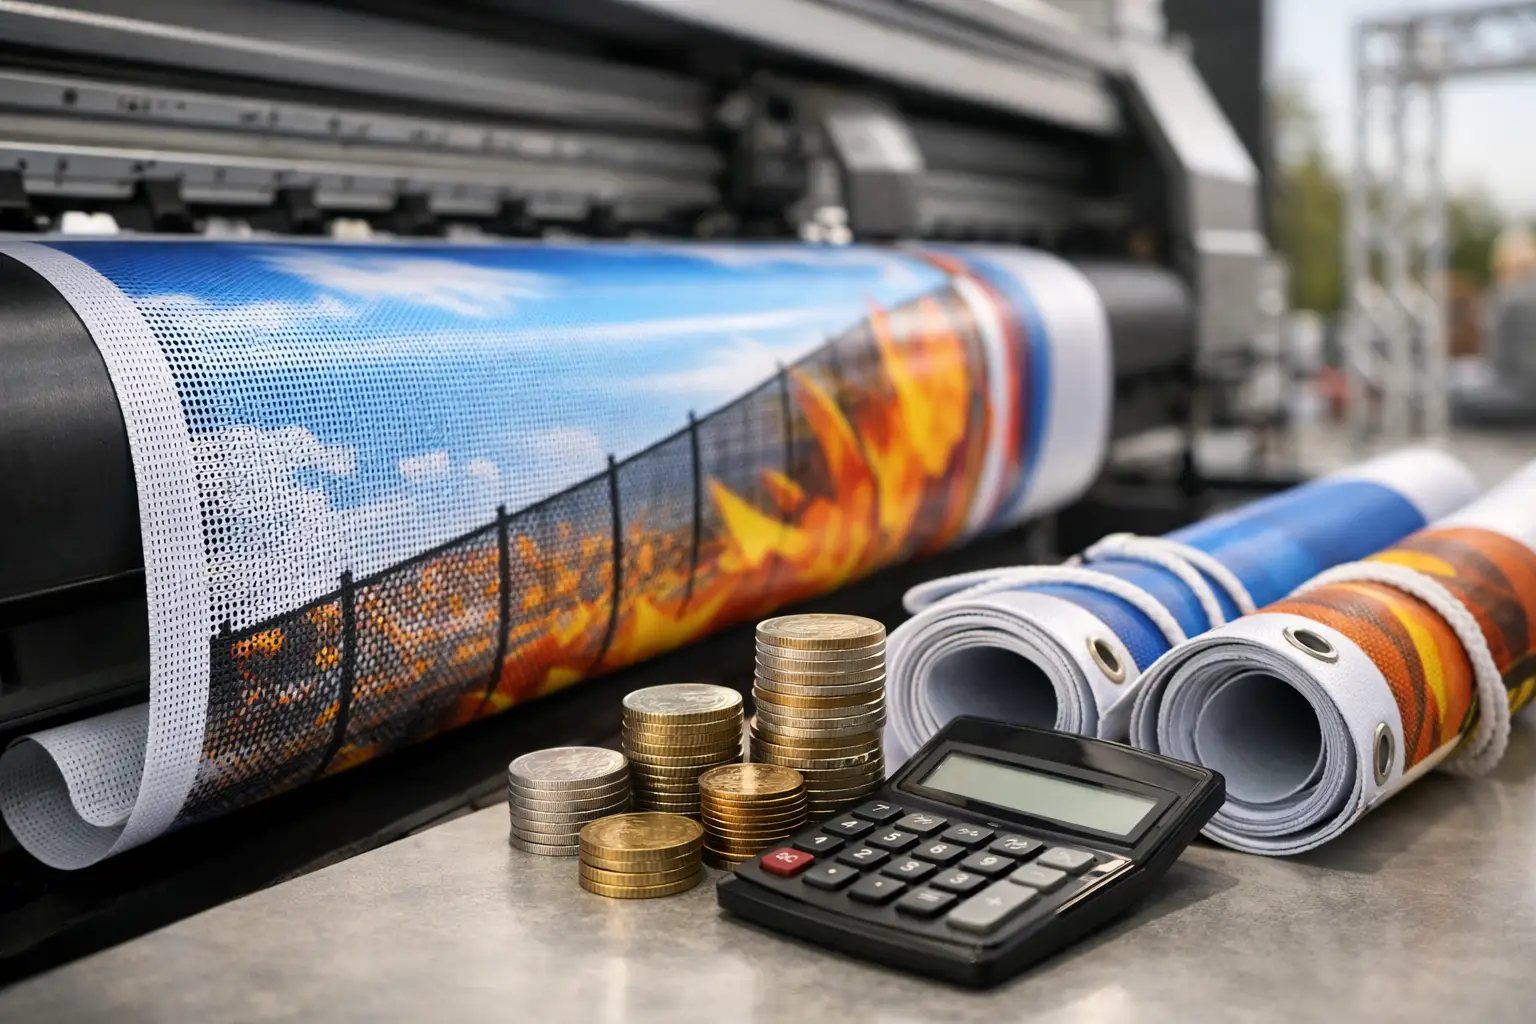
Before reaching for cable ties or screws, look at where the banner will be displayed. A standard PVC vinyl banner is a dependable choice for short-term and medium-term outdoor advertising. It is waterproof, durable and works well on walls, fences and railings. For exposed locations, such as perimeter fencing or scaffolding, mesh banners are usually the better option. Their small perforations allow air to pass through, reducing wind pressure on the banner and its fixings.
Most printed banners are supplied with metal eyelets around the edge. These are designed to spread the load when the banner is secured, but they still need sensible handling. Avoid fixing only the top two eyelets on a large banner. Its own weight will pull the material down, while wind can cause it to flap, stretch or tear around the corners.
For most installations, use weather-resistant cable ties, bungee cords, ropes, banner clips or suitable wall fixings. Cable ties are quick and economical for railings and fencing. Bungee cords add useful flexibility in breezy conditions. For permanent wall-mounted displays, screws with washers provide a firmer hold, provided the wall surface is sound.
How to install banners on fences and railings
Fences, railings and temporary event barriers are among the easiest places to display a banner. The key is to use every available fixing point and keep the material evenly tensioned.
Hold the banner in position first, ideally with a second person helping. Check that it is level, the wording reads correctly from the expected direction of travel and no key message is hidden by posts, gates or parked vehicles. Start by loosely securing the top corners. Once the banner is in the right place, attach the remaining top eyelets, then work along the sides and bottom.
Use one cable tie through each eyelet for a standard banner where possible. On longer banners, add extra ties around the centre sections to prevent bowing. Pull each tie firm enough to remove obvious slack, but do not over-tighten it. Excessive tension can distort the printed material and place strain on the eyelets.
If the banner is fitted to open railings, wind can pass through the gaps behind it. This increases movement, particularly with solid vinyl. Mesh material or bungee fixings can make a noticeable difference in exposed positions. Check the display after the first period of high wind and replace any ties that have loosened or become brittle.
Fixing a banner to a wall safely
A wall installation gives a neat, long-lasting result, but it requires the right hardware for the surface. Brick, blockwork, timber cladding and plasterboard each need different fixings. If you are unsure what sits behind the wall, do not drill until you have checked for cables, pipes and structural issues.
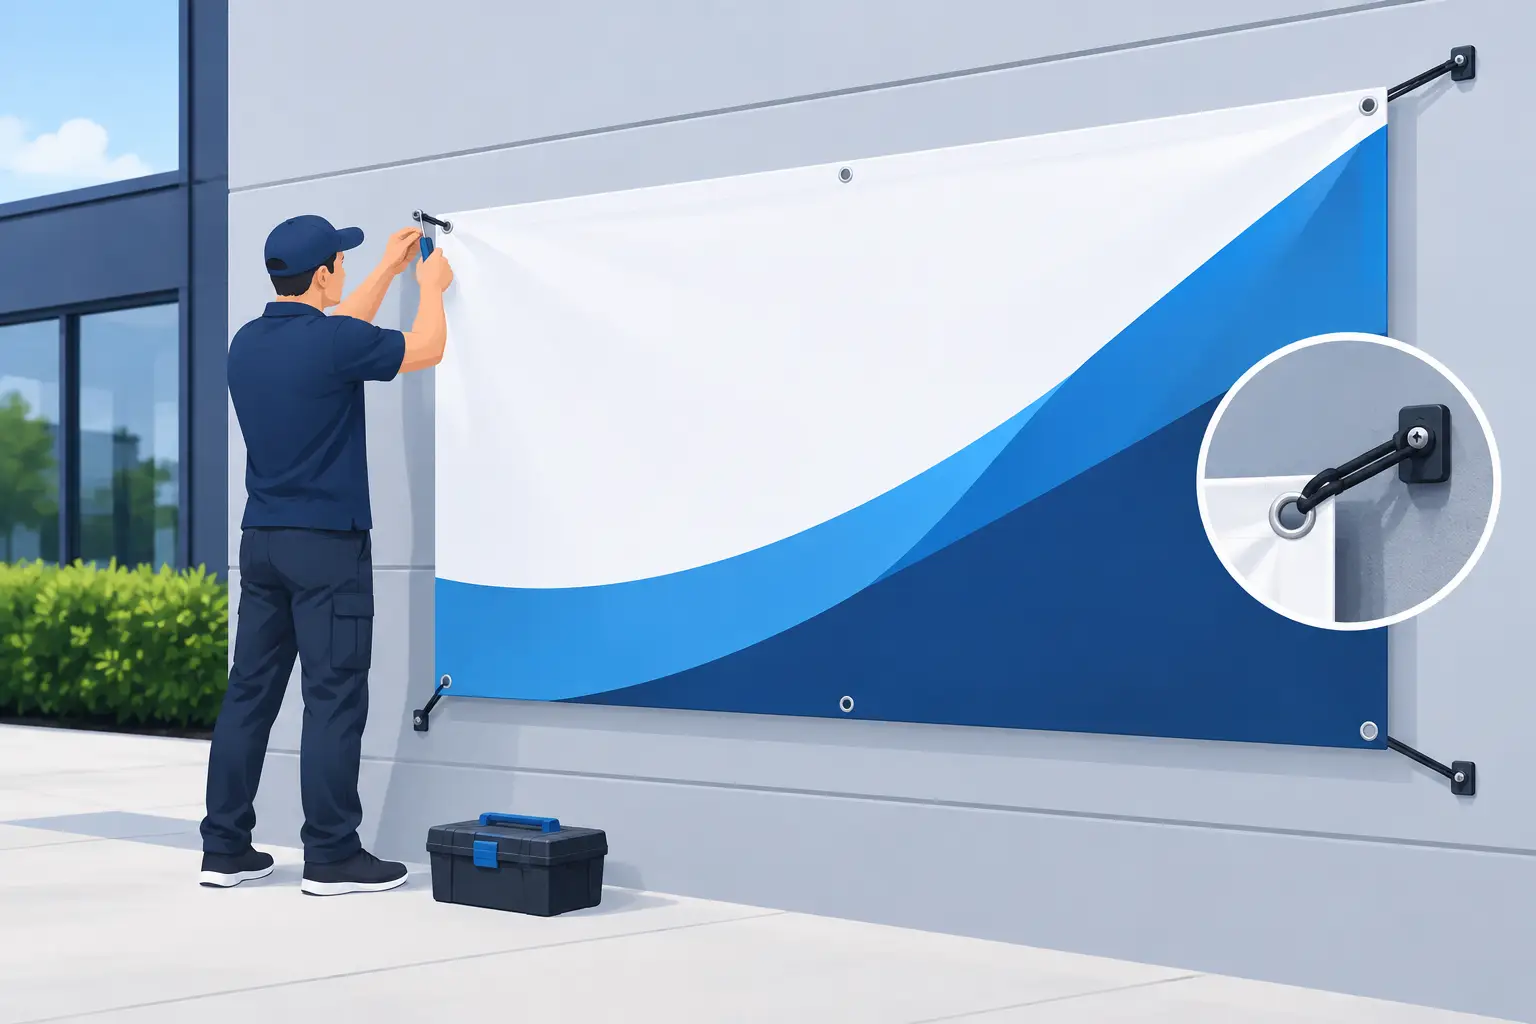
Position the banner and mark the eyelet locations with a pencil. For a larger banner, mark the top corners first and use a spirit level before drilling. Fit the top edge before moving to the sides and bottom. This makes it much easier to keep the banner straight.
Use screws with broad washers to cover the eyelet edge and spread pressure across a wider area. For brick or block walls, suitable plugs and exterior-grade screws are generally required. For timber, corrosion-resistant screws can be fixed directly into solid wood. Avoid relying on adhesive pads outdoors. Rain, cold weather and surface dust can quickly weaken the bond.
Leave a small amount of give rather than pulling the banner drum-tight. Materials expand and contract with temperature changes, and a little flexibility helps prevent tearing. If the banner needs to sit away from the wall, use spacers designed for signage rather than improvised fittings.
Avoid trapping water behind the banner
A large banner installed flat against an exterior wall can hold moisture behind it, especially on rough brickwork. This may leave marks on the wall over time and can encourage mould in damp areas. Where the banner will stay up for an extended period, use discreet spacers or check behind it periodically. This is particularly worthwhile for hospitality venues, retail premises and leased commercial properties.
Installing banners at events and exhibitions
Indoor banners face fewer weather concerns, but visibility and stability matter more. A banner tied loosely to a stand or backdrop can look untidy under event lighting and may become a trip hazard if ropes or feet extend into walkways.
For a fabric or PVC banner on a shell-scheme wall, use the venue-approved hanging method and confirm any restrictions before arrival. Exhibition halls often limit drilling, tape types and fixing methods. Build in time for installation, particularly if your team is setting up furniture, stock and electrical equipment at the same time.
If you need a self-contained display, a roller banner is often the fastest option. The printed graphic pulls up from the base and is held by a support pole, so there is no need to find a wall or railings. It is ideal for reception areas, trade stands, presentations and pop-up promotions. Place it where visitors naturally pause or queue, not behind a table or in a narrow route where it can be knocked over.
For step-and-repeat backdrops and larger promotional walls, use the matching frame system and follow its assembly order. Start on a clean floor, connect the frame fully and stretch the graphic evenly from the corners. Do not force a fabric graphic over an incomplete frame, as this can damage seams or fittings.
Get the tension right outdoors
The aim is a smooth, readable banner with enough movement to cope with changing weather. A completely loose banner looks neglected and wears faster. One pulled too tight can rip when wind catches it.
For outdoor installations, secure all four corners first, then the central eyelets on each edge. Step back regularly while fitting it. A banner can appear straight close up but dip in the middle once tension is applied. On a long run of fencing, it may be better to use two smaller banners than one oversized piece. Smaller sections are easier to handle, less vulnerable to wind and simpler to replace if a panel is damaged.
Do not install a banner where it could obstruct road signs, sight lines, fire exits, access routes or security cameras. Construction sites and public events may have additional requirements from the landowner, venue or local authority. The person fitting the banner is responsible for making sure it is secure and does not create a hazard.
Check the banner before and after fitting
A quick pre-installation check prevents costly mistakes. Confirm the design is the correct way up, inspect the eyelets and make sure you have enough fixings before heading to site. Take a few spare cable ties, a cutting tool, a tape measure and, for wall fitting, the appropriate drill bits and screws.
Once installed, view the banner from the distance your audience will see it. Can drivers, pedestrians or exhibition visitors read the main message in a few seconds? Is a phone number, offer or event date visible? Is the banner clear of branches, stock cages, open doors and other obstructions?
Outdoor banners should be checked regularly, especially after strong wind, heavy rain or frost. Replace damaged ties promptly and remove the banner if weather conditions make the installation unsafe. A well-made weatherproof banner is built for demanding use, but the fixing method is what determines how well it performs on site.
A strong banner installation is not about using the most hardware. It is about matching the material and fixings to the job, putting the message where it will be seen and allowing for real conditions. When deadlines are tight, Banner Printing UK can supply professional printed banners quickly – but giving the finished display ten careful minutes on site is what makes that print work harder for your business.