
When you search for 'vinyl banner printing near me', you're looking for more than just a pin on a map. You're looking for a partner who can bring your vision to life. The goal is to find a local printer who offers the perfect blend of convenience and proven quality, ensuring your banner makes the impact it deserves.
How To Find The Right Local Vinyl Banner Printer
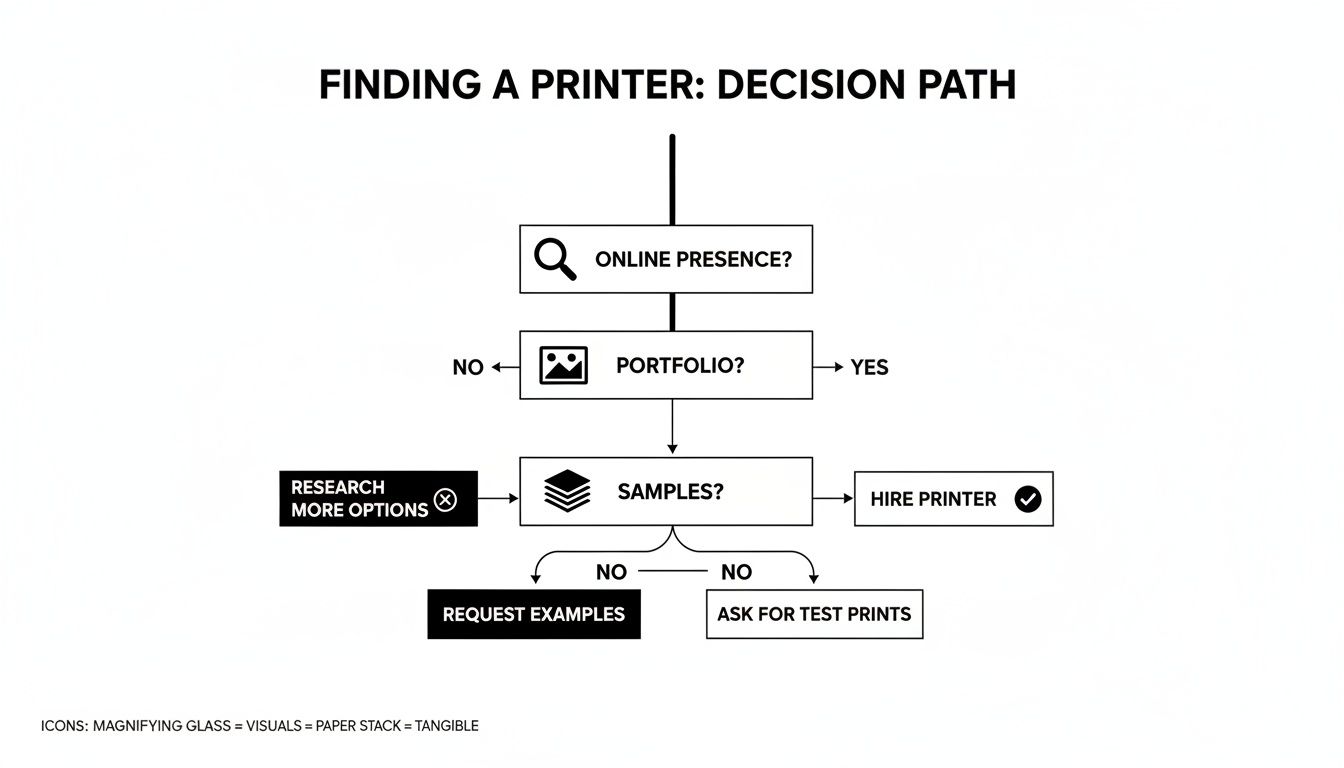
Finding the perfect local printer is a critical step. It’s not just about a quick map search; it’s about carefully vetting potential partners to make sure they can deliver the quality, speed, and service your project demands. Think of them less as a supplier and more as a key part of your marketing team.
Start with Their Digital Footprint
A professional, easy-to-navigate website is your first clue. Does it clearly lay out their services, material options, and contact details? Look for an online portfolio or a gallery showcasing their past work. This is your initial glimpse into their quality standards. Do the banners in their examples look sharp, vibrant, and well-finished?
Next, head over to independent review platforms like Google Maps or Trustpilot. You're looking for consistent, positive feedback, especially concerning:
- Print Quality: Do customers rave about crisp details and accurate colours?
- Customer Service: Are they described as helpful, responsive, and generally easy to work with?
- Turnaround Times: Do they consistently hit their promised deadlines?
Dig Deeper Than The Portfolio
A slick portfolio is great, but seeing is believing. Never hesitate to ask a potential printer for a sample pack. There’s nothing like holding a physical sample to feel the material's weight, inspect the print resolution up close, and check the quality of the finishing, like hems and eyelets. This simple step can save you a world of disappointment down the line. The same principles for choosing local service providers apply here—it's all about assessing reliability and understanding their specific offerings.
A quick chat can also tell you a lot. Ask them what kind of printing technology they use. Modern UV or latex ink printers generally produce far more durable and vibrant results than older solvent-based machines. You can find out more by exploring what to look for when selecting a banner printing service in the UK.
A great local printer isn't just selling a product; they're offering a solution. They should be eager to discuss your project, offer genuine advice on materials, and help ensure your artwork is optimised for the best possible outcome.
This due diligence is more important than ever. While the UK's overall print revenue has seen some dips, specialised areas like large-format vinyl are growing, fuelled by demand in advertising and events. This puts you, the customer, in a powerful position to choose printers who have truly invested in quality. When you choose the right partner, you're tapping into that specialised expertise.
To help you compare your options, here’s a quick rundown of what to look for.
Quick Guide For Vetting Local Printers
| Evaluation Factor | What To Look For | Why It Matters |
|---|---|---|
| Online Reviews | Consistent positive feedback on Google, Trustpilot, etc. Look for comments on quality and service. | Real customer experiences are the most honest indicator of what you can expect. |
| Website & Portfolio | A professional site with a gallery of high-quality, real-world examples of their work. | Shows they are proud of their work and gives you a direct look at their finishing standards. |
| Material Samples | A willingness to send you a physical sample pack so you can touch and see the materials firsthand. | A sample in hand is the only way to truly judge the weight, texture, and print quality before you buy. |
| Responsiveness | How quickly and helpfully they respond to your initial enquiry. Are they easy to talk to? | A responsive team is a sign of good customer service, which is crucial if issues arise. |
| Technical Knowledge | They can confidently discuss their printing tech (e.g., UV, latex) and explain the best options for you. | Shows they are experts, not just order-takers, and can guide you to the best result. |
Taking a few minutes to run through these checks will make all the difference in finding a local printer you can rely on for years to come.
Choosing The Perfect Material And Finish For Your Banner
The material you choose is the very foundation of a great banner. It's what dictates how it looks, how long it lasts, and whether it’s genuinely up to the job. When you're searching for "vinyl banner printing near me," you’ll quickly see that local printers offer a whole menu of options, each designed for a specific purpose. Getting this choice right means your investment not only looks fantastic but endures.
For most day-to-day uses, whether you're hanging it indoors or out, standard PVC vinyl is the absolute workhorse of the industry. It's tough, holds its own against the weather, and prints with beautifully vibrant, sharp colours. Think of it as the perfect all-rounder for a "Grand Opening" sign on a shop front or a set of promotional banners at a local fete—it’s built to handle the classic British weather without a fuss.
Navigating Specialised Banner Materials
But what happens when your banner needs to face something a bit more challenging? This is where specialised materials really come into their own.
If you’re planning to rig a large banner to scaffolding, a fence, or between two posts in a notoriously windy spot, mesh vinyl is a must. The material is full of tiny holes that let the wind pass right through it, stopping it from acting like a giant sail. This simple feature drastically reduces the strain on both the banner and its fixings, saving you from the headache of rips and tears. We've got a detailed guide on comparing mesh vs PVC banners in the UK if you want to dig deeper into the specifics.
For those times when you need a print on both sides—say, for a banner hanging in a school hallway or across a high street—blockout vinyl is the only way to go. It has a clever opaque layer sandwiched in the middle that prevents any light from bleeding through, so the design on one side remains completely invisible from the other. No more distracting ghosting.
Getting this decision right is a crucial part of the process when picking a local printer.
As you can see, once you've checked out a printer's website and had a look at their past work, the next step is to really scrutinise their material options and ask for samples. It's the only way to be sure they can deliver what your project truly needs.
To help you out, here’s a quick breakdown of the most common materials you’ll come across.
Banner Material And Finish Comparison
| Material Type | Best Use Case | Key Benefit | Consideration |
|---|---|---|---|
| Standard PVC Vinyl | General indoor/outdoor use, shop fronts, event promotions. | Durable, weather-resistant, and excellent for vibrant prints. | Can act like a sail in very windy, exposed locations. |
| Mesh Vinyl | Scaffolding, fences, large outdoor banners in windy areas. | Wind-permeable design prevents tearing and reduces strain. | The perforated texture means colours are slightly less saturated. |
| Blockout Vinyl | Double-sided banners, hanging signs, lamp post banners. | Opaque layer stops light bleed-through for crisp double-sided prints. | It's a bit heavier and more expensive than standard PVC. |
Ultimately, the right material depends entirely on where and how you plan to use your banner. A quick chat with your printer about the intended location will always steer you in the right direction.
The Finishing Touches That Matter
Beyond the actual material, the finish you choose makes a huge difference to the final look. You'll usually be given two main options:
- Gloss Finish: This gives your banner a shiny, reflective surface that really makes colours pop. It’s a fantastic choice for indoor events like trade shows, where you want to grab as much attention as possible under controlled lighting.
- Matte Finish: A non-reflective, almost satin-like surface that massively cuts down on glare. This is the go-to for outdoor banners or any time your banner will be photographed, like an event backdrop. Readability in bright sunlight is so much better.
Pro Tip: Always, always insist on reinforced hems and strong metal eyelets. Hems are the folded-over, welded edges that dramatically boost tear resistance, and the eyelets provide solid anchor points for hanging. Trying to save a few quid by skipping these is a classic false economy that guarantees your banner won't last.
Getting Your Artwork Print-Ready
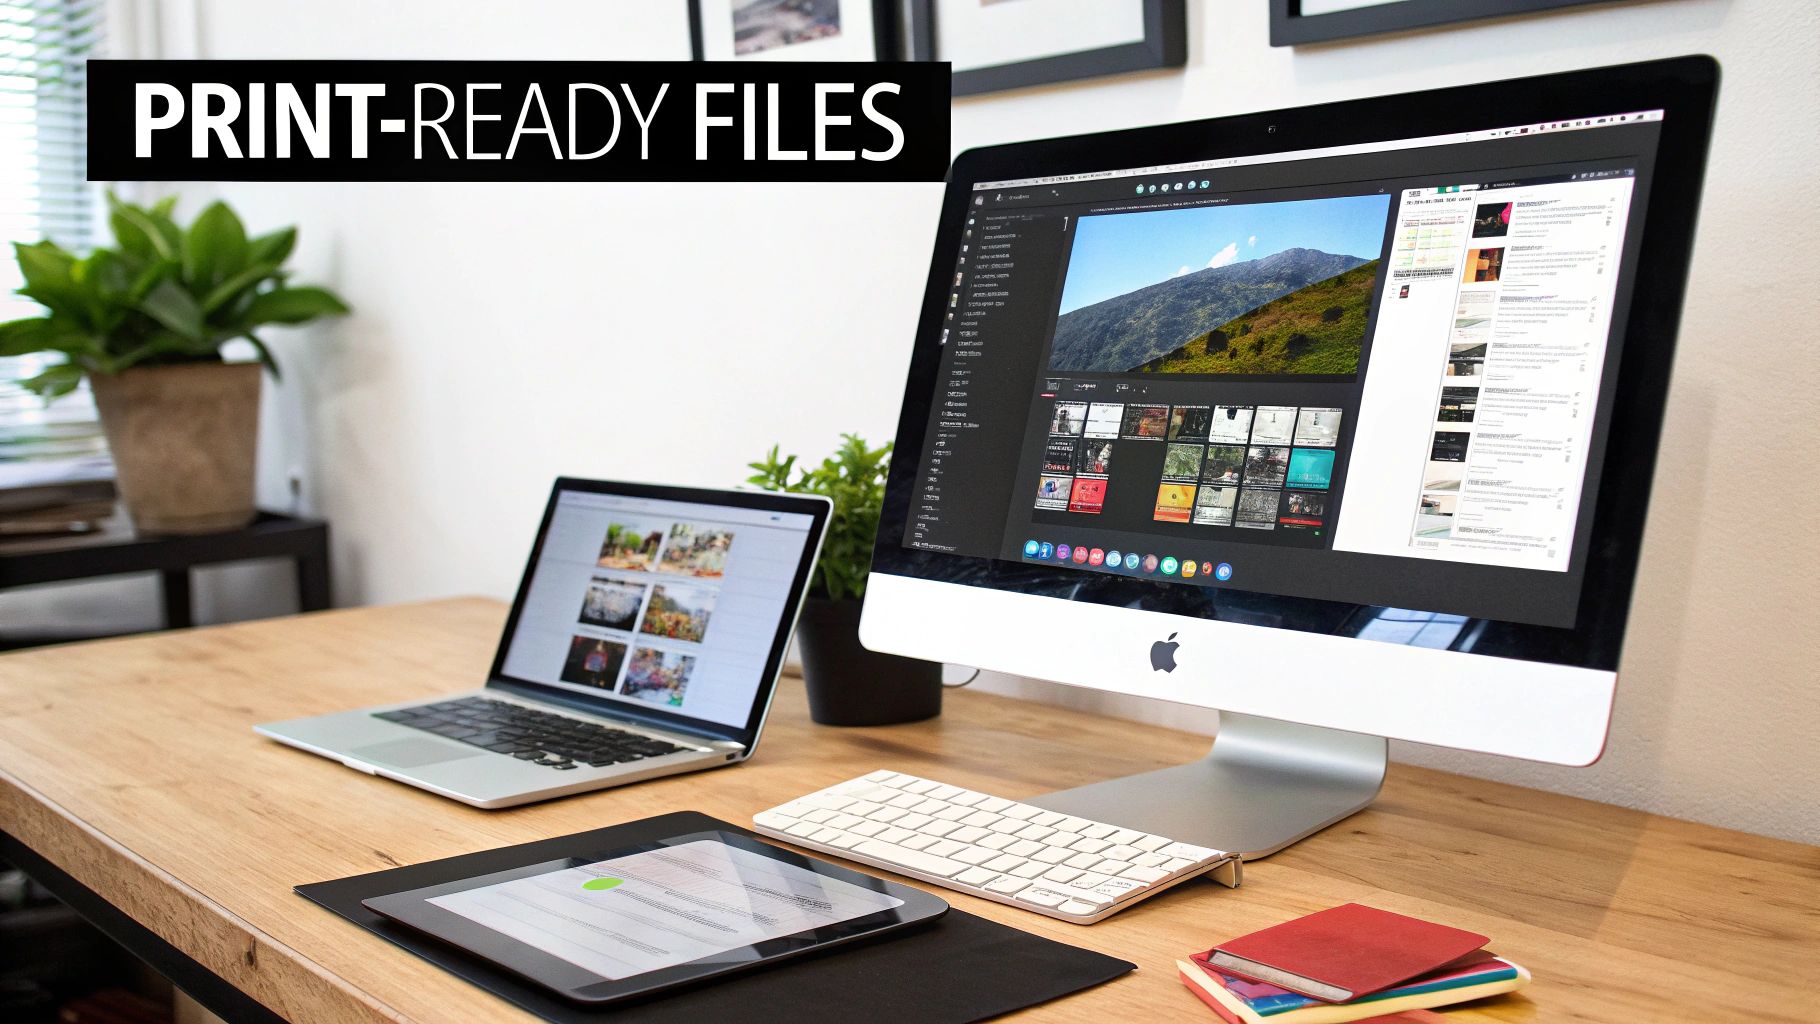
Getting your artwork spot-on before sending it to the printer is, without a doubt, the most critical part of the process. This single step ensures your banner looks sharp, professional, and exactly as you pictured it. Think of your files as the blueprint; getting them right from the start saves you from costly reprints and the disappointment of a subpar result.
One of the most common issues we see is image resolution. A picture that looks perfectly fine on your screen can end up looking fuzzy and pixelated when it’s blown up to the size of a banner. Images on the web are usually 72 DPI (dots per inch), which is nowhere near good enough for large-format printing.
To get a crisp, high-quality finish, your images need to be at least 150 DPI at their final printed size. If you’re working with a lower-quality image for a huge banner, it’s worth looking at an image upscaling demo to see how you can boost its quality without it turning into a blurry mess.
Vector vs. Raster: Why The File Type Matters
The kind of file you supply is just as important as the resolution. Your artwork will fall into one of two camps:
- Raster Files (JPG, PNG, TIFF): These are built from a grid of pixels. They’re ideal for photos, but the moment you try to enlarge them, they lose quality and you get that horrible, blocky effect.
- Vector Files (AI, EPS, PDF): These are made from mathematical equations. The beauty of a vector file is that you can scale it to any size imaginable—from a tiny sticker to a massive building wrap—and it will stay perfectly sharp.
Your company logo and any text simply must be in a vector format. Submitting a low-resolution JPG of your logo is a surefire way to get a blurry, unprofessional-looking banner.
The Final Checks: Colour Modes and Bleed
Another detail that often gets overlooked is the colour mode. Your computer screen shows colours in RGB (Red, Green, Blue), which is designed for light. Printers, on the other hand, use CMYK (Cyan, Magenta, Yellow, Black) ink.
If you send an RGB file, the printer's software has to guess the conversion, and that often leads to colours that look 'off'. To avoid any nasty surprises, always design and save your artwork in the CMYK colour mode right from the beginning.
A quick pro tip: don't forget about 'bleed' and the 'safe zone'. Bleed is a small, extra margin of your background that extends past the final trim line. It's a safety net that prevents any ugly white edges if the cutting isn't 100% precise. The safe zone is the opposite—an inner margin where you should keep all your important text and logos to make sure they don't get accidentally chopped off. Most printers will ask for a safe zone of at least 50mm.
Nailing these artwork basics makes everything smoother for both you and your printer. It’s the best way to make sure that the banner you get from your "vinyl banner printing near me" search is one you’ll be genuinely proud of.
Understanding Timelines And Delivery Options
Once your artwork is signed off, the next question is always the same: "how quickly can I get it?" Knowing the production timeline is absolutely critical, especially if you’ve got a hard deadline for an event or a product launch. After all, a big reason for searching "vinyl banner printing near me" is the need for speed and convenience.
As a rule of thumb, you can expect a standard turnaround of 3-5 working days from most local printers. Just remember, that clock starts ticking after you’ve approved the final proof, not the moment you send over the initial file. This gives the print shop enough time to get your job on the schedule, run the print, let the inks cure properly (a vital step!), and handle finishing touches like hemming and eyeleting.
Express Services And Rush Orders
But what if you needed it yesterday? Most local printers will offer an express or even a next-day service, but be prepared for it to come at a premium. You could be looking at paying anywhere from 25% to 100% extra for a rush job. This isn't just profiteering; that fee covers the real cost of juggling their whole production schedule to bump your banner to the front of the queue.
Don't forget that complexity plays a huge part in speed. A standard PVC banner with a simple hem is one thing. A massive, custom-shaped mesh banner that needs special cutting and finishing is a different beast entirely. Every extra process adds time.
Before you jump on a rush order, be realistic. A printer might be able to get a banner printed and finished in 24 hours, but you still need to account for getting it in your hands. If you aren't collecting it yourself, courier time is another factor. For a full rundown of the whole journey, our guide to ordering banners in the UK walks through everything from design to delivery day.
Collection vs Courier Delivery
The final hurdle is getting the banner from their workshop to your venue. You’ve usually got two options here, each with its own benefits.
-
Click and Collect: This is often the quickest and safest bet. By picking it up yourself, you completely remove the risk of courier delays or your banner getting damaged in transit. It’s the ideal choice when a deadline is set in stone and the printer is genuinely just around the corner.
-
Courier Delivery: If the printer isn’t that close or you’re just flat-out with other jobs, a courier is the obvious solution. Most printers have accounts with reliable national services. Just make sure you confirm the estimated delivery day and ask if they provide tracking so you can keep an eye on its progress.
Ultimately, it all comes down to good, clear communication. Talk to your printer about your deadline right from the start. A good local partner will give you an honest answer about what's achievable, helping you manage expectations and avoid that last-minute panic we all dread. A little bit of planning always makes for the most stress-free and cost-effective result.
How To Get The Best Value From Your Banner Printer
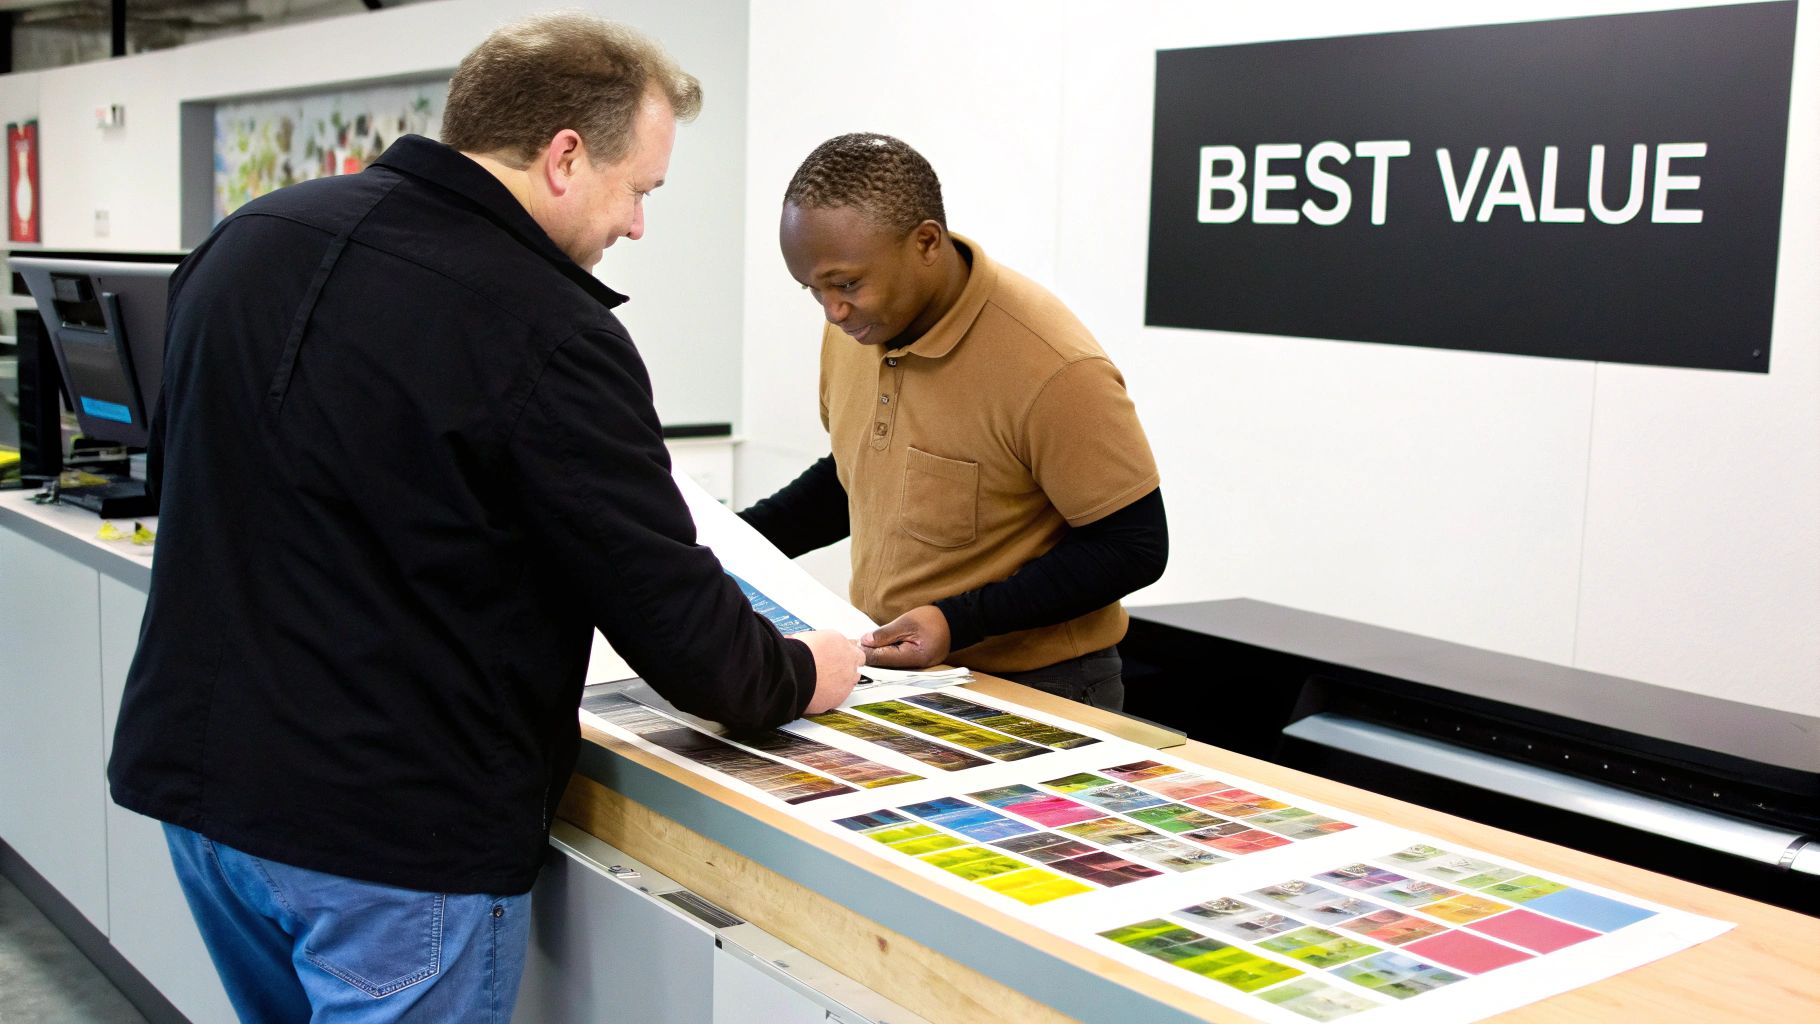
Getting a fantastic, high-quality banner doesn't have to mean stretching your budget to its breaking point. In fact, some of the smartest ways to save money actually lead to a better, more efficient process. This isn't about cutting corners; it's about making savvy choices that deliver the best bang for your buck.
One of the easiest wins is to stick to standard banner sizes. It might be tempting to go for a completely bespoke dimension, but printers optimise their material rolls for common sizes like 6ft x 2ft or 8ft x 3ft. Ordering these standard options almost always results in less wasted vinyl, and that material saving is passed directly on to you.
Plan Ahead To Avoid Rush Fees
This might be the single biggest way to save money: plan ahead. As we’ve mentioned, express services come with a hefty premium. Just by building a standard 3-5 day turnaround into your project timeline, you can dodge those rush fees, which often tack on an extra 25-50% to your final bill.
Thinking ahead also buys you valuable breathing room. It gives you time for proofing, asking questions, and making any last-minute tweaks without the pressure of a looming deadline.
Choosing a standard turnaround time is the simplest, most effective cost-saving measure you can take. It eliminates unnecessary fees and ensures a smoother, less frantic production process for everyone involved.
Match The Material To The Mission
Another area ripe for savings is in your material choice. It’s easy to fall into the trap of thinking the most expensive, heavy-duty option is always best, but that's rarely the case. Overspending on a premium material for a short-term, indoor event is a classic mistake.
Think about it this way:
- For a one-day indoor conference: A lightweight and economical PVC vinyl is more than up to the job. It will look brilliant for the event, and you won’t have paid extra for long-term outdoor durability you simply don't need.
- For a temporary "Sale Now On" sign: Again, standard PVC is the perfect fit. There's no point in shelling out for premium blockout or heavy-duty vinyl if the banner is only going to be up for a couple of weeks.
Have an honest chat with your local printer about exactly how and where you'll be using the banner. They can recommend the most cost-effective material that is still perfectly suited for the task at hand.
Build A Relationship With Your Local Printer
Finally, never underestimate the value of loyalty. When your search for "vinyl banner printing near me" leads you to a great local partner, stick with them. Building a relationship with a single, reliable printer often leads to better service, preferential treatment when you're in a tight spot, and sometimes even better pricing on future orders.
They’ll get to know your brand, your artwork standards, and your typical needs, which makes every subsequent order faster and easier. This long-term partnership is one of the hidden gems of choosing a local expert—it pays dividends far beyond a single print job.
Got Questions? We've Got Answers
When you're searching for "vinyl banner printing near me," a few queries always pop up. It's only natural. Getting straight answers helps you feel confident you're ordering the right thing and that the final product will be spot on. Let’s run through some of the most common questions we get asked.
What’s the Best File Format for My Banner Artwork?
Hands down, a print-ready PDF is the gold standard. It’s the safest bet because it wraps everything—your images, fonts, and layout—into a single, reliable file that any professional printer can work with.
If your design is mostly logos and text, using a vector file like an AI (from Adobe Illustrator) or an EPS is absolutely key. These are made from clever mathematical lines, not pixels, which means you could scale them up to the size of a double-decker bus and they’d still be perfectly sharp.
Using a photo? You'll likely be working with a JPG or PNG. Just make sure it's high resolution. We always advise aiming for at least 150 DPI (dots per inch) at the final, full-size scale. Anything less, and you risk it looking disappointingly blurry from a distance.
How Long Will a Vinyl Banner Actually Last Outdoors?
This really comes down to a battle between the banner's materials and the good old British weather. A well-made, standard PVC banner, printed with modern UV-resistant inks, should comfortably last you 3-5 years under normal conditions.
But what if you're in a particularly windy spot, say, hanging it from scaffolding or exposed fencing? A mesh banner is a much smarter choice. The perforations let the wind pass right through, taking a huge amount of strain off the eyelets and fabric itself.
Of course, a bit of common sense goes a long way. Installing it properly and giving it a gentle wipe-down now and then will always help extend its life.
The most important thing to remember is that a banner’s durability starts with quality. Choosing a trusted local printer who doesn’t skimp on their inks or vinyl is the best way to ensure your banner stands the test of time.
Is It Possible to Get a Banner Printed the Same Day?
In many cases, yes! A lot of local printers are set up for quick turnarounds and can offer same-day or 24-hour services. But, and it's a big but, it always hinges on a few things:
- How busy they are: If their machines are already humming away on other jobs, they might not be able to fit you in.
- The complexity of your order: A simple banner with standard finishing is much easier to rush through than something with bespoke cuts or features.
- Your artwork: You’ll need to supply a perfect, print-ready file first thing in the morning. Any tweaks or issues will cause delays.
The best advice? Always call ahead to see if they can handle a rush job. You should also expect to pay a bit extra for an express service—after all, they're reshuffling their whole schedule just for you.
What Exactly Are Hems and Eyelets, and Do I Really Need Them?
For almost any situation where you plan to hang your banner, the answer is a resounding yes. Think of them as the essential skeleton that gives your banner its strength.
Hems are the edges of the banner, which are folded over and heat-welded shut. This simple step doubles the thickness and strength around the perimeter, making it far more resistant to tearing under tension.
Eyelets (you might hear them called grommets) are the metal rings punched through those reinforced hems. They give you strong, secure points to thread rope, zip ties, or bungee cords through. We typically place them every 50-60cm, but if you have specific fixing points in mind, this can usually be customised. Trust us, skipping them is a false economy you'll regret the first time a strong gust of wind comes along.
Ready to get a banner that looks fantastic and is built to last? The team at Banner Printing Ltd is here to help you create the perfect visual for your business or event. Explore our custom banner options today


